ps怎样做透视复古文字
2022-12-25 14:48:43
来源/作者: /
己有:42人学习过
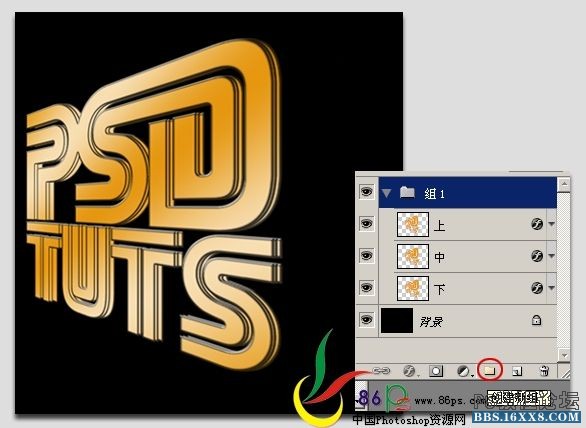
[font=Times New Roman]5、将文字复制两层,分别命名为“上”、“中”、“下”层,用键盘上的箭头移动文字,位置如图;新建一个组,[/font][font=Times New Roman]将这三层文字拖到组里。[/font]
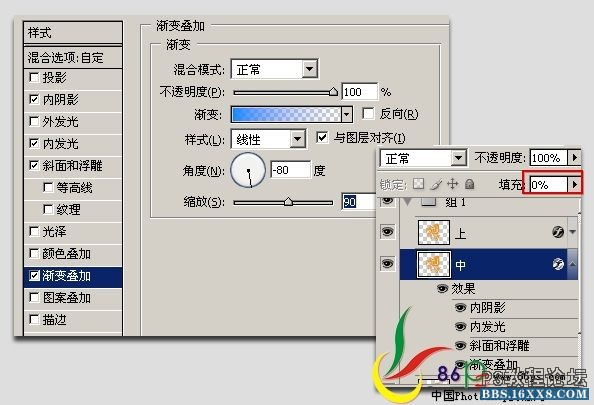
[font=Times New Roman]6、选择中间文字层,将图层填充度改为:0%,并改变渐变叠加,设置如图:[/font]
[font=Times New Roman]6、选择中间文字层,将图层填充度改为:0%,并改变渐变叠加,设置如图:[/font]
标签(TAG) 普通字效 复古字 学photoshop
下一篇:ps制作高光装饰的艺术字教程
相关推荐

复古字,制作复古的积木字

复古字,设计复古条纹字教程

PS+AI设计霓虹灯复古字

复古字,ps设计一个立体复古字教程

彩绘艺术字, PS液化工具制作彩绘背景设计教程

Photoshop制作非常流行的金沙立体字,细腻的金沙字体,金粉字。

Photoshop制作金色的海报标题文字教程

Photoshop使用笔刷制作书法艺术字教程


