学习精修国外模特头像肤色效果的PS修图教程
2019-03-30 00:00:00
来源/作者: 自媒体 / 祜信
己有:422人学习过
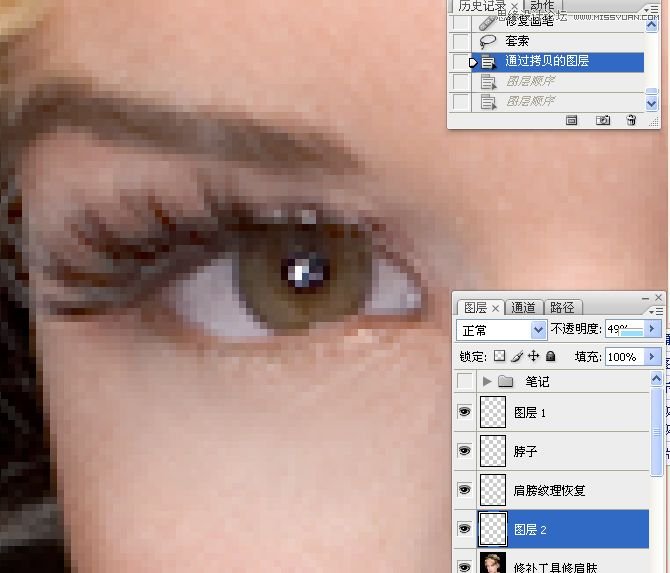
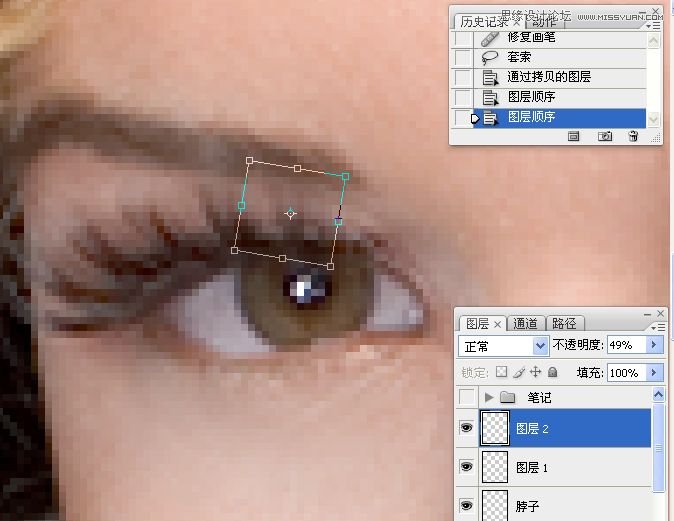
十一。使用10%透明度的黑/白色画笔工具修饰眉毛。眼珠。眼白等处.图层混合模改为柔光.
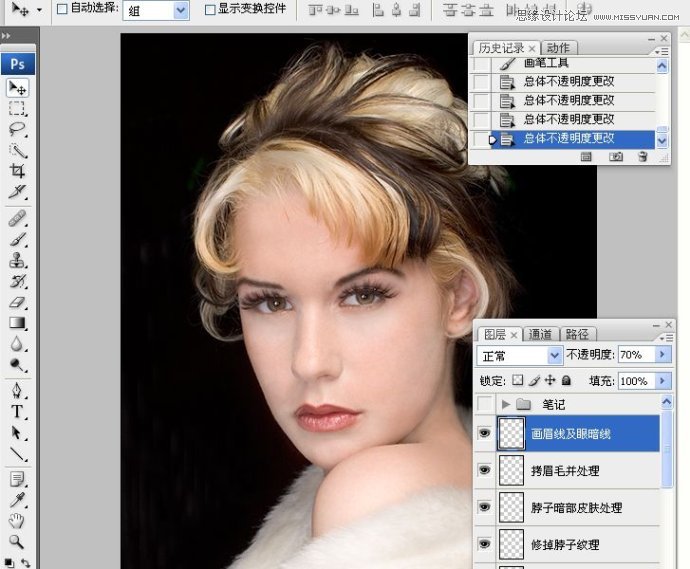
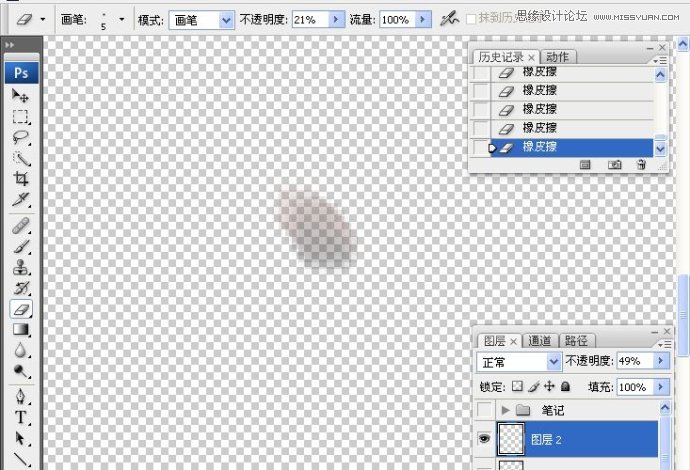
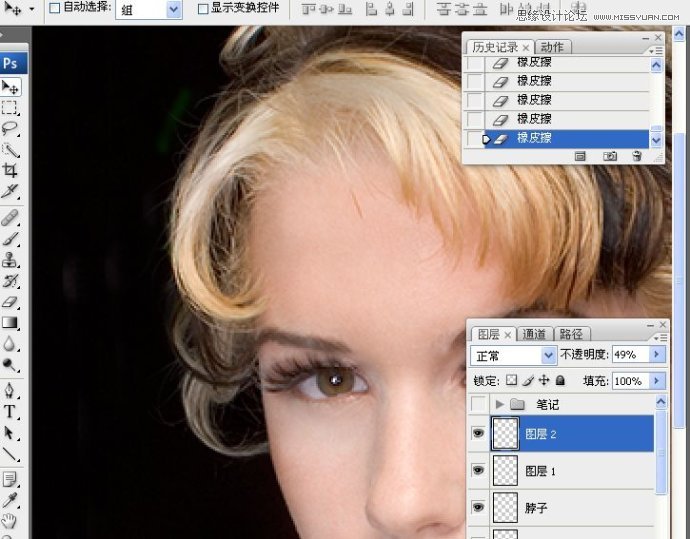
十二。使用黑。白画笔工具涂抹出脸部立体感,主要部位为脸腮。鼻。嘴。脖子。边缘,进行了三次的高斯模糊处理,注意图层混合模式的变化中的高斯模糊.

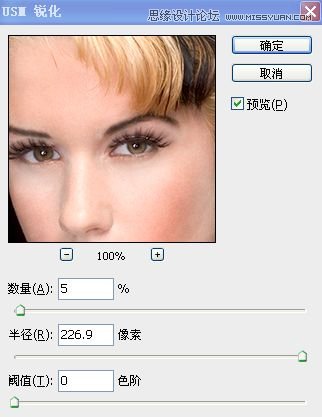
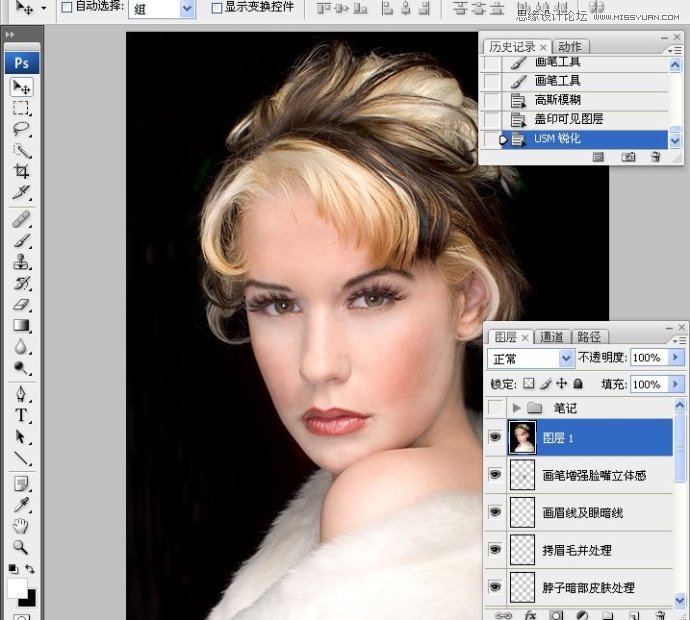
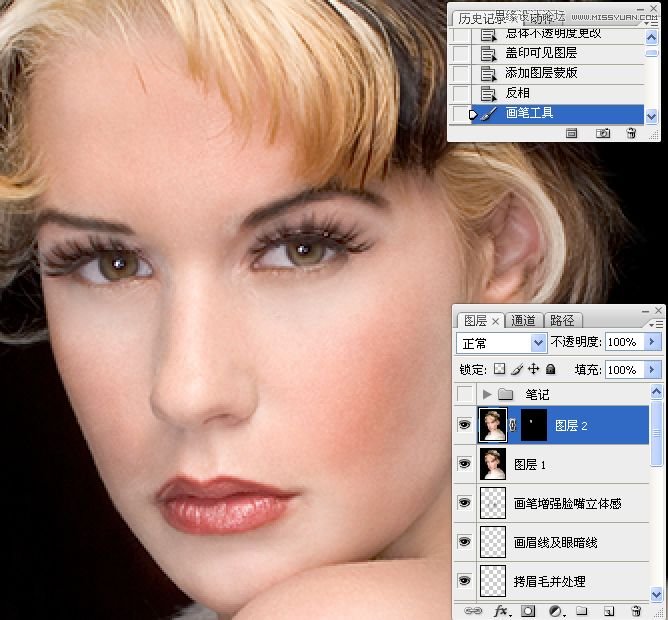
十三。盖印图层,USM锐化处理,进行了二次,修改图层不透明度.
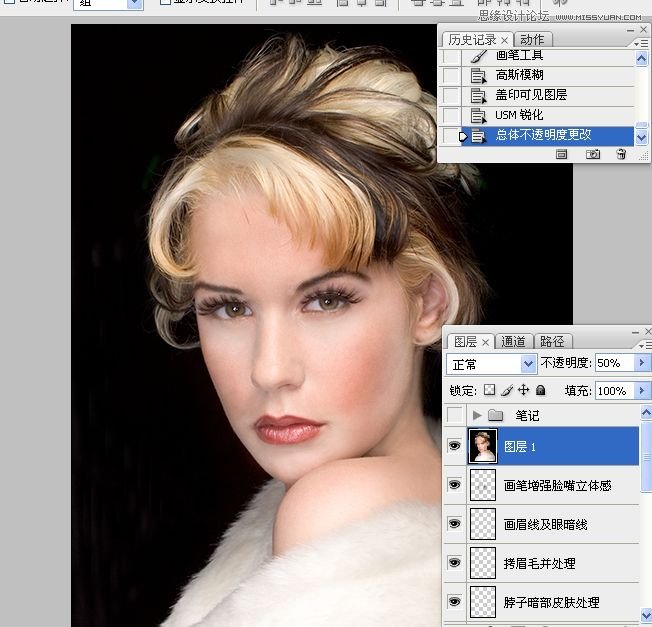
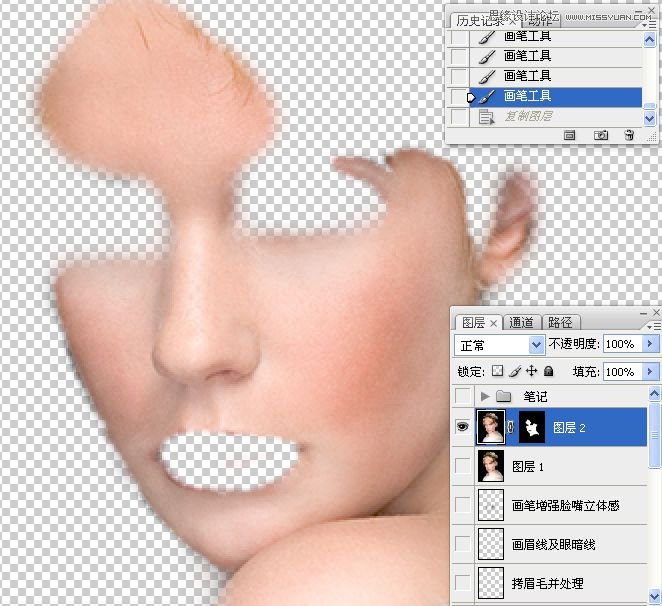
十四。盖印图层,添加图层蒙,反相蒙版,画笔涂抹出皮肤部分.
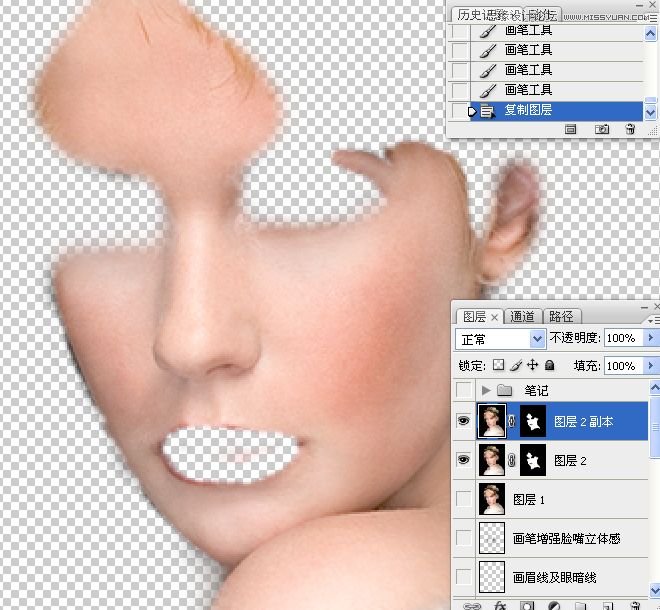
十五。拷贝图层2为图层2副本.
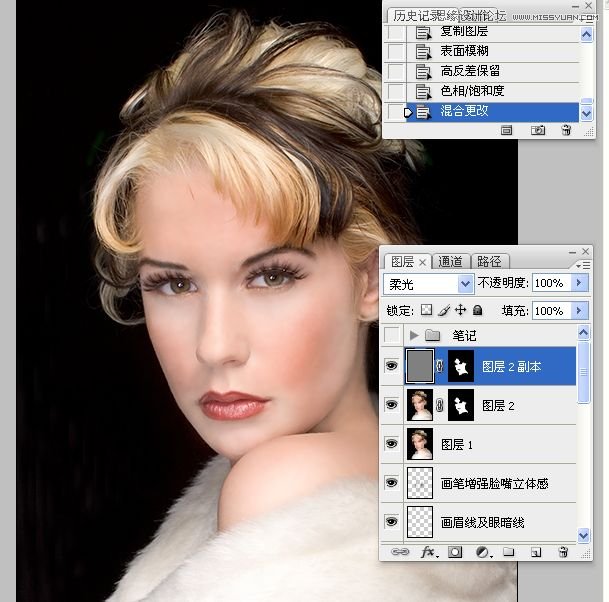
十六。对图层2进行表面模糊处理.
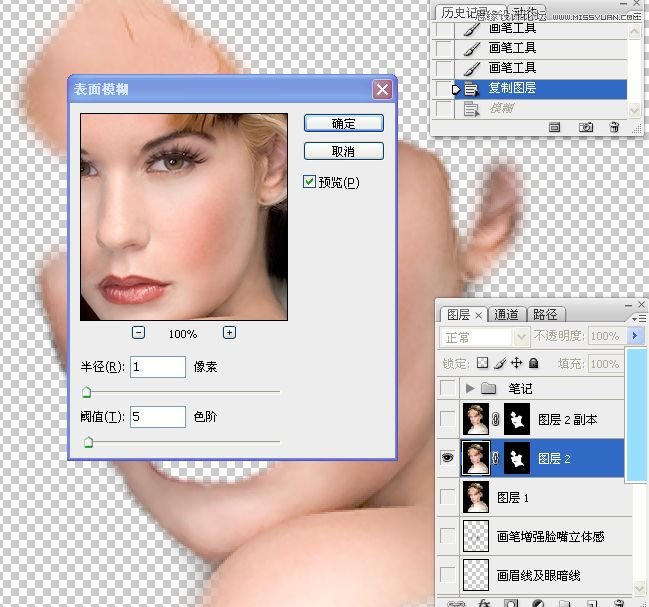

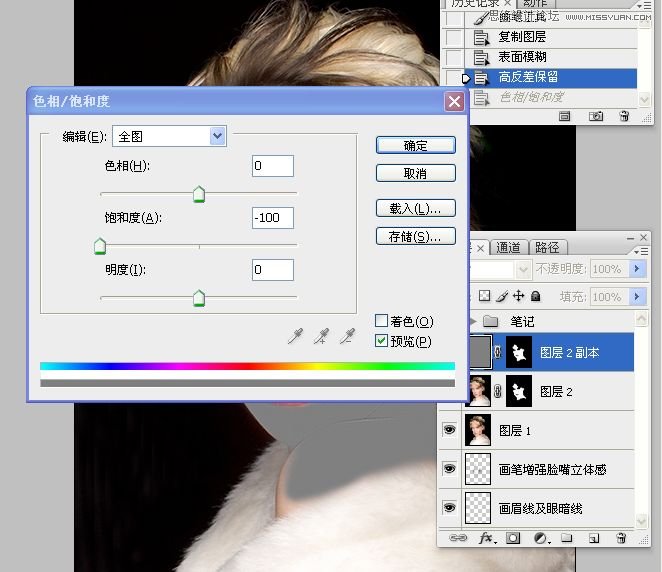
十七。对图层2副本进行高反差操作,降低色相饱和度处理,图层混合模式为柔光.更改图层不透明度.这二步可归纳为高斯模糊与高反差保留给皮肤进行柔肤处理.


相关推荐

PS金发女孩头像照片脸部磨皮视频教

PS通道磨皮技巧教程:给性感的欧美女

利用PS修复工具及磨皮滤镜给欧美美

通过PS磨皮处理给欧洲性感男神照片

图片变清晰,使用PS让模糊图片变清晰的方法教程

PS调出晶莹洁白肤色商业人像照片效果

PS调出唯美金黄色树叶背景甜美女生照片

调出高清质感暗色草原风景图片的PS教程


