学习精修国外模特头像肤色效果的PS修图教程
2019-03-30 00:00:00
来源/作者: 自媒体 / 祜信
己有:422人学习过
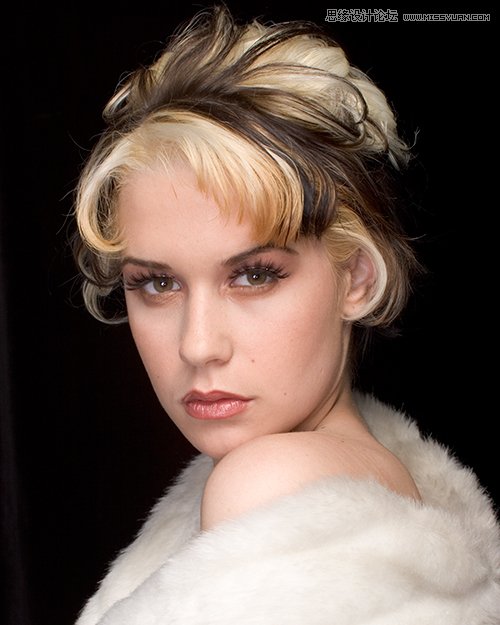
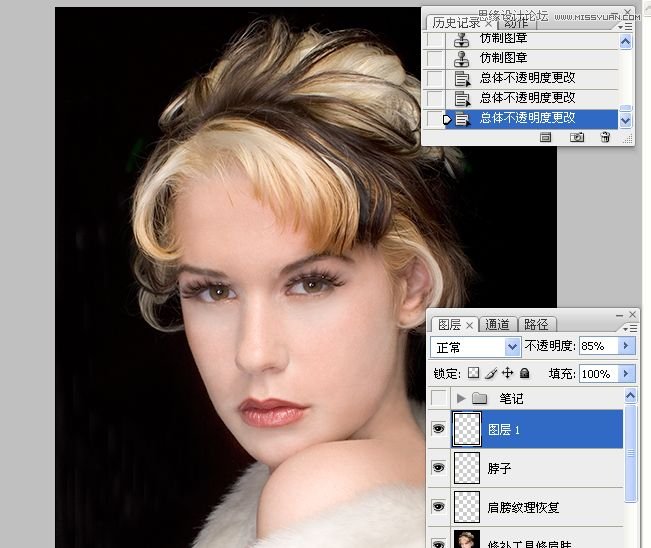
精修的主要部分就是细节的处理和完美的处理结果,本例的效果最终肤色红润,细节非常的好,喜欢的朋友可以一起来学习吧。
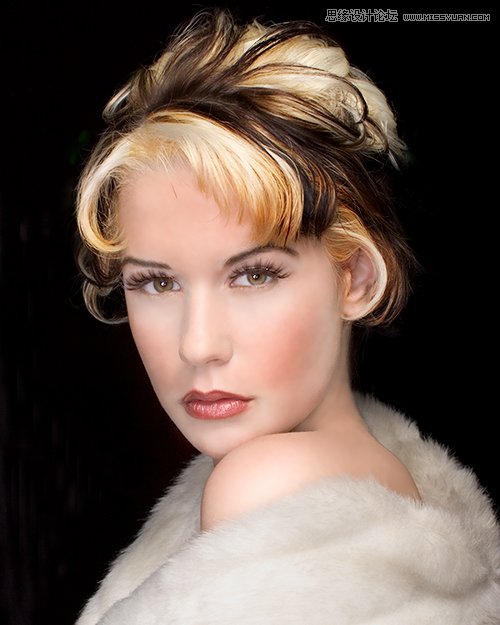
素材图:
练习过程:
一。基本清理
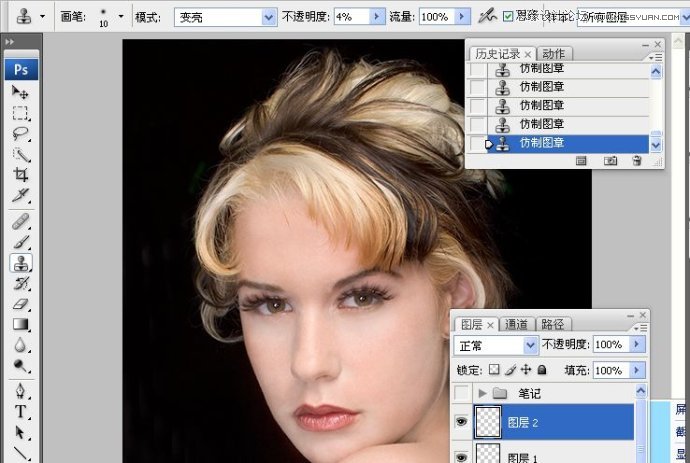
1.使用修复画笔工具对脸上的皮肤进行去污处理.
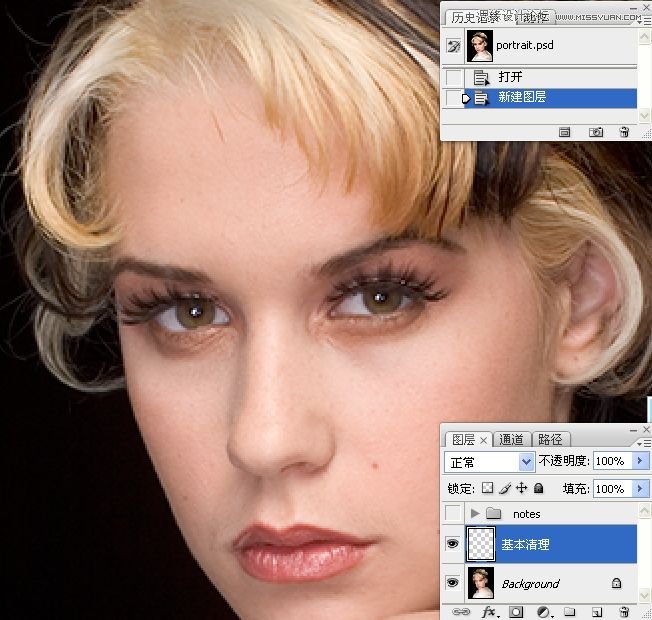
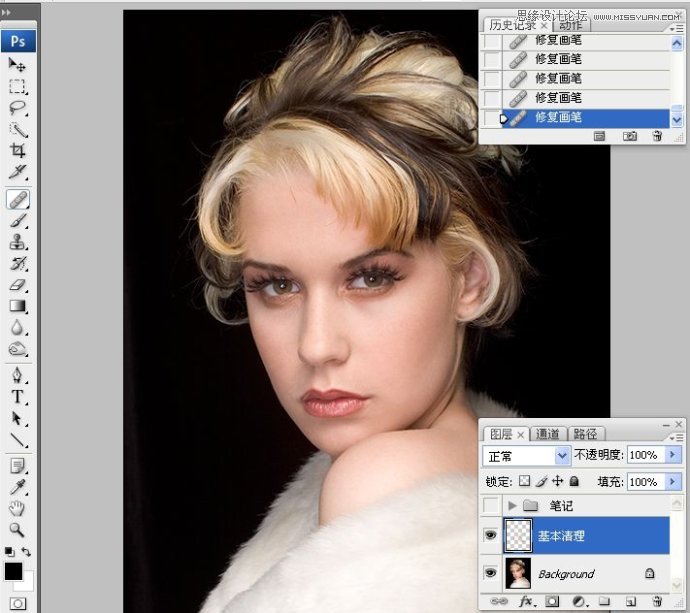
2.使用仿制图章工具对黑色背景进行处理,然后设置不透明度30%左右对黑色背景的发丝进行处理.

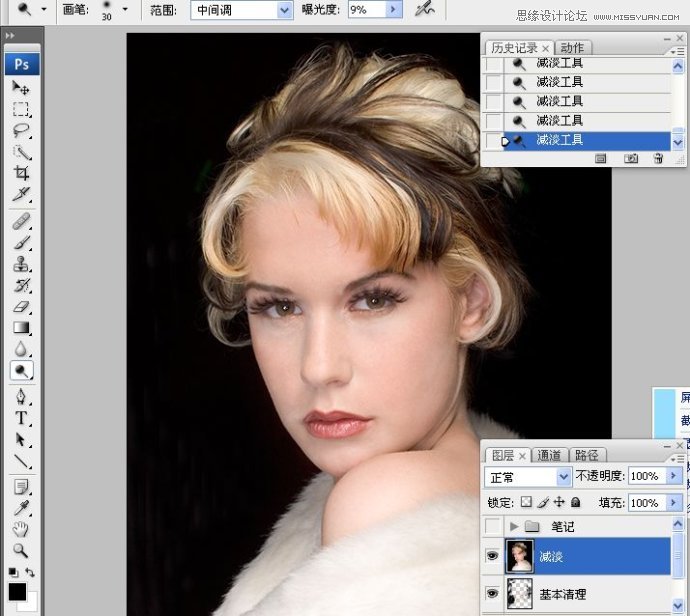
二。盖印图层,使用减淡工具对眼圈,胫部等暗部皮肤进行处理.
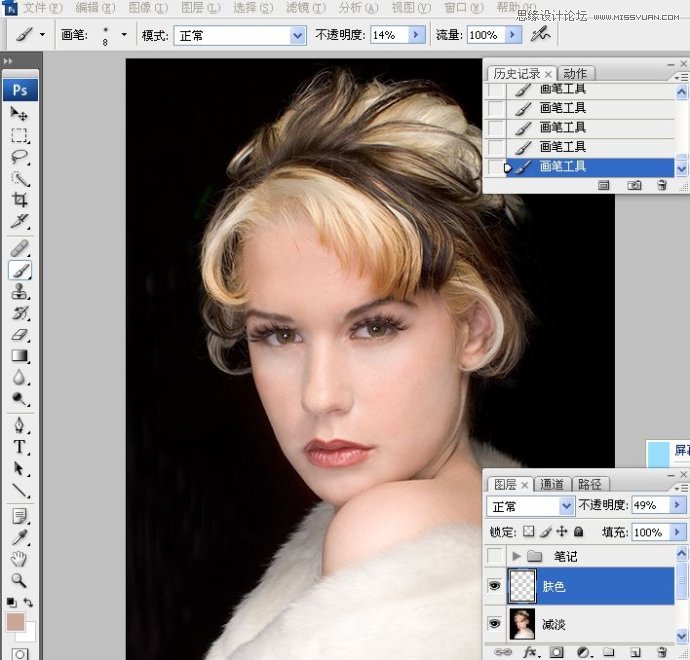
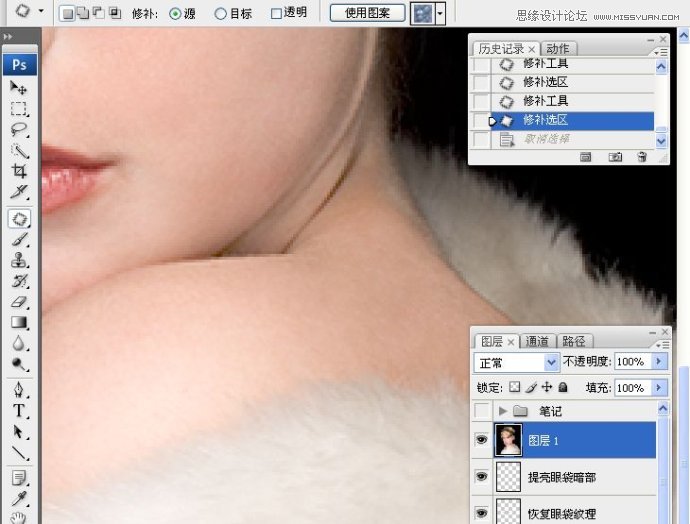
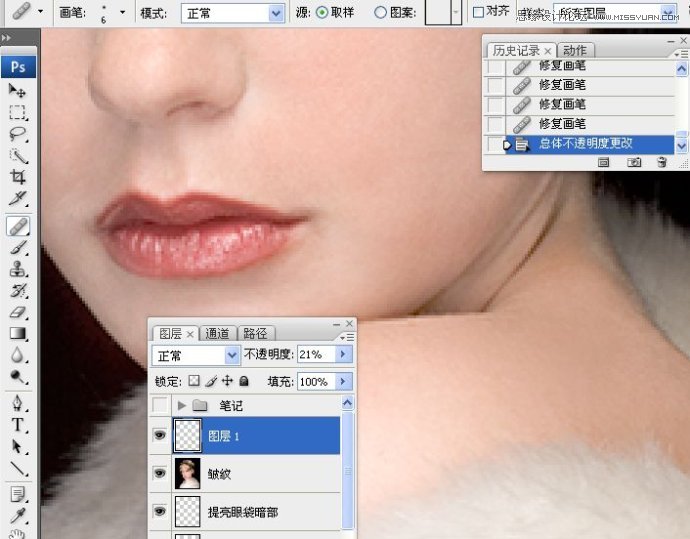
三。新建一空白图层,不断使用吸管工具对眼袋附近的皮肤进行肤色采样,然后画笔工具涂抹暗部区域皮肤.降低图层不透明度.
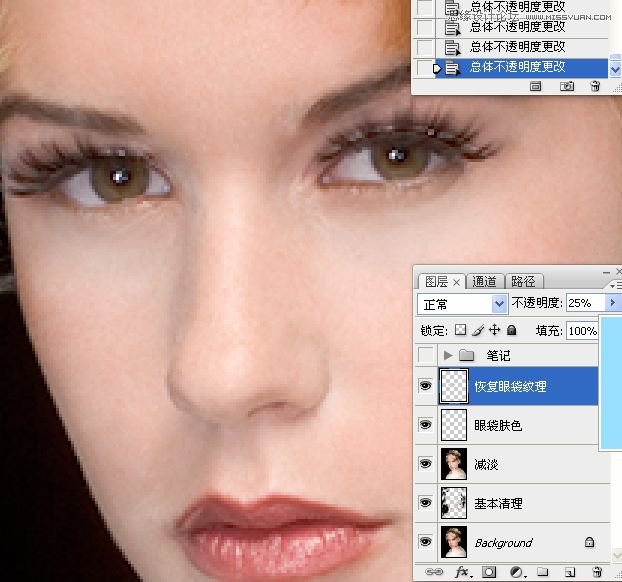
四。修复画笔工具恢复眼袋的纹理.
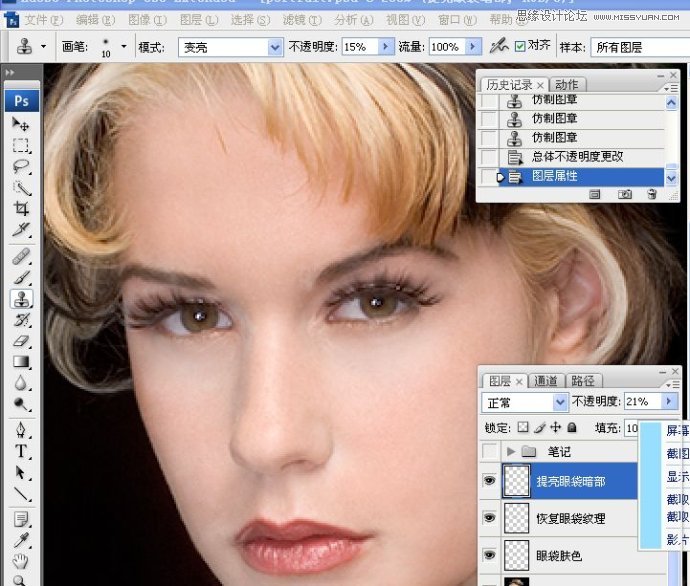
五。仿制图章工具提亮眼袋的暗部区域.
六。盖印图层,修补工具修理右肩条纹.
七。新建一空白图层,修复画笔工具去除皮革污点.
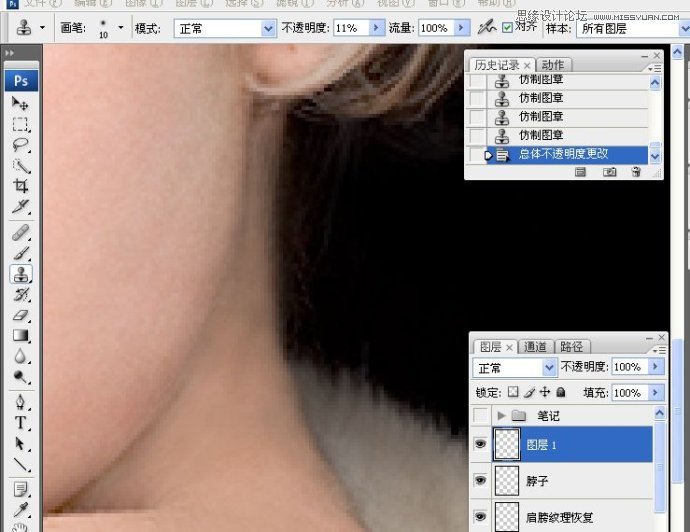
八。新建一空白图层,仿制图章工具去除脖子条纹.
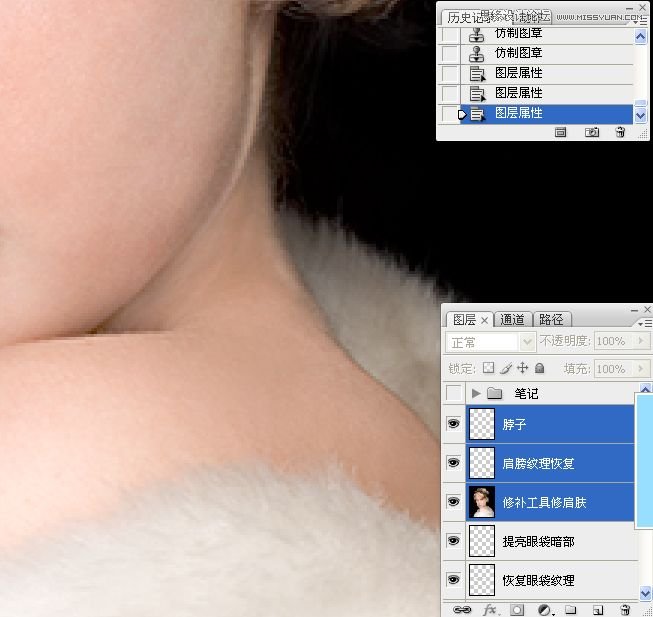
九。仿制图章工具压暗脖子亮部条纹线及修复在此操作过程中所溢出的肤色,注意由暗到明的过度.同时要注意仿制图章工具的模式(正常。变暗。变亮)的变化.
十。拷贝眼睫毛,自由变换,橡皮擦处理.
相关推荐

PS金发女孩头像照片脸部磨皮视频教

PS通道磨皮技巧教程:给性感的欧美女

利用PS修复工具及磨皮滤镜给欧美美

通过PS磨皮处理给欧洲性感男神照片

图片变清晰,使用PS让模糊图片变清晰的方法教程

PS调出晶莹洁白肤色商业人像照片效果

PS调出唯美金黄色树叶背景甜美女生照片

调出高清质感暗色草原风景图片的PS教程


