PS红色质感Logo教程
2022-12-26 11:00:18
来源/作者: /
己有:74人学习过
(15)复制“形状 2”,改变其位置和颜色。
(16)选择“钢笔”工具绘制出路径。
(17)将路径载入选区。
(18)新建“图层 4”,选择“渐变”工具在选区内拉出渐变。
(19)取消选区选择状态,设置“图层 4”的不透明度为“40%”。
(20)显示“组 1”图层组,完成实例制作。
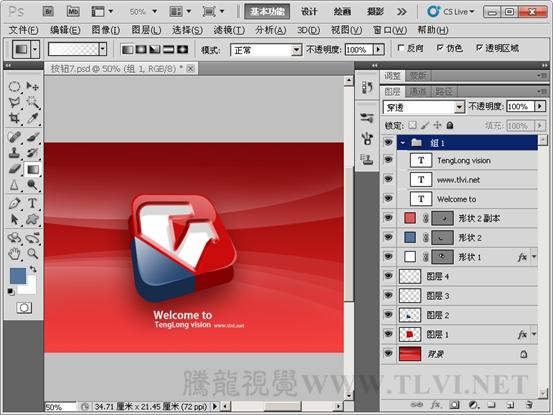
完成最终效果

相关推荐

Photoshop新手教程:详细讲解编辑菜

色彩系列教程(2):色系和色调

Camera Raw,ACR滤镜使用教程(上)

ps cs6制作涂鸦字效果教程

Photoshop制作清凉的水中展示网页

Photoshop制作大气的网页设计主页

阴影教程,超详细的各种阴影的制作方法

Photoshop制作炫酷的PK类网站Banner


