Photoshop设计UI界面中的抽象花朵背景图片
2019-11-08 16:14:39
来源/作者: Yisvip / 延中
己有:1094人学习过
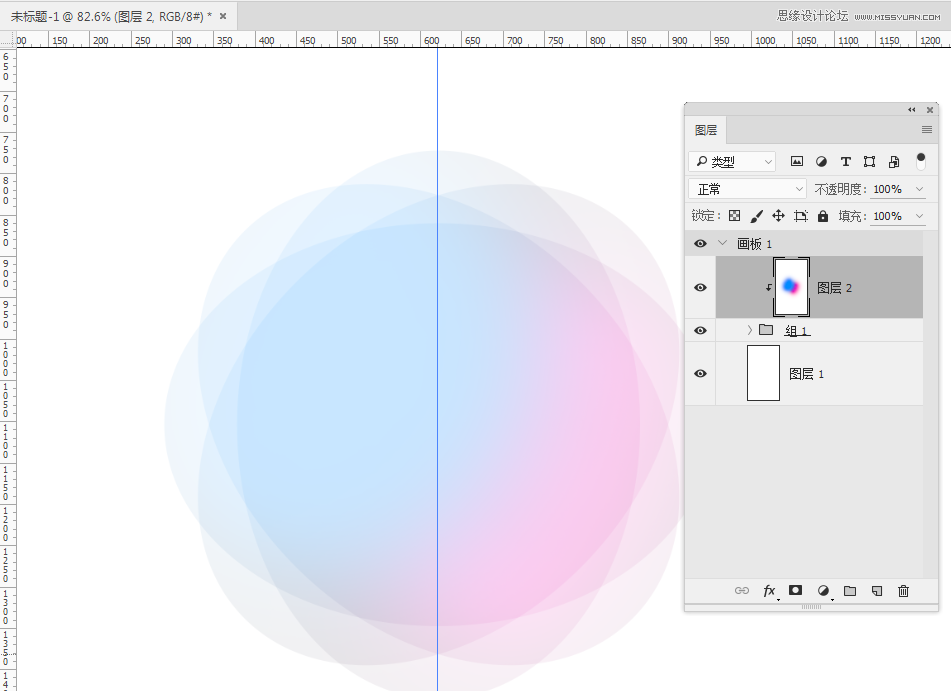
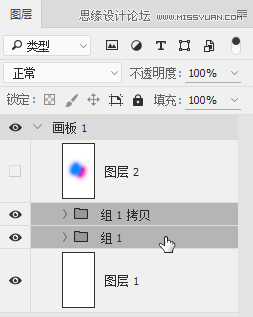
选择图层编组,Ctrl+J复制新的编组。选择复制的编组Ctrl+T进行变换,缩放的时候后按住shift+Alt键拖动边缘的方块对图形进行进等比缩放。将图形比例调整到合适的大小,让形状显得更有层次和空间。
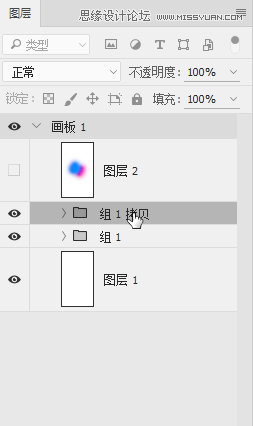
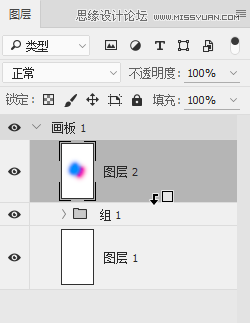
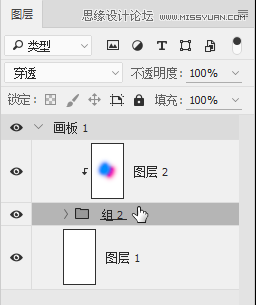
为了让颜色嵌套到所有的图层上,选中形状的两个编组【Ctrl+G】把图层下面的两个编组合成为一个编组。然后在颜色层与编制之间按住【Alt】将图层嵌套到合成的编组上,这时候背景的主要形状就绘制好了。

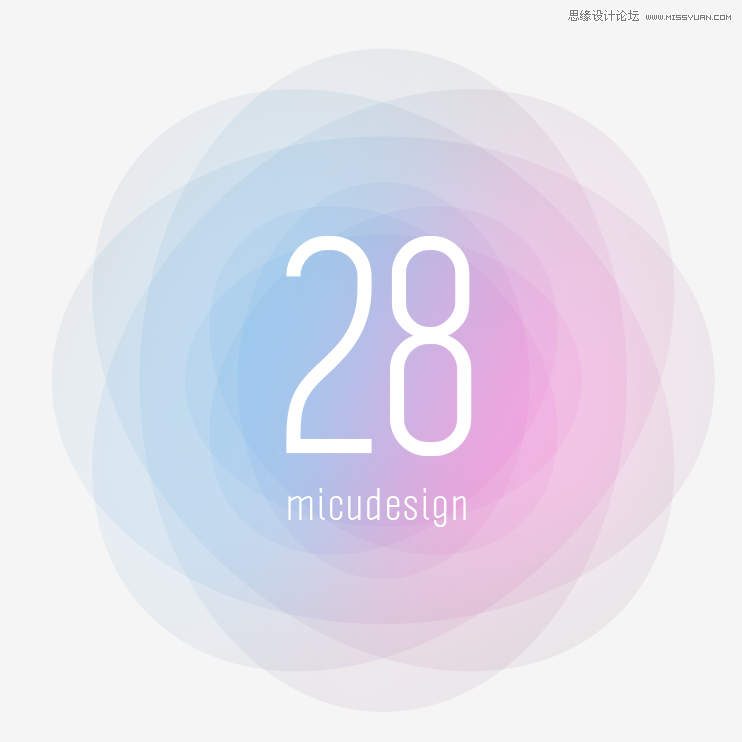
背景效果制作完后,使用工具栏中的【文字工具】制作字体,文字颜色设置为白色,大小设定280px。

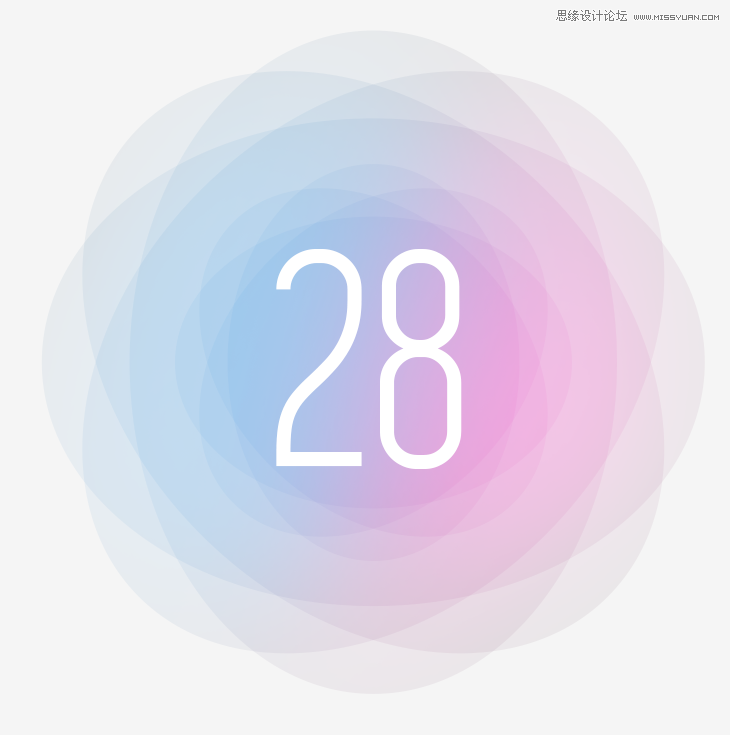
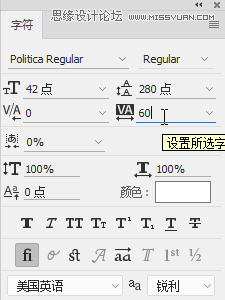
Alt键拖动复制字体图层,改成副标题的文案。在【窗口】中找到【字符】面板调整文字的字间距到合适的间距,将字体大小为42px,文字字间距为60。
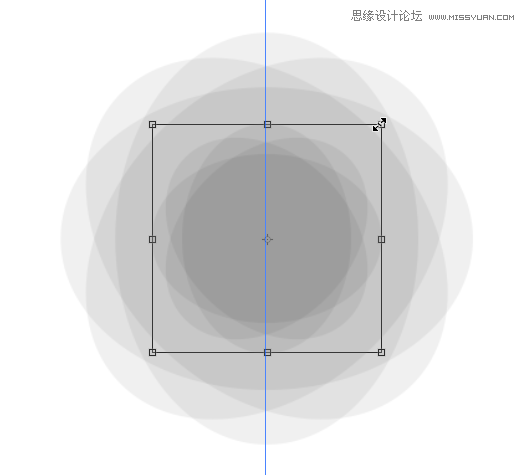
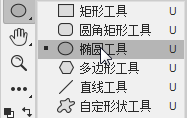
文字制作好后,再次丰富一下背景的效果。选择路径【椭圆工具】,在绘制的时候按住【Shift】绘制一个正圆。
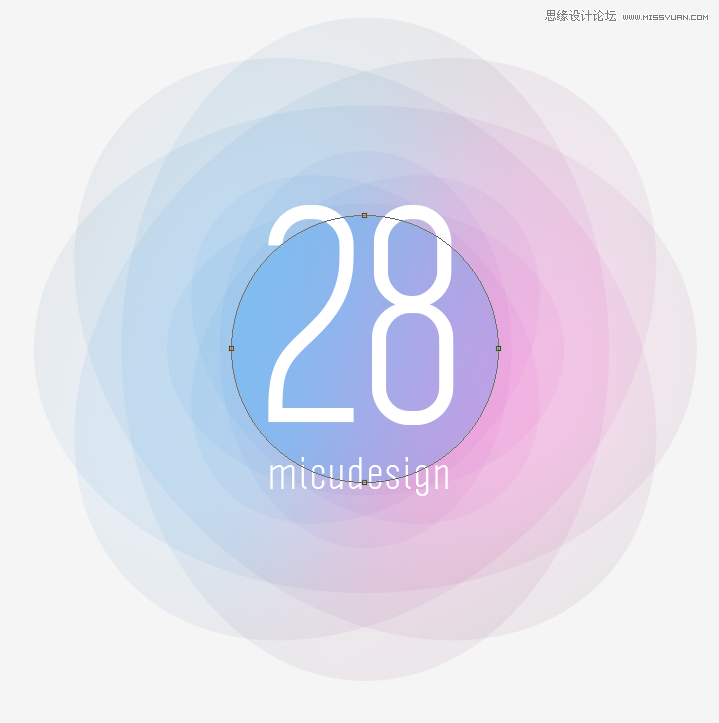
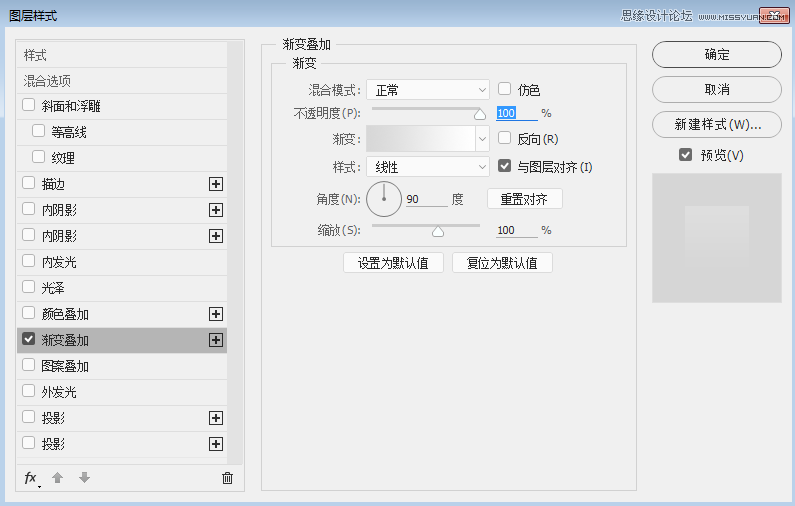
双击绘制好的路径图层打开【图层样式】面板选择【渐变叠加】。
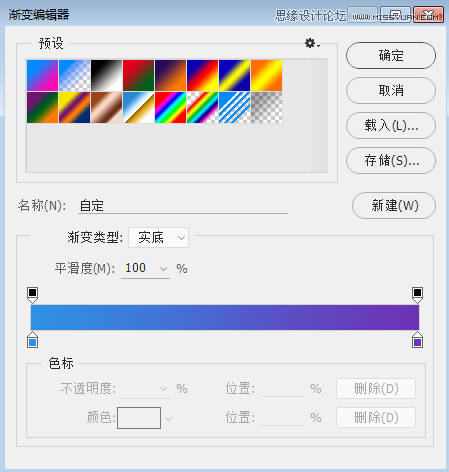
在【渐变叠加】面板中双击‘“渐变条”调出渐变编辑器调整蓝色到紫色的渐变效果。
相关推荐

PS视频制作万花筒情侣婚纱背景图片

制作华丽抽象光影图案的PS视频教程

制作漂亮火焰花朵图案的PS视频教程

PS制作金属材质的金色花朵图案

如何使用Photoshop选择工具的魔术棒工具

详细解析Photoshop色阶工具调色原理和使用要点

PS教程!教你绘制超有质感的维他柠檬茶拟物图标(含素材下载)

Photoshop使用各种浮动面板的技巧和方法


