ps人物海报签名教程
2022-12-25 15:59:40
来源/作者: /
己有:23人学习过
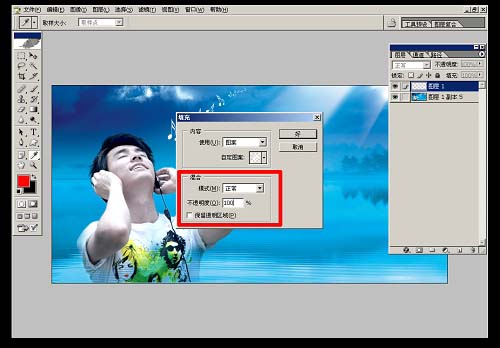
21、模式为正常,不透明为100%,如图所示。
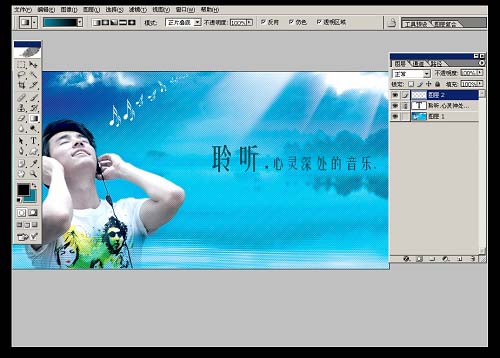
22、图层1模式为叠加,并加蒙版,用画笔将人物脸上的斜纹擦掉,画笔的不透明度为32%。

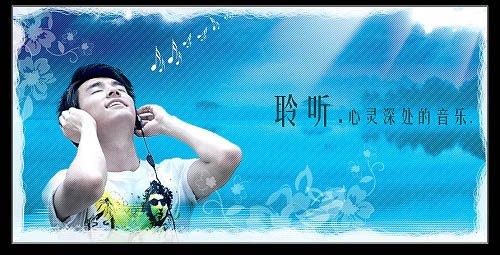
23、新建图层,在图片上打上要表达的字体。
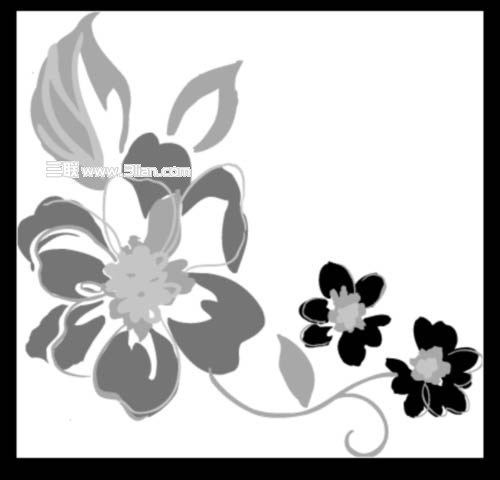
24、将花纹素材拖入画布中,图层模式为滤色,并适当调整大小和角度。
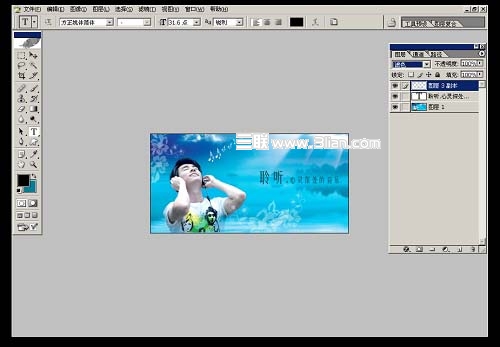
25、选择红色方框内画笔工具,并将不透明度更改为87%。

26、前景色为白色,在图片四周适当的画出不规则图案,完成最终效果。
上一篇:PS为明星调金属肤色照片效果
相关推荐

PS“高反差保留”照片清晰度

PS实用教程:ps修复偏色风景照片

ps利用曲线修正灰蒙蒙花朵图片

PS用计算选区进行分区锐化方法

如何用PS把浑浊的风景照片调出通透清晰

PS商业修图师对人物头发进行精修教程

如何用PS打造出明亮而有神的眼睛效果

PS商业修图给人像增强光影质感的方法介绍


