怎样用photoshop的滤镜最小值和曲线磨皮
2022-12-25 12:48:57
来源/作者: /
己有:30人学习过
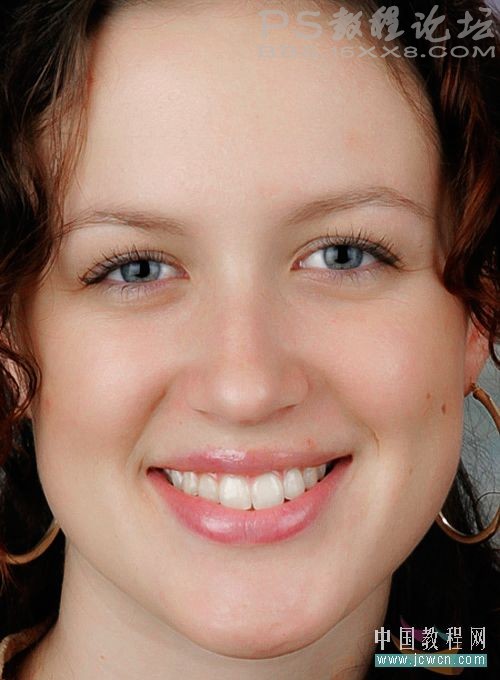
效果如下:

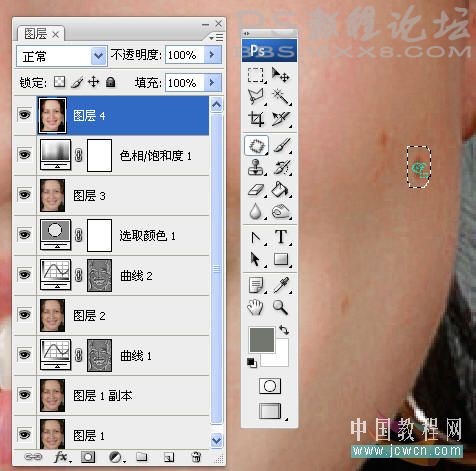
如果还有明显的斑点要处理,可以再次盖印图层,用修补工具进行小小处理

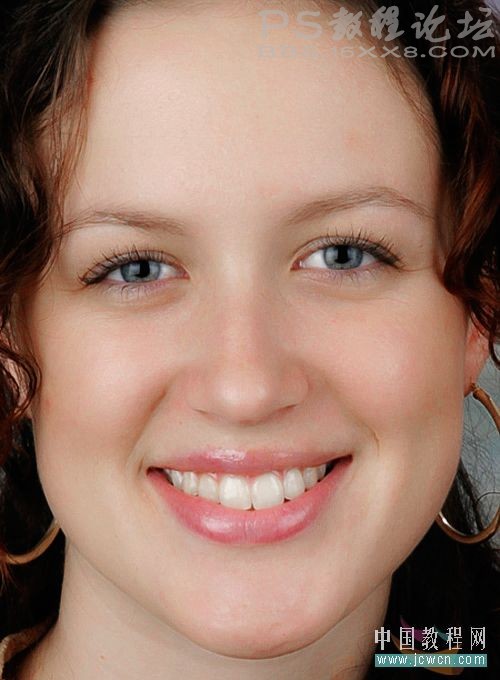
不要太过哦,最终效果:


如果还有明显的斑点要处理,可以再次盖印图层,用修补工具进行小小处理

不要太过哦,最终效果:

标签(TAG) 磨皮教程 学photoshop
下一篇:photoshop皮肤处理教程


标签(TAG) 磨皮教程 学photoshop
下一篇:photoshop皮肤处理教程
 如何将PS文字巧妙的融入背景图里
人气:30
 用Photoshop去除图片中的锯齿
人气:30
 在Photoshop里面如何去除图片白色的底?
人气:30
 PS滤镜把城市建筑照片转成素描线稿效果
人气:30
 婚纱写真,调出清新风格外景婚纱写真照片
人气:30
  婚纱后期,郊外婚纱摄影后期实例
人气:30
  巫师3用不了猎魔感官怎么办
人气:30
  我的连云港如何提取公积金(图文攻略)
人气:30