Photoshop为数码照片制作立体水晶相框
2022-12-25 11:59:43
来源/作者: /
己有:45人学习过
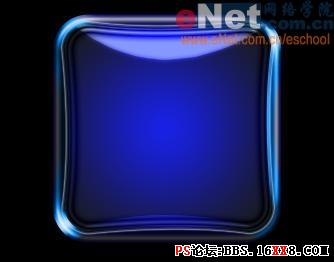
12、复制图层4副本为图层4副本2,设置不透明度为40%,图像效果如图19所示。
13、新建图层5,单击工具箱中的钢笔工具,在画面中绘制路径,单击路径面板上的用前景色填充路径按钮,填充路径,效果如图20所示。
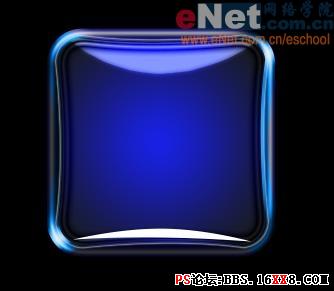
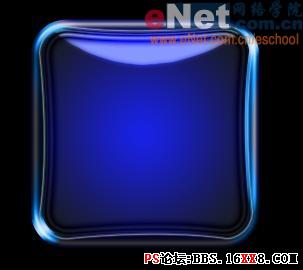
14、设置图层5的混合模式为叠加,图像效果如图21所示。
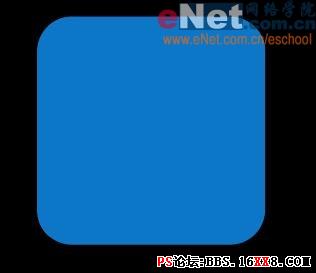
15、设置前景色RGB分别为11、119、198,新建图层6,按住Ctrl键单击图层1,载入选区,按Alt+Delete键填充图层6,效果如图22所示。
标签(TAG) 效果教程
上一篇:GIF动画制作教程
相关推荐

ps让痘痘去无踪外加白里透红肤色教

ps18步给美女图片磨皮教程

psCS5滤镜磨皮教程

psCS5给黑人妹妹磨皮

photoshop教你利用滤镜打造小清新镜头光晕

用抽出滤镜对毛发抠图的PS教程

用PS抽出滤镜对毛毛虫图片抠图换背景

用抽出滤镜抠图的几种方法


