Photoshop为数码照片制作立体水晶相框
2022-12-25 11:59:43
来源/作者: /
己有:45人学习过
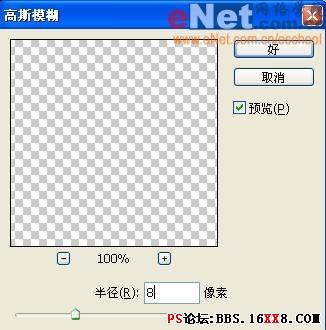
10、执行菜单栏中的“滤镜”“模糊”“高斯模糊”命令,在弹出的对话框中将半径设置为8,如图14所示,图像效果如图15所示。
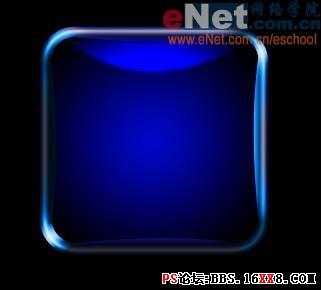
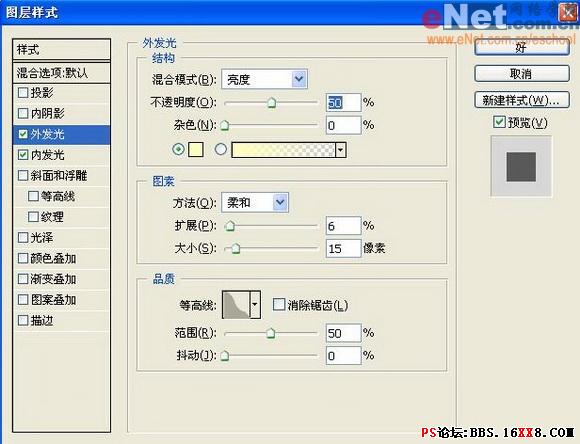
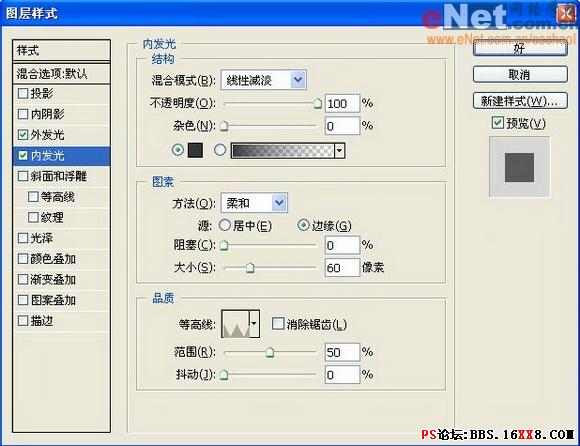
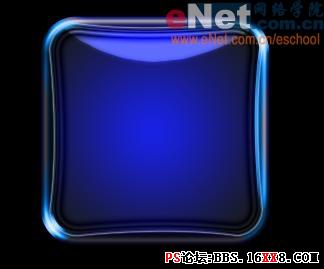
11、双击图层3,在弹出的图层样式对话框中选择“外发光”“内发光”样式,设置参数如图16和17所示,图像效果如图18所示。
标签(TAG) 效果教程
上一篇:GIF动画制作教程


标签(TAG) 效果教程
上一篇:GIF动画制作教程
 如何将PS文字巧妙的融入背景图里
人气:45
 用Photoshop去除图片中的锯齿
人气:45
 在Photoshop里面如何去除图片白色的底?
人气:45
 PS滤镜把城市建筑照片转成素描线稿效果
人气:45
 婚纱写真,调出清新风格外景婚纱写真照片
人气:45
  婚纱后期,郊外婚纱摄影后期实例
人气:45
  巫师3用不了猎魔感官怎么办
人气:45
  我的连云港如何提取公积金(图文攻略)
人气:45