photoshop打造逼真木质雕花相框
2022-12-25 11:35:26
来源/作者: /
己有:41人学习过
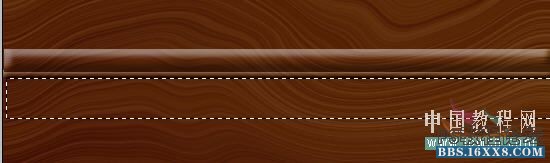
6、在图示位置再做个选区
激活图层1,Ctrl+J复制后,添加样式设置如图
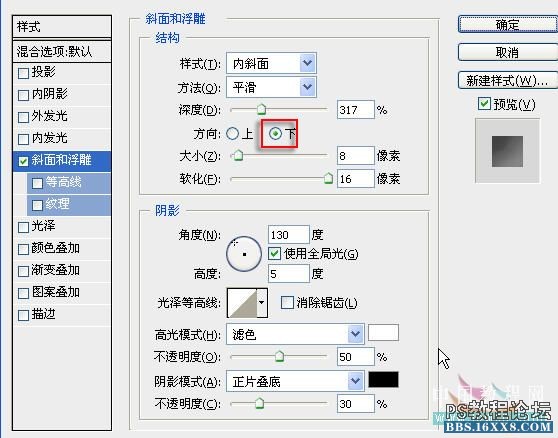
效果如图

7、用第3步的方法做一个窄条,并与那个宽条合并,现在效果如图示

激活图层1,Ctrl+J复制后,添加样式设置如图
效果如图
7、用第3步的方法做一个窄条,并与那个宽条合并,现在效果如图示
标签(TAG) 教程内容 photoshop打造逼真木质雕花相框 来源:未知
下一篇:psCS6动画教程:放大镜
相关推荐

ps 圆角制作教程

ps 制作多级颜色流光字GIF动

ps 滤镜《理论讲解》

图标设计,教你临摹360写实图标

photoshop教你利用滤镜打造小清新镜头光晕

用抽出滤镜对毛发抠图的PS教程

用PS抽出滤镜对毛毛虫图片抠图换背景

用抽出滤镜抠图的几种方法


