ps制作动作电影海报
2022-12-26 07:58:48
来源/作者: /
己有:2人学习过
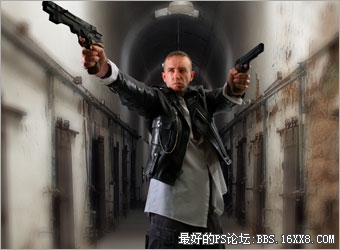
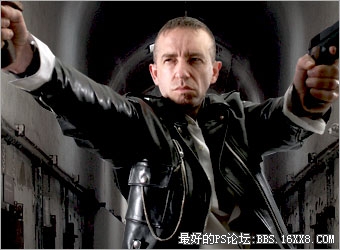
步骤 1、选择人物素材和场景素材。
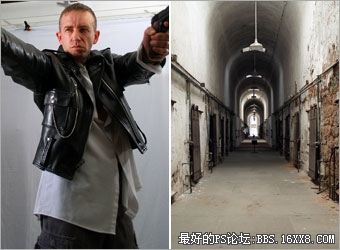
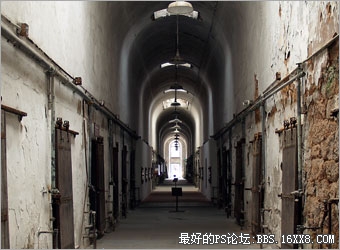
步骤 2、打开场景素材。
,
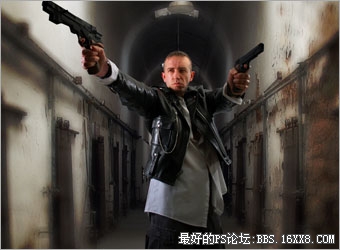
步骤 3、复制图层,滤镜 模糊 镜头模糊,选择更快,光圈形状“六边形”,半径25,阀值255,其他均设为0,平均分布。

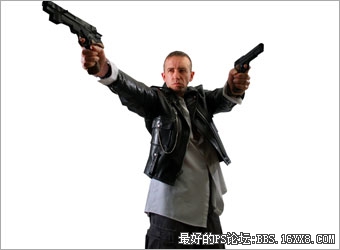
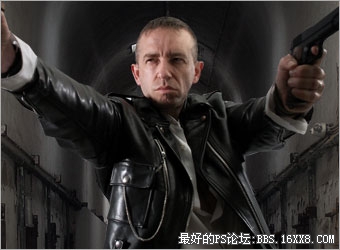
步骤 4、扣出人物素材。
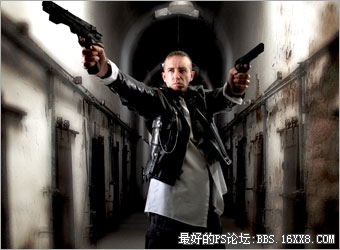
步骤 5、将人物素材导入场景,选择橡皮擦工具,设置800px柔角笔刷,在模糊场景层中央点一下。
,
步骤 6、在人物层上方创建新图层,图层不透明度设为80%,用黑色填充该图层。
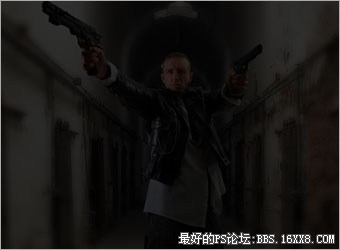
步骤 7、选择800px柔角橡皮擦工具点击黑色填充层中部。
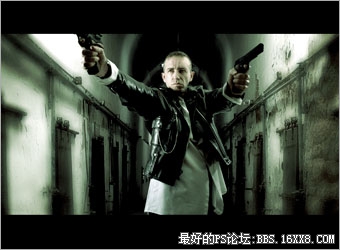
步骤 8、在所有图层上方创建色相/饱和度调整图层(图层 新建调整图层 色相/饱和度),色相设为0,饱和度为-40,明度为0。
,
步骤 9、图层 新建调整图层 曝光度,曝光度设为+0.6,位移设为-0.01,灰度系数校正1.2。
步骤 10、图层 新建调整图层 色阶,参数设为20,1,240。
步骤 11、创建另一个色相/饱和度调整层,色相设为120,饱和度为25,明度为0。并为图像顶部和底部添加黑色边框。
标签(TAG) 海报设计 电影海报 学photoshop
下一篇:像素画系列教程2:基本线条
相关推荐

新手学Photoshop的批处理的快捷操

海报知识,校园海报设计指南

PS CS6制作 诸神之怒 电影海报的质

海报设计,用CDR设计“高考”主题海

图片变清晰,使用PS让模糊图片变清晰的方法教程

PS调出晶莹洁白肤色商业人像照片效果

PS调出唯美金黄色树叶背景甜美女生照片

调出高清质感暗色草原风景图片的PS教程


