ps制作电影特效的照片
2022-12-25 23:44:59
来源/作者: /
己有:26人学习过
7、在层面板底部点击“创建新的图层”,创建一个新图层。
8、选用黑色填充新图层。
9、设置黑色图层的的“不透明度”为70%。
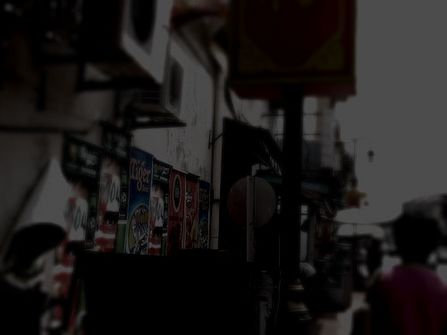
图11
10、使用橡皮擦工具,设置主直径为“400px”,然后开始擦除照片的中心部分。
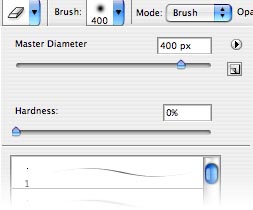
图12

图13
11、先合并图层,点击“菜单图层合并图层”,然后为照片增加杂色,“菜单滤镜杂色添加杂色”。
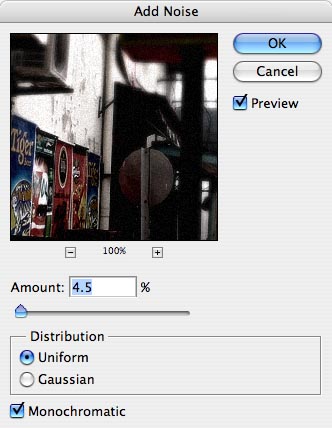
图14
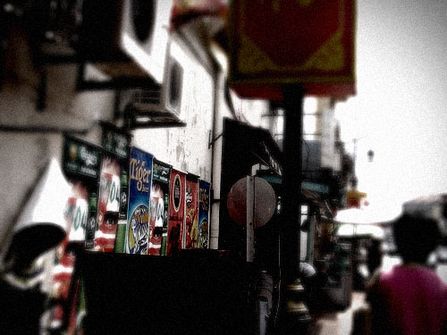
图15
12、使用矩形选框工具,在照片的顶部画矩形,然后按住shift键在底部也画同样的矩形,最后把选区填充为黑色,如下图。 当然你也可以使用“色彩平衡”工具,通过调节色彩平衡或者色调平衡,调出自己心仪的效果图片。

图16
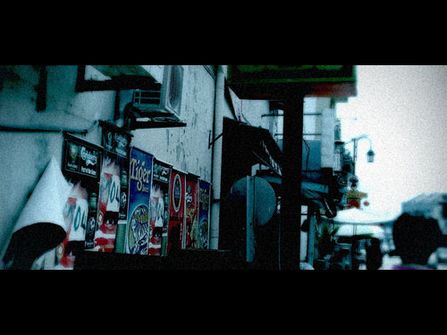
图17
上一篇:ps自由变换命令实战
下一篇:用ps制作马赛克边框特效
相关推荐

Photoshop新手入门:八招快捷操作密
photoshop调整人像照片肤色常用方
初学者想学习Photoshop的几个途径
Photoshop CS3入门:动画面板怎么打

如何用PS把浑浊的风景照片调出通透清晰

PS商业修图师对人物头发进行精修教程

如何用PS打造出明亮而有神的眼睛效果

PS商业修图给人像增强光影质感的方法介绍


