ps制作电影特效的照片
2022-12-25 23:44:59
来源/作者: /
己有:26人学习过
有时抓拍的照片未必如意,不过有强大的Photoshop,一切皆由可能。这次PS教程为大家带来Photoshop制作电影特效的照片,希望大家喜欢!
素材原图
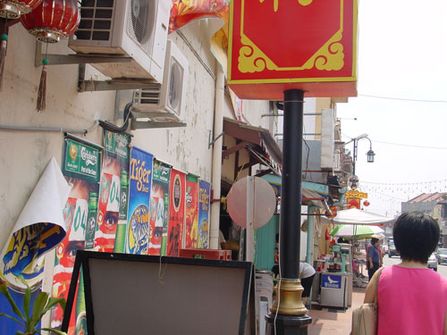
原图
最终效果图 1

效果图01
最终效果图 2
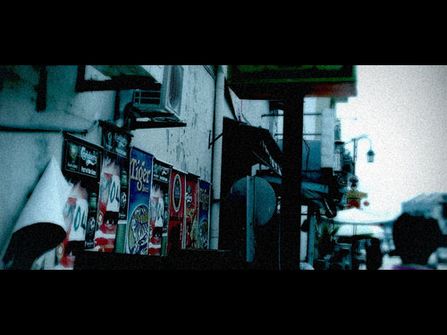
效果图02
照片调色
1、打开素材图,按crtl+u打开“色相/饱和度”窗口,饱和度为“-76”,设置如图1,效果如图02。
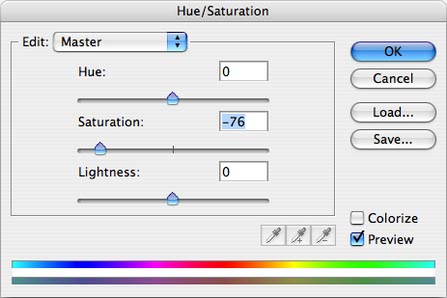
图01
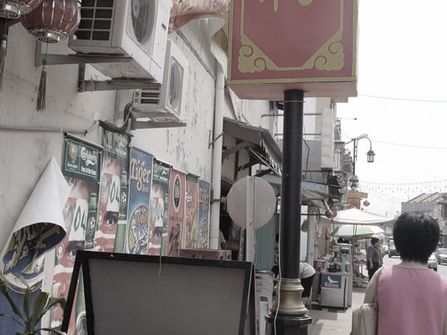
图02
2、打开“亮度/对比度”窗口,调节亮度和对比度分别为“-10”和“50”左右,设置如图03,调节后效果如图04。
图03

图04
上一篇:ps自由变换命令实战
下一篇:用ps制作马赛克边框特效
相关推荐

Photoshop新手入门:八招快捷操作密
photoshop调整人像照片肤色常用方
初学者想学习Photoshop的几个途径
Photoshop CS3入门:动画面板怎么打

如何用PS把浑浊的风景照片调出通透清晰

PS商业修图师对人物头发进行精修教程

如何用PS打造出明亮而有神的眼睛效果

PS商业修图给人像增强光影质感的方法介绍


