Photoshop效果教程:精美风景画艺术照片
2022-12-25 21:23:27
来源/作者: /
己有:29人学习过
13、将前景色设置为“白色”,按“Ctrl+Shift+I”组合键进行反选命令后,按“Alt+Delete”组合键为其填充颜色,填充后的图像效果如图12A所示:

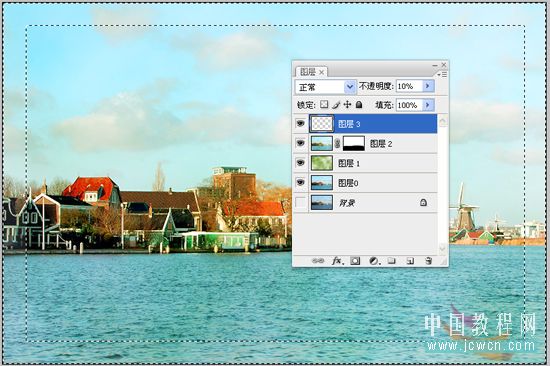
14、在图层调板中设置“不透明度”为10%,得到的图像效果如图12B所示:
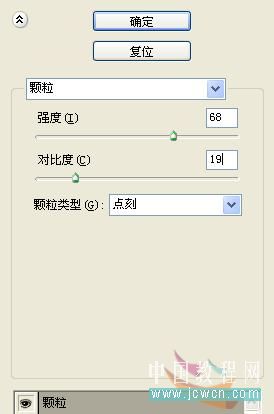
15、单击菜单栏中的“滤镜/“纹理/“颗粒”命令,在打开的对话框中设置参数,如图13所示:
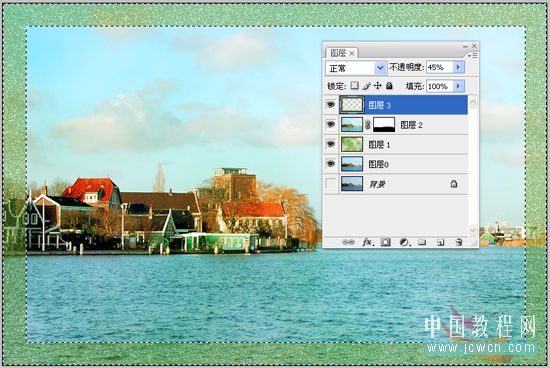
16、应用“颗粒”命令后,在图层调板中设置“不透明度”为45%,得到的图像效果如图14所示:
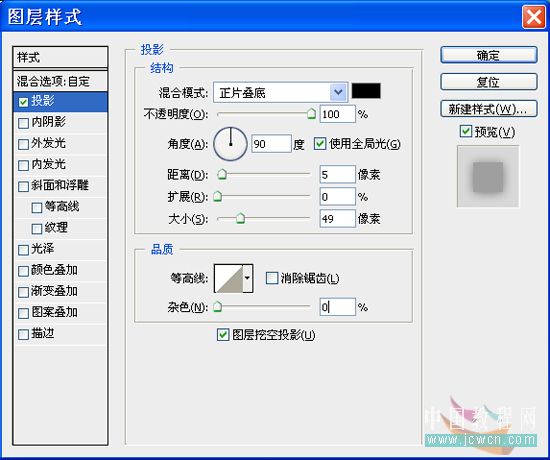
17、单击菜单栏中的“图层”/“图层样式”/“投影”命令,在打开的对话框中设置参数,如图15所示:
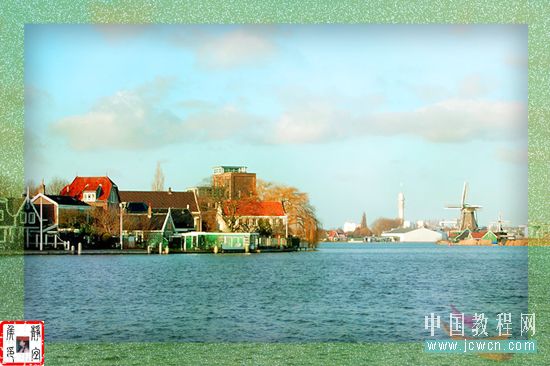
18、应用“投影”命令后,得到的图像最终效果如图16所示:
标签(TAG) 效果教程 Photoshop效果教程 精美风景 ps画艺术照片
相关推荐

ps cc中国风照片效果教程

雪花效果,制作时尚亮眼的雪花效果教

ps恶搞真人面具效果教程

ps cs6制作折纸效果教程

如何用PS把浑浊的风景照片调出通透清晰

PS商业修图师对人物头发进行精修教程

如何用PS打造出明亮而有神的眼睛效果

PS商业修图给人像增强光影质感的方法介绍


