Photoshop照片教程:梦幻的韩式风格情侣照片
2022-12-25 18:08:18
来源/作者: /
己有:14人学习过
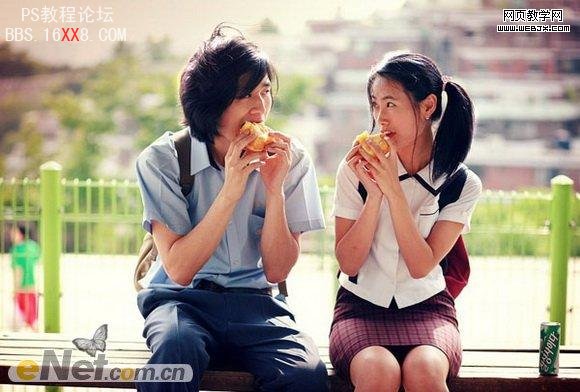
原图1
原图2

最终效果:

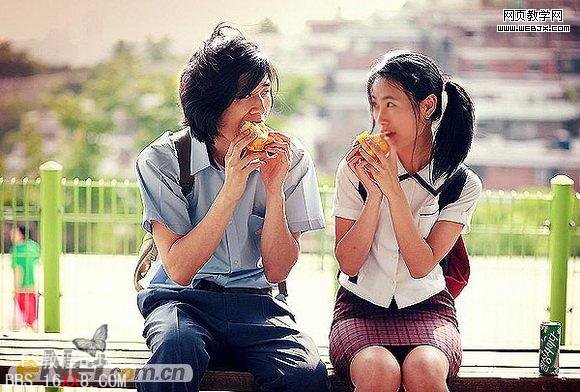
打开图片1,按CTRL+J复制一层,命名“锐化层”,选择该图层,【滤镜】->【锐化】->【锐化边缘】,按Ctrl + F再执行一次该滤镜。然后执行【滤镜】->【锐化】->【锐化】,得到效果如图
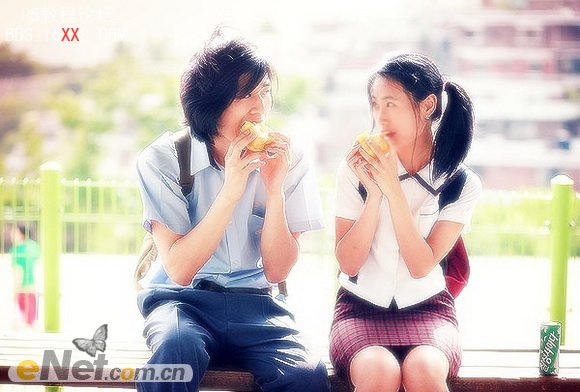
按Ctrl + J复制“锐化层”,命名为“滤色层”图层模式改为“滤色”
打开图片2,然后用【椭圆选框工具】圈出如图效果
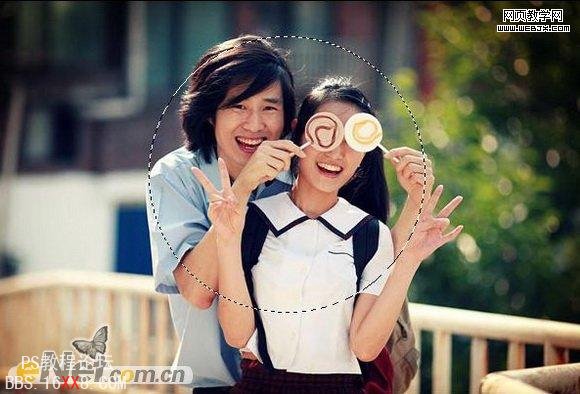
打开图片2,然后用【椭圆选框工具】圈出如图效果
打开下面的材质图片。
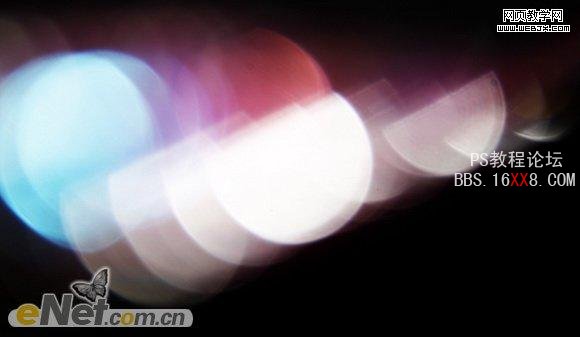
把它放在顶层,图层模式改为“滤色”,效果如图:

最后再添加上你喜欢的文字就完成了。
标签(TAG) 日韩签
相关推荐

Photoshop快速修复强光照射的非主

Photoshop通道修复偏蓝照片的方法

祁连山教你四种用photoshop优化模

卒仔:用photoshop還原真實顔色...

如何用PS把浑浊的风景照片调出通透清晰

PS商业修图师对人物头发进行精修教程

如何用PS打造出明亮而有神的眼睛效果

PS商业修图给人像增强光影质感的方法介绍


