photoshop简单制作魔幻之光
2024-01-15 17:47:16
来源/作者: /
己有:0人学习过
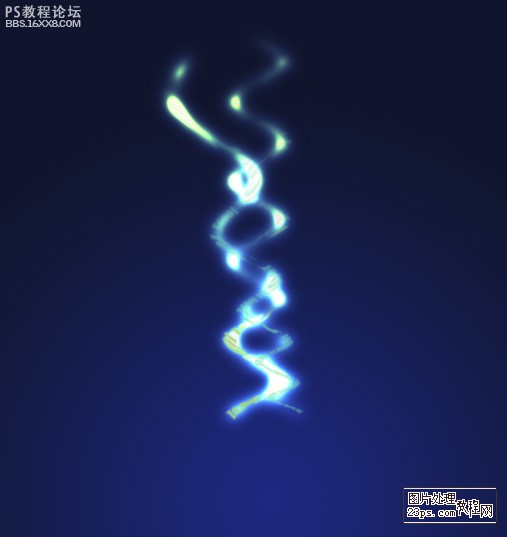
最终结果:

第1步
创造一个径向梯度渐变图层,如下图,我们制作一个从蓝到深蓝色的渐变。

第2步
放入一个水晶酷图标

第3步
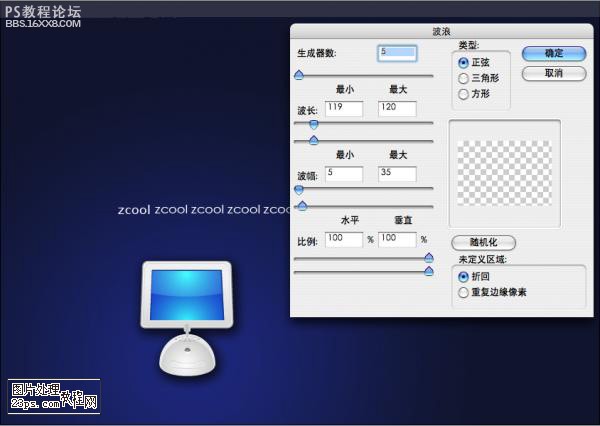
随意添加一些文本,运用滤镜扭曲/波浪工具。制造两条纹的文本。信息如下:
第4步
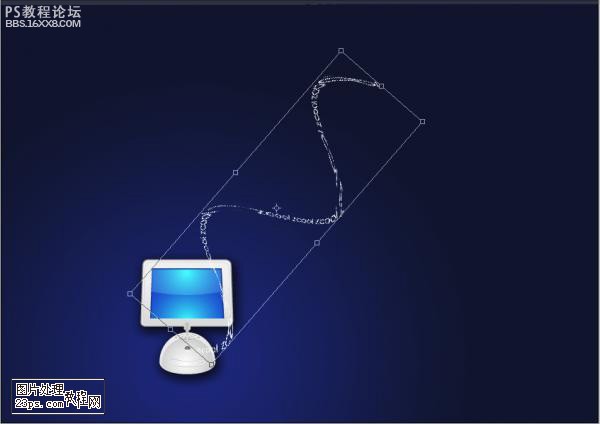
旋转和放入适当地方
第五步
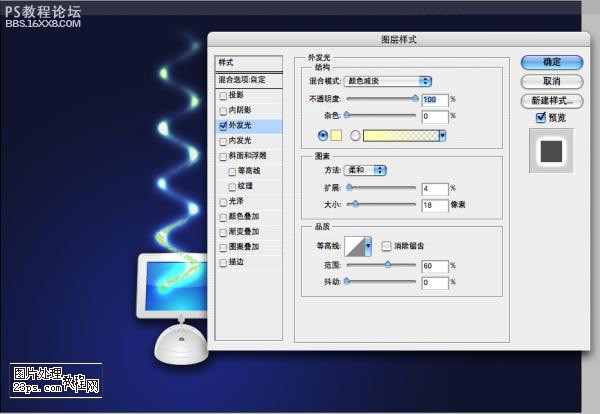
加上一些轻微发光:使用不同的数值,为每条文本调节,改变交融方式选择颜色交错。根据自己观念改变规格和范围。
第六步
在两组文本中,用遮罩,使条纹消失在末端。
第七步
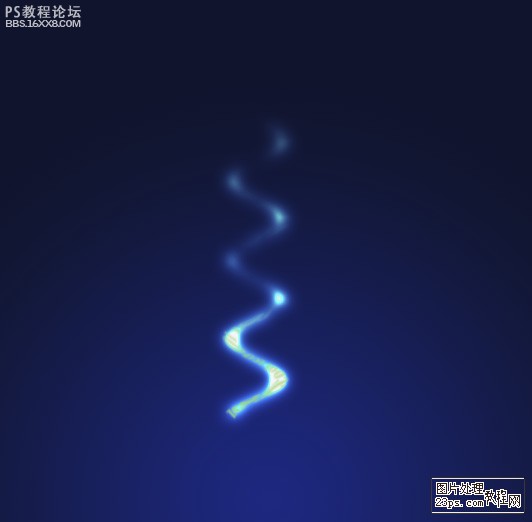
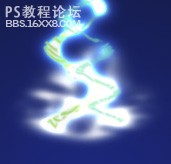
与其他组的文字运用高斯模糊。这将增加视觉运动,感觉文字在炫动一样。
第八步
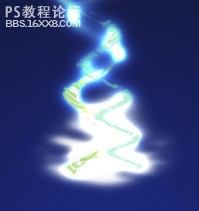
创建一个新层在文本的下面,并用毛笔刷(100px)围绕线条添加(白色)光晕 .该层必须在在文本的下面,否则不会有好效果。
第九步
用橡皮擦,擦出光晕
第10步
创造一些云雾:用特殊笔刷或云彩滤镜修饰

第11步
火花:用火花刷子制作一些动态形状,这之后,采用外发光与内发光制作神奇效果。

最终的结果
责任编辑:bbs.16xx8.com
作者: 出处:網絡
第1步
创造一个径向梯度渐变图层,如下图,我们制作一个从蓝到深蓝色的渐变。
第2步
放入一个水晶酷图标
第3步
随意添加一些文本,运用滤镜扭曲/波浪工具。制造两条纹的文本。信息如下:
第4步
旋转和放入适当地方
第五步
加上一些轻微发光:使用不同的数值,为每条文本调节,改变交融方式选择颜色交错。根据自己观念改变规格和范围。
第六步
在两组文本中,用遮罩,使条纹消失在末端。
第七步
与其他组的文字运用高斯模糊。这将增加视觉运动,感觉文字在炫动一样。
第八步
创建一个新层在文本的下面,并用毛笔刷(100px)围绕线条添加(白色)光晕 .该层必须在在文本的下面,否则不会有好效果。
第九步
用橡皮擦,擦出光晕
第10步
创造一些云雾:用特殊笔刷或云彩滤镜修饰
第11步
火花:用火花刷子制作一些动态形状,这之后,采用外发光与内发光制作神奇效果。
最终的结果
责任编辑:bbs.16xx8.com
作者: 出处:網絡
上一篇:ps关于中性灰的正确性论述
相关推荐

新手教程,如何排版

photoshop新手教程:笔刷应用实例

Photoshop新手教程:各种形状工具绘

Photoshop新手教程:外挂滤镜的安装

PS如何制作人物照片中的逼真影子效

PS如何快速替换衣服颜色

漫画图片,PS鼠绘科幻场景美女特警漫画图片教程

头像照片精细化磨皮润色的PS技巧