photoshop如何制作黑色汽泡
2023-12-09 17:48:34
来源/作者: /
己有:1人学习过
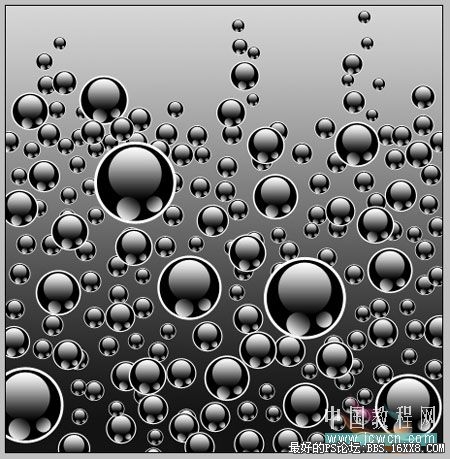
先看下效果吧
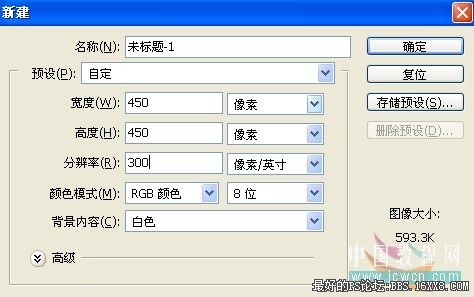
一、新建一个450*450,分辨率300的新文件
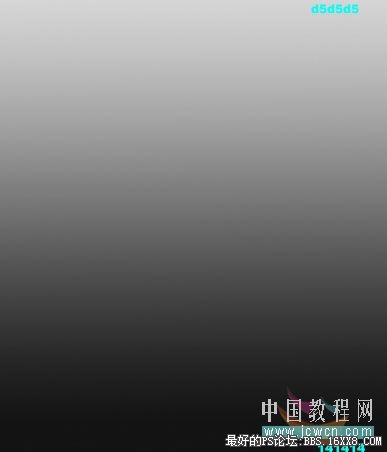
二、选择渐变填充工具

颜色设置为:#141414/#d5d5d5,在画布上拉出如图效果
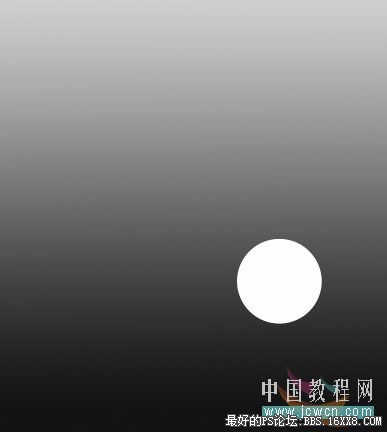
三、新建一层,命名“白圆”,选择椭圆形状工具

按住Shift键画一个白色的正圆,(注意选择形状图层),效果如图

一、新建一个450*450,分辨率300的新文件
二、选择渐变填充工具
颜色设置为:#141414/#d5d5d5,在画布上拉出如图效果
三、新建一层,命名“白圆”,选择椭圆形状工具
按住Shift键画一个白色的正圆,(注意选择形状图层),效果如图
标签(TAG) 新手教程 气泡 泡泡制作 学photoshop
下一篇:配色技巧,分享一下配色理论
相关推荐

photoshop入门实例:高光透明气泡

Photoshop新手教程:绘图类工具的使

photoshop新手教程:ps常用术语的意

Photoshop绘卡通三维鲨鱼:定义Phot

PS如何制作人物照片中的逼真影子效

PS如何快速替换衣服颜色

漫画图片,PS鼠绘科幻场景美女特警漫画图片教程

头像照片精细化磨皮润色的PS技巧


