photoshop制作新春佳节的焰火
2023-11-30 17:41:43
来源/作者: /
己有:0人学习过
效果:

效果图 下面开始制作步骤:
1、新建一个图层,填充以下颜色。
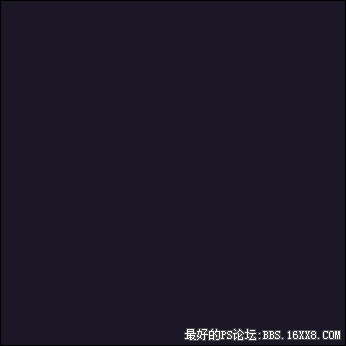
图1 2、我们先制作火焰迸射的效果。选择钢笔工具,注意要在顶部的属性栏选择"路径",要不画出来就是实体了~~~如下图所示:

图2 3、用钢笔工作在画布上图画一下简单的效果图:
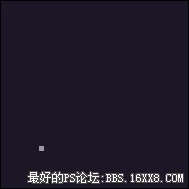
图3
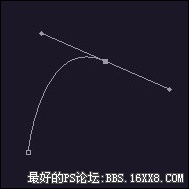
图4 4、选择画笔工具,我们设置一下画笔的选项。先选择一个3像素的画笔,然后"动态形状"属性设置如下:
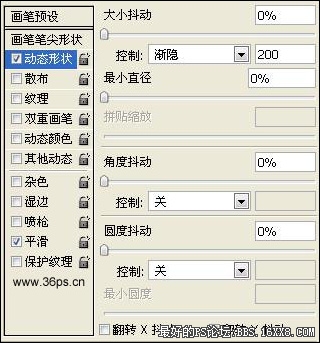
图5
效果图 下面开始制作步骤:
1、新建一个图层,填充以下颜色。
图1 2、我们先制作火焰迸射的效果。选择钢笔工具,注意要在顶部的属性栏选择"路径",要不画出来就是实体了~~~如下图所示:
图2 3、用钢笔工作在画布上图画一下简单的效果图:
图3
图4 4、选择画笔工具,我们设置一下画笔的选项。先选择一个3像素的画笔,然后"动态形状"属性设置如下:
图5
标签(TAG) 新手教程 学photoshop
相关推荐

photoshop新手教程:ps常用术语的意

Photoshop新手教程:样式的安装和使

Photoshop新手教程:绘图类工具的使

Photoshop新手教程:如何使用网上下

PS如何制作人物照片中的逼真影子效

PS如何快速替换衣服颜色

漫画图片,PS鼠绘科幻场景美女特警漫画图片教程

头像照片精细化磨皮润色的PS技巧


