photoshop怎样做黑色水晶球
2023-10-22 17:49:29
来源/作者: /
己有:3人学习过
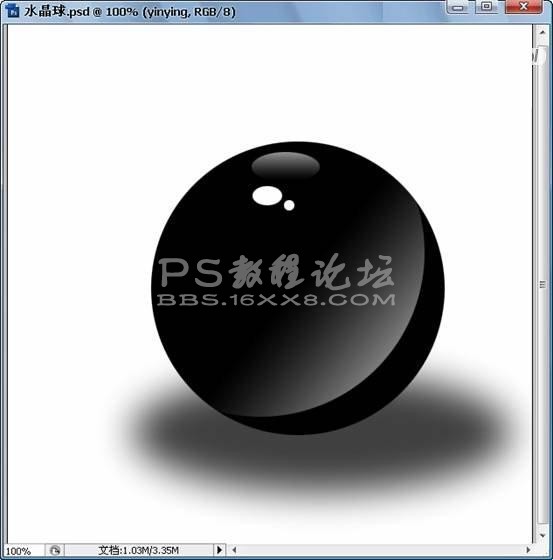
第八步:新建一层,命名为【阴影】,调整图层顺序将其移动到【球体】的下面,并使用黑色填充选区,然后将图层的不透明度改为75%,效果如下图所示。
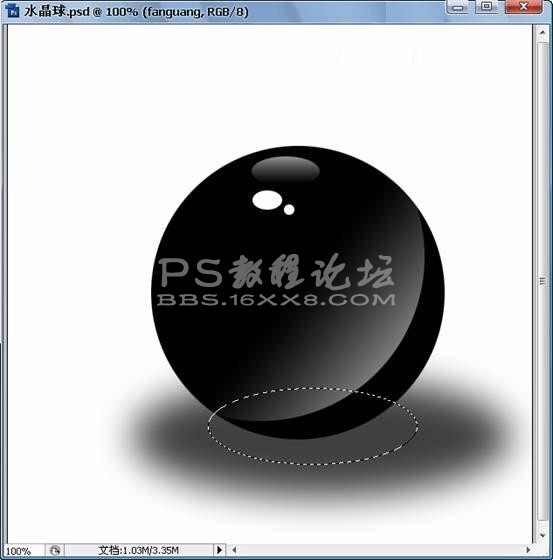
第九步:使用【椭圆选框工具】绘制如下图所示的选区,然后执行【选择—修改—羽化】命令,羽化半径为8像素。
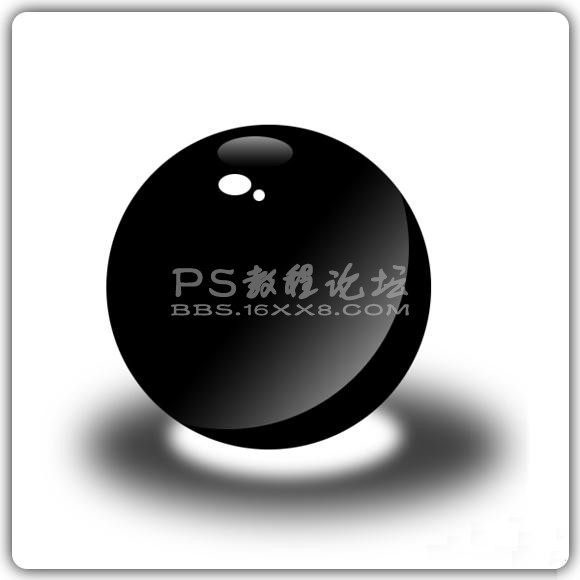
最终效果:
第九步:使用【椭圆选框工具】绘制如下图所示的选区,然后执行【选择—修改—羽化】命令,羽化半径为8像素。
最终效果:
标签(TAG) 新手教程 做球体 学photoshop
相关推荐

Photoshop新手教程:图案的安装和使

PS新手教程:ps怎么新建图像

photoshop新手教程:简单抽丝新思路

ps新手教程:如何新建图层

PS如何制作人物照片中的逼真影子效

PS如何快速替换衣服颜色

漫画图片,PS鼠绘科幻场景美女特警漫画图片教程

头像照片精细化磨皮润色的PS技巧


