合成创意裂开花朵人像照片的PS教程
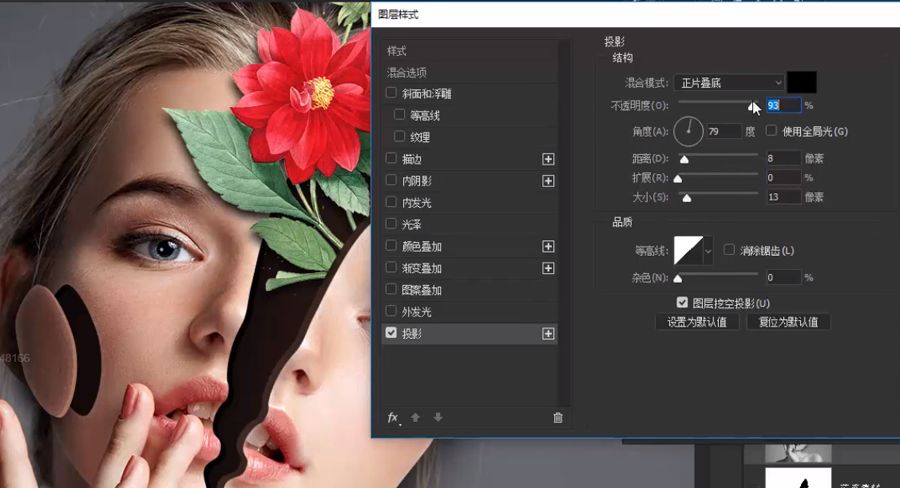
接着自然是要给花卉添加投影,来让画面更自然
然后因为花卉是在右侧脸下方的,所以还要在交界处让花卉的部分深一些

这里新建一个图层,使用同样的方式获得右侧脸选区,然后按键盘上的Ctrl+Shift+I反选
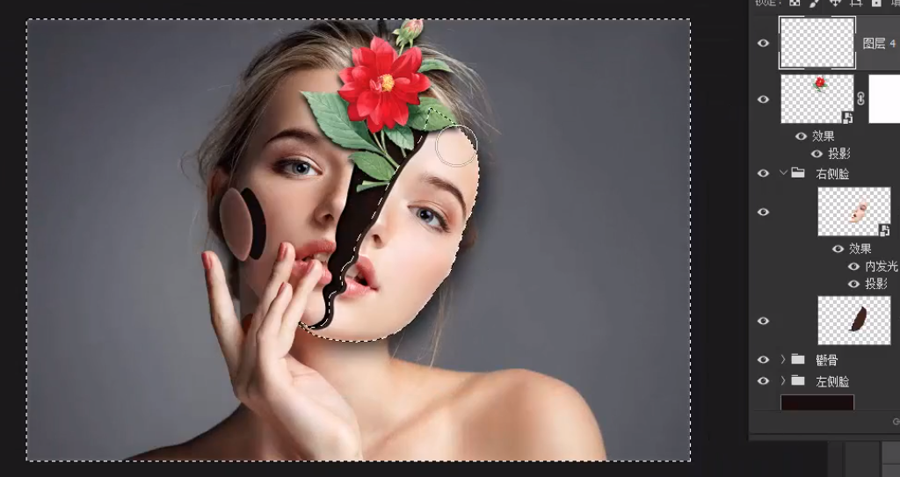
然后在新图层上使用黑色柔边画笔,绘制一下阴影

如果太黑了也可以将图层不透明度调低一些,这样就完成了一朵花的置入
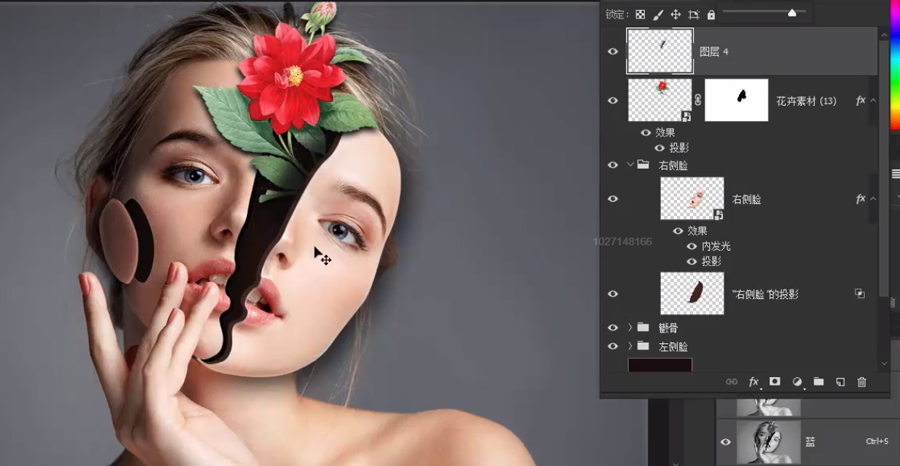
还是非常简单的,其他的花卉也使用类似的方式加入就可以了

无论在哪里加入多少花卉,只要处理好各个位置上的投影,就能达到比较自然的效果
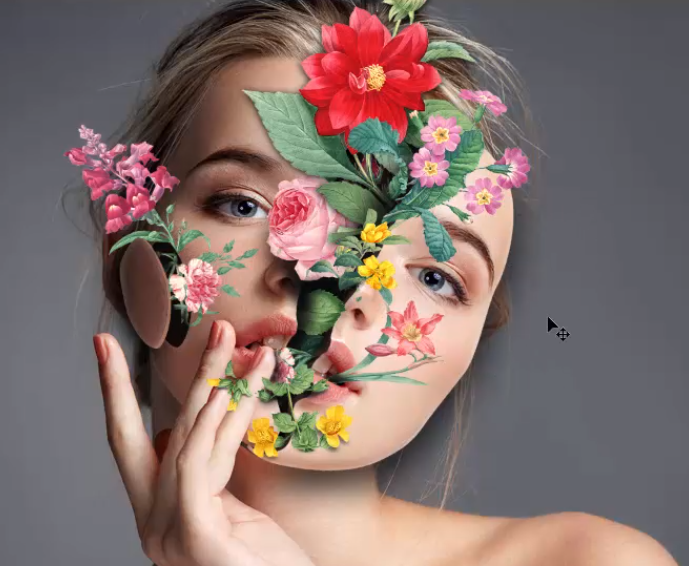

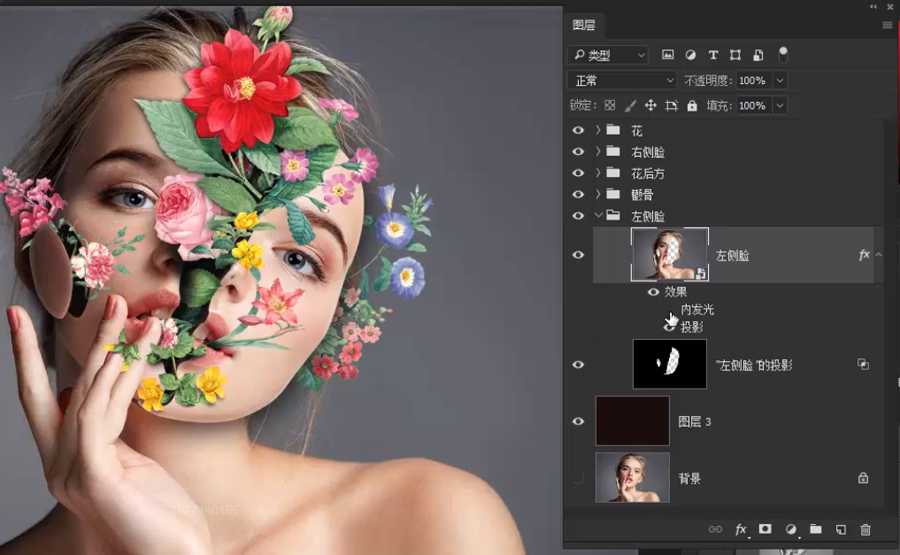
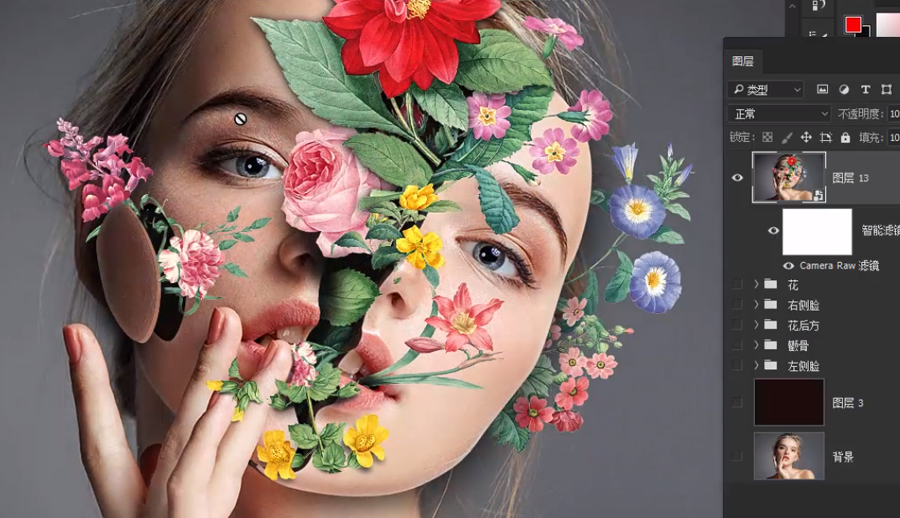
4、完成花卉的添加后我们进入到最后一步
画面的整体调整,首先将图层改群组的群组,让图层面板看起来更简洁明了
接着要对整个画面的色调和锐度进行一个调整,这里要使用到camera raw功能,我们选中花图层组,按Ctrl+Shift+Alt+E将所有可见图层盖印到新图层
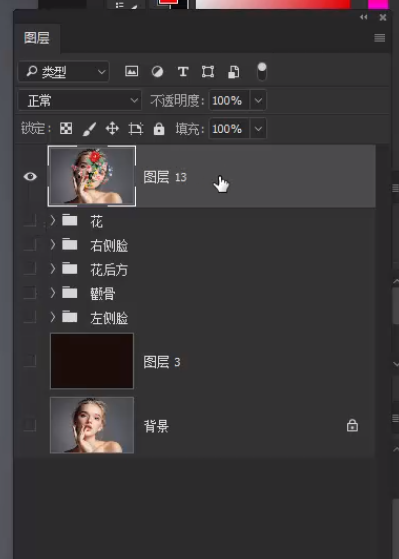
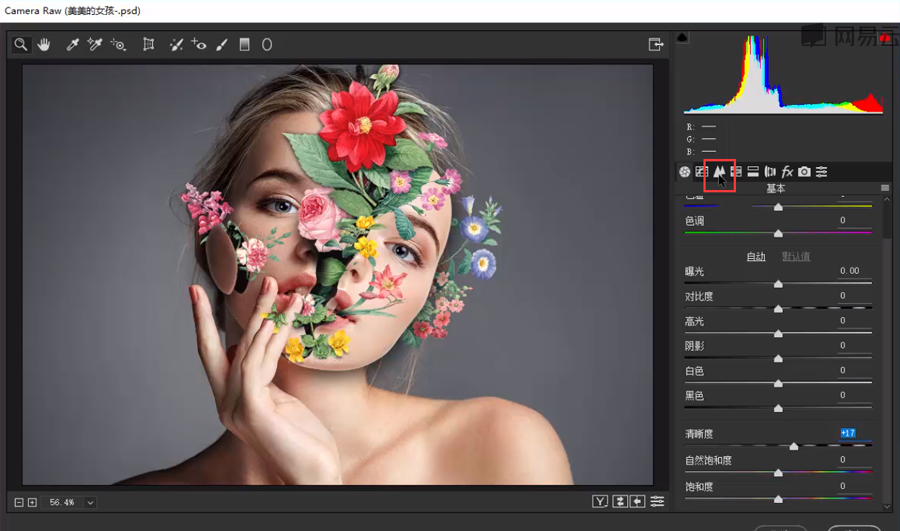
右键这个图层-转换为智能对象图层,变为智能对象后使用camera raw滤镜


首先我们提高一些清晰度,也就是对画面做一个锐化,接着点击细节,将它的细节也进行一些锐化
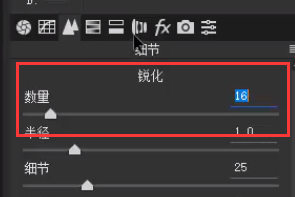
再为图片添加一个暗角效果

完成后我们发现有些部分是不需要锐化的
相关推荐

PS美女人像皮肤修饰教程:给时尚大片

PS人像去眼袋教程:简单两步给美女

PS高低频磨皮教程:学习后期给商业美

PS磨皮教程:用多种方法给高清欧美美

合成行驶在梦幻森林中火车照片的PS教程

合成恐怖灵异双重曝光头像照片的PS教程

PS合成明亮夜色下的天使白狼场景图片

战争海报,PS合成战争电影主题海报图片设计教程


