photoshop合成实例教程:城市中的洪水
2022-12-26 00:56:53
来源/作者: /
己有:40人学习过
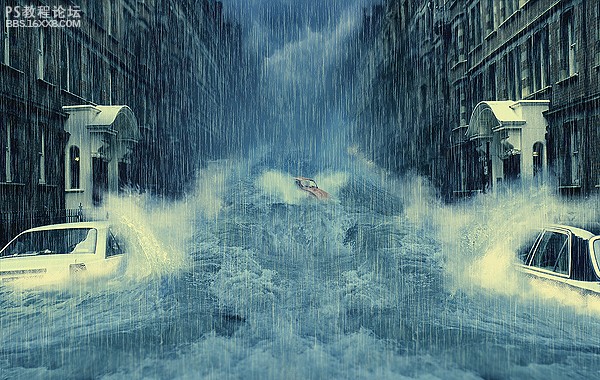
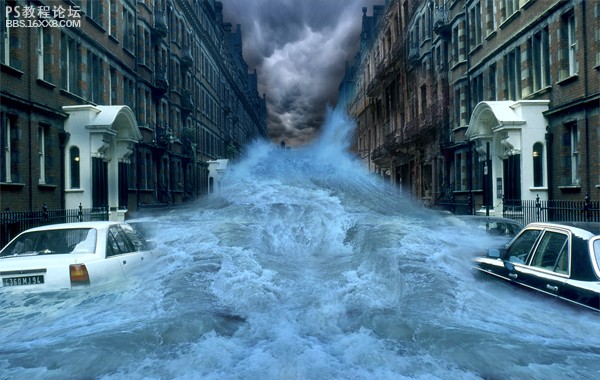
先看最终效果
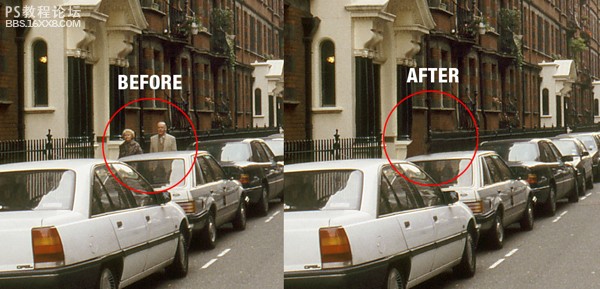
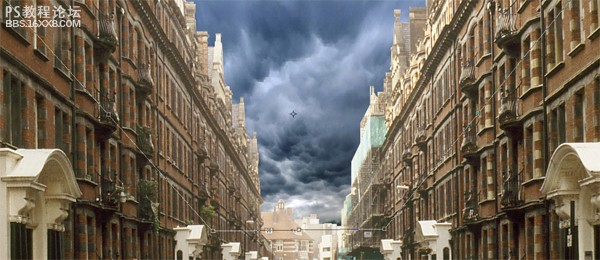
首先我们找到一幅城市图片:

之后我们局部放大,然后使用克隆图章工具,设置好柔角,然后去掉人物。
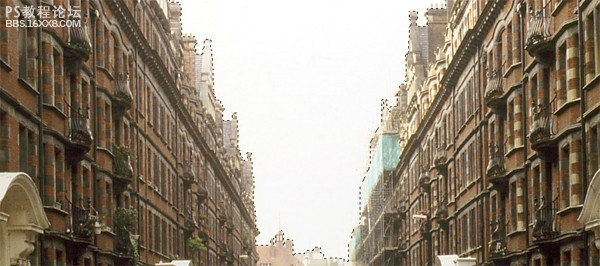
,然后用多边形套索工具把图片中的天空选中,然后按DELETE键删除天空,之后把我们的新天空(乌云)换进来。
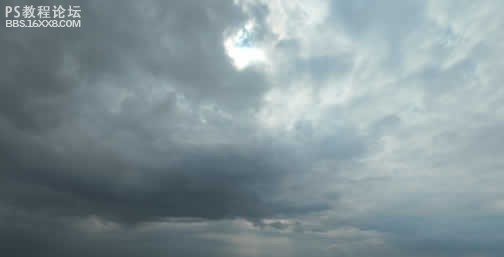
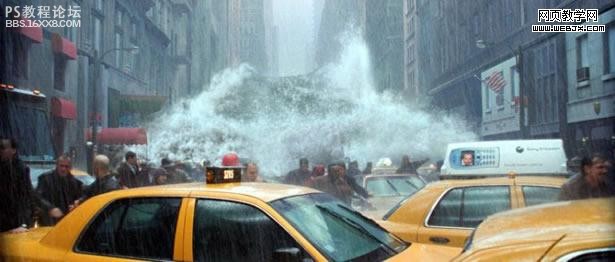
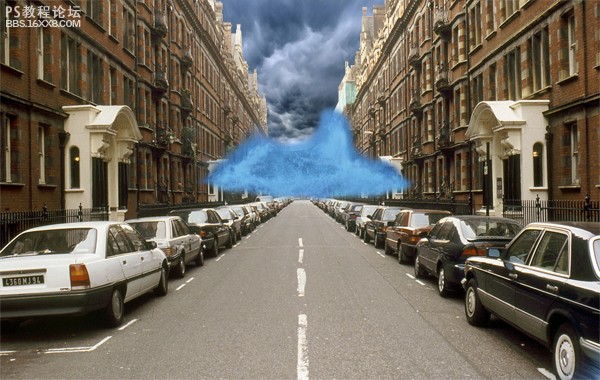
我们找到一幅暴风雨天空的图片,然后置换进来,我们可以按Ctrl+T进行变换,直到合适为止。
效果如下
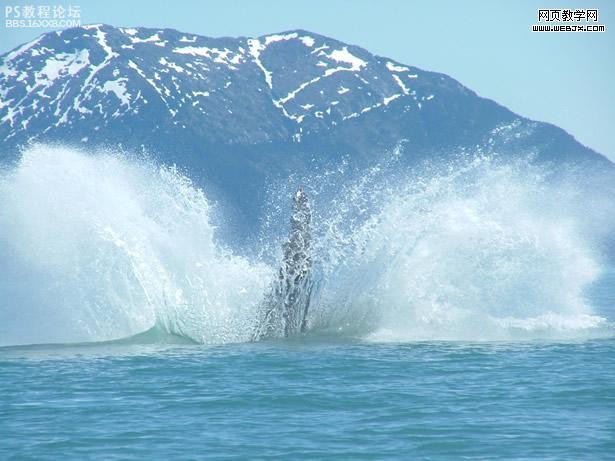
,现在看上去效果并不是怎么好看,下面我们再找一个波浪的图片,然后放到图片的中间,我们用一个大的柔笔刷删除掉不需要的部分。
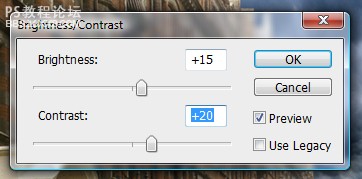
然后调整亮度和对比度。
调整色相和饱和度,设置如下。
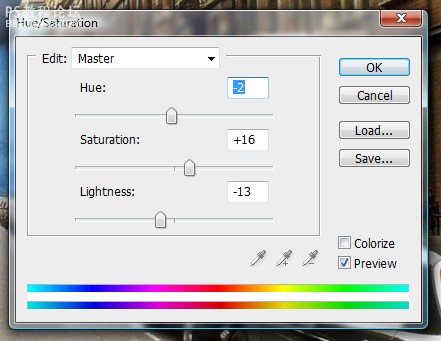
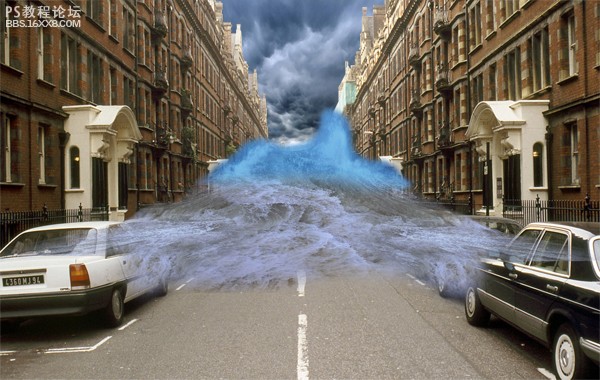
这时效果如下。
,为了使效果更加好,我们需要添加一些大水的图片,这里提供给大家一个地址:water files需要都下载下来了,然后用橡皮擦擦去自己不需要的部分,然后复制几次图层,调整水的位置,达到如下效果。好像大水冲出了一样。

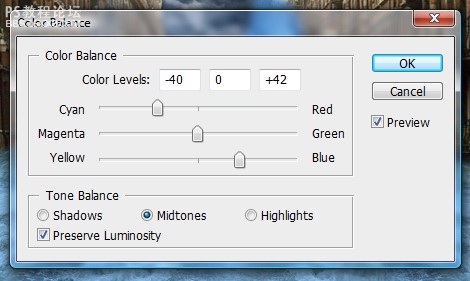
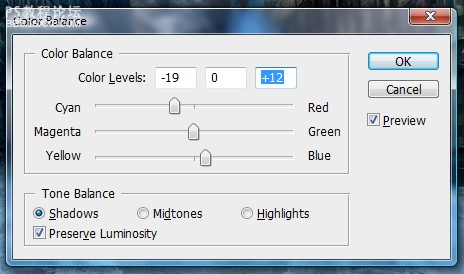
,现在我们把大水所有的图层都合并,然后调整色彩平衡。
然后我们先隐藏水层,我们使用加深工具加深背景图片中的暴风雨天空添加高光,使之黑暗下来。

为了添加一些特殊效果,我们打开素材

然后使用柔的橡皮擦擦除不需要的部分,效果如下。

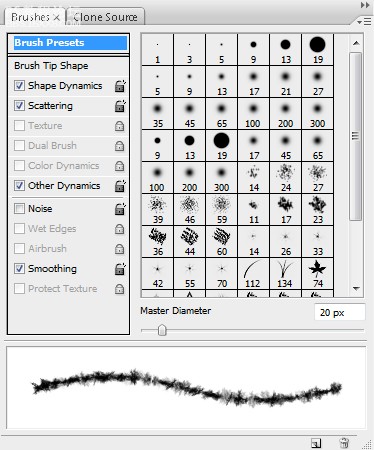
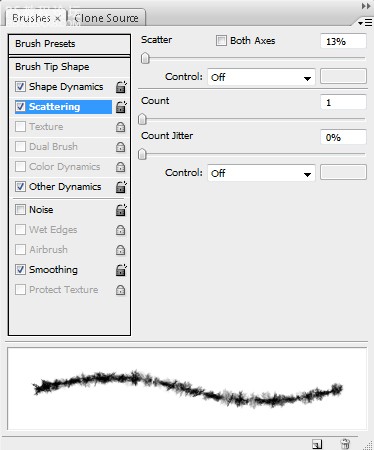
,然后我们回到大水图层来,我们使用涂抹工具,画笔设置如下。
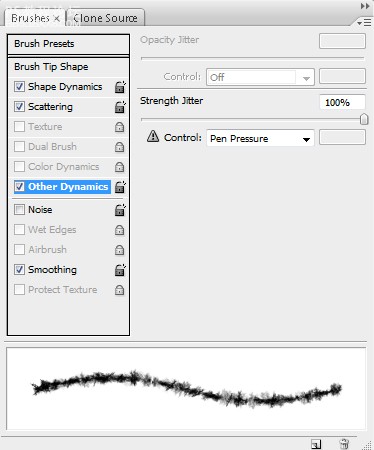
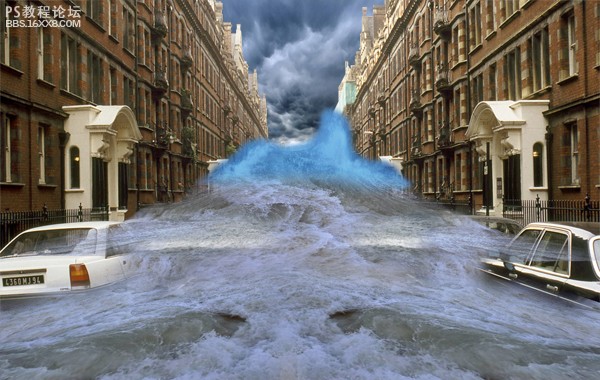
然后涂抹大水图层的一些边缘,达到下面的效果。

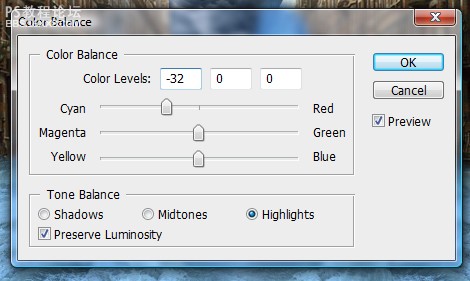
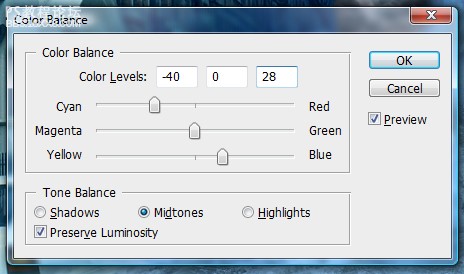
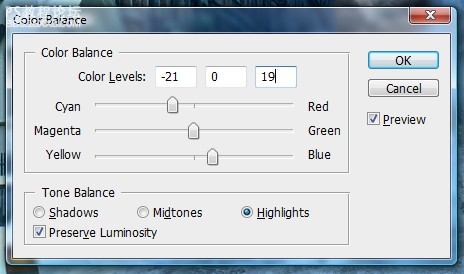
,然后我们选择背景图层,调整色彩平衡,设置如下。
效果如下。
,下面我们使大水更加真实,我们还需要设置从房子里面出来的大水,这里我们准备好了两个素材。
首先我们找到一幅城市图片:
之后我们局部放大,然后使用克隆图章工具,设置好柔角,然后去掉人物。
,然后用多边形套索工具把图片中的天空选中,然后按DELETE键删除天空,之后把我们的新天空(乌云)换进来。
我们找到一幅暴风雨天空的图片,然后置换进来,我们可以按Ctrl+T进行变换,直到合适为止。
效果如下
,现在看上去效果并不是怎么好看,下面我们再找一个波浪的图片,然后放到图片的中间,我们用一个大的柔笔刷删除掉不需要的部分。
然后调整亮度和对比度。
调整色相和饱和度,设置如下。
这时效果如下。
,为了使效果更加好,我们需要添加一些大水的图片,这里提供给大家一个地址:water files需要都下载下来了,然后用橡皮擦擦去自己不需要的部分,然后复制几次图层,调整水的位置,达到如下效果。好像大水冲出了一样。
,现在我们把大水所有的图层都合并,然后调整色彩平衡。
然后我们先隐藏水层,我们使用加深工具加深背景图片中的暴风雨天空添加高光,使之黑暗下来。
为了添加一些特殊效果,我们打开素材
然后使用柔的橡皮擦擦除不需要的部分,效果如下。
,然后我们回到大水图层来,我们使用涂抹工具,画笔设置如下。
然后涂抹大水图层的一些边缘,达到下面的效果。
,然后我们选择背景图层,调整色彩平衡,设置如下。
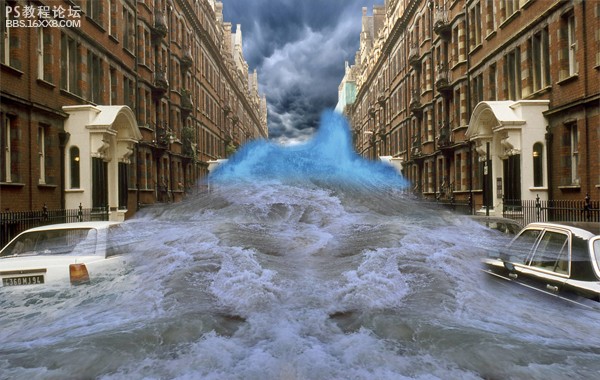
效果如下。
,下面我们使大水更加真实,我们还需要设置从房子里面出来的大水,这里我们准备好了两个素材。
相关推荐

PS照片合成火焰天使图片

ps照片合成三个炮筒的坦克车

ps照片合成山谷中小村场景

ps照片合成岸边女孩

合成行驶在梦幻森林中火车照片的PS教程

合成恐怖灵异双重曝光头像照片的PS教程

PS合成明亮夜色下的天使白狼场景图片

战争海报,PS合成战争电影主题海报图片设计教程


