四种PS抠图完全攻略教程
5、我们可以隐藏副本3和背景层,设置副本1和2的模式为“滤色”,观看一下效果怎样: 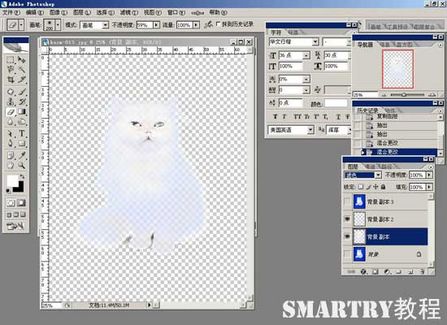 6、拖进一个背景图片,再观看一下效果。
 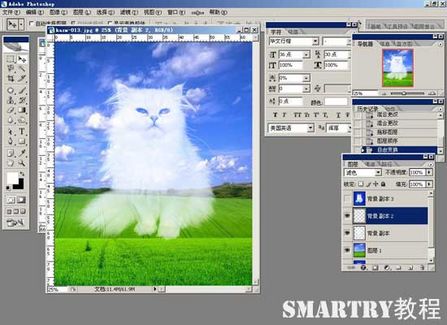 7、为副本3添加蒙版,再用画笔工具进行涂抹,注意选择柔和笔头。
 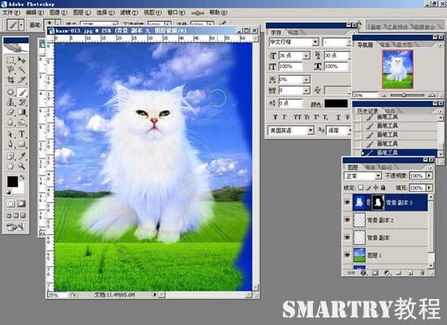 8、右击蒙版缩略图,选择“应用图层蒙版”。
 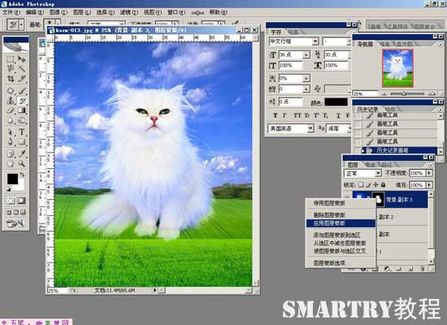 9、图像/调整/替换颜色,把淡蓝色替换成白色。
 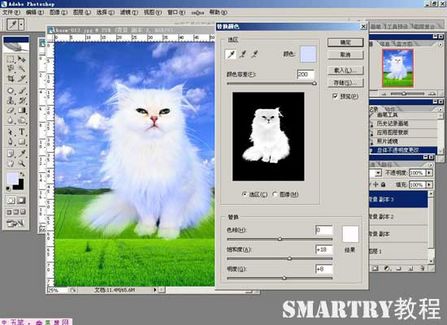 10、多次替换颜色,进行细微处调整,得到最终效果图。
  方法二:通道+历史记录画笔工具
 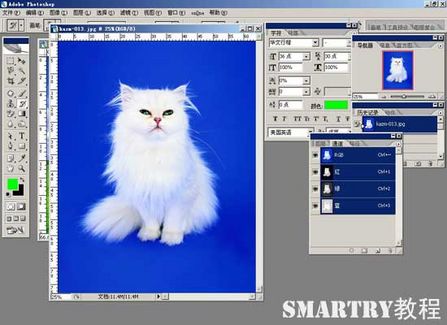 2、新建三层,分别命名R、G、B。
 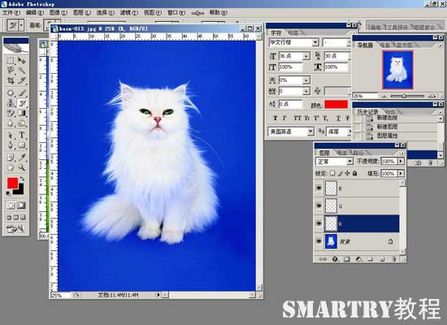 3、在通道面板,按住Ctrl单击红色通道,载入选区。
  4、回到图层面板,在R层填充红色(R255)。
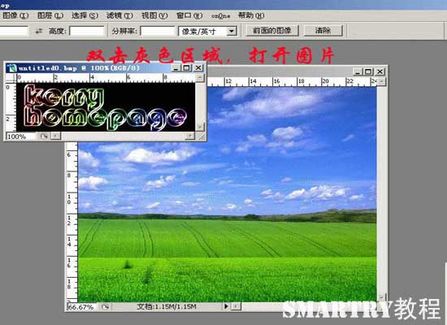
6、拖进一个背景图片,再观看一下效果。 7、为副本3添加蒙版,再用画笔工具进行涂抹,注意选择柔和笔头。 8、右击蒙版缩略图,选择“应用图层蒙版”。 9、图像/调整/替换颜色,把淡蓝色替换成白色。 10、多次替换颜色,进行细微处调整,得到最终效果图。 方法二:通道+历史记录画笔工具 1、打开图片
2、新建三层,分别命名R、G、B。 3、在通道面板,按住Ctrl单击红色通道,载入选区。 4、回到图层面板,在R层填充红色(R255)。 相关推荐

一起来学习PS魔棒(魔术棒)抠图原理
四种PS抠图完全攻略教程

Photoshop通道抠图入门通俗讲解

PS怎么用通道抠出超细头发教程


