PS应用阴影和高光修复逆光照教程
2022-12-26 01:44:46
来源/作者: /
己有:21人学习过
隐藏图层1,选择背景图层,点击建立调整图层按钮,选择色阶,
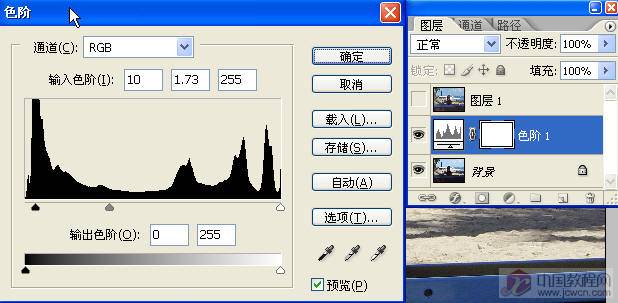
调整效果如下,建立快照2

大家想想,主体偏暗,背景偏亮,是否还有别的方法调整?图层蒙板,强大的修饰手法!把前面的图层1删除,
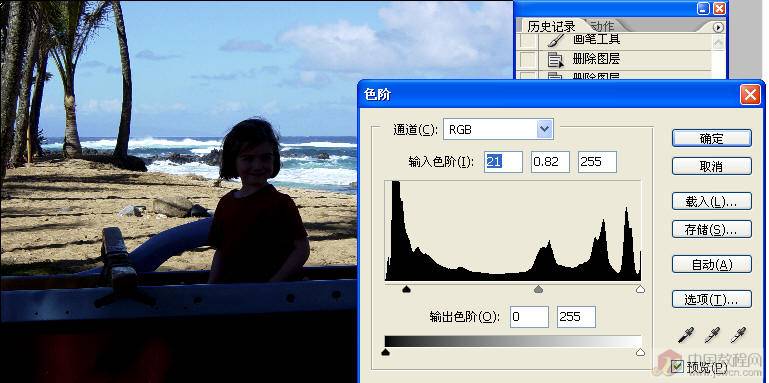
调整图层删除,没关系,我们建立了快照!再次复制背景图层,选择图层1,点击图像菜单,选择色阶命令调整如下
主要目的在于把人物调亮!

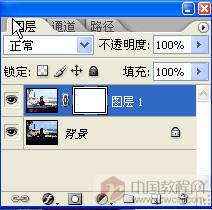
隐藏图层1,选择背景图层,按ctrl+l.打开色阶,设置如下,主要目的在于把背景部分调暗!
选择图层1,按图层面板现面的添加图层蒙板,
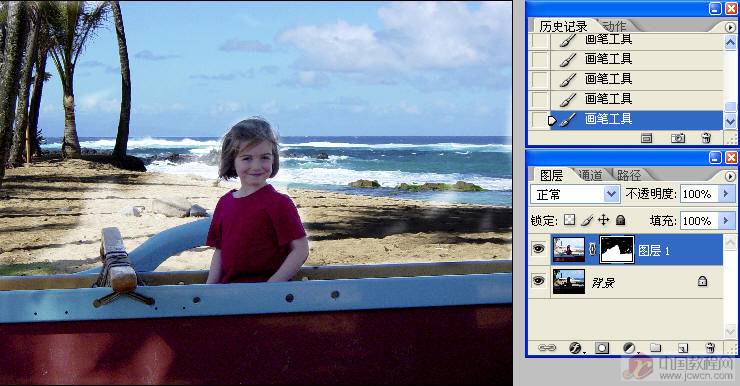
选择画笔工具,前景色设为黑色,调整画笔的大小,柔度,
在图像上涂抹,不要涂抹人物,注意光线投影的方向!
相关推荐

浅谈色相模式原理:修复偏绿色图片

PS用计算选区进行分区锐化方法

Photoshop修复偏青色的照片

photoshop修复教程:Lab模式还原雪

一起来学习PS魔棒(魔术棒)抠图原理
四种PS抠图完全攻略教程

Photoshop通道抠图入门通俗讲解

PS怎么用通道抠出超细头发教程


