photoshop教程:校正灰暗偏色照片
2022-12-26 02:11:14
来源/作者: /
己有:24人学习过
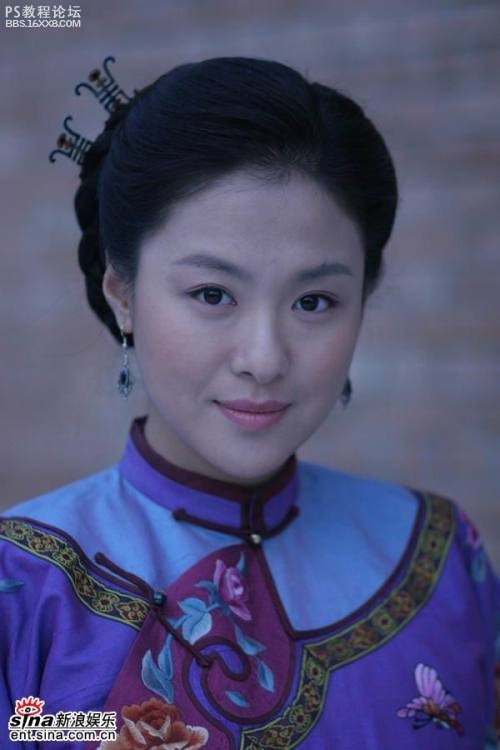
原图
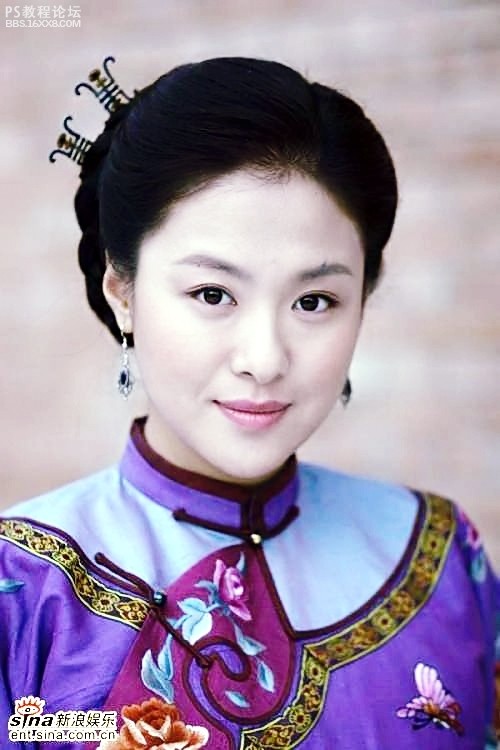
效果图
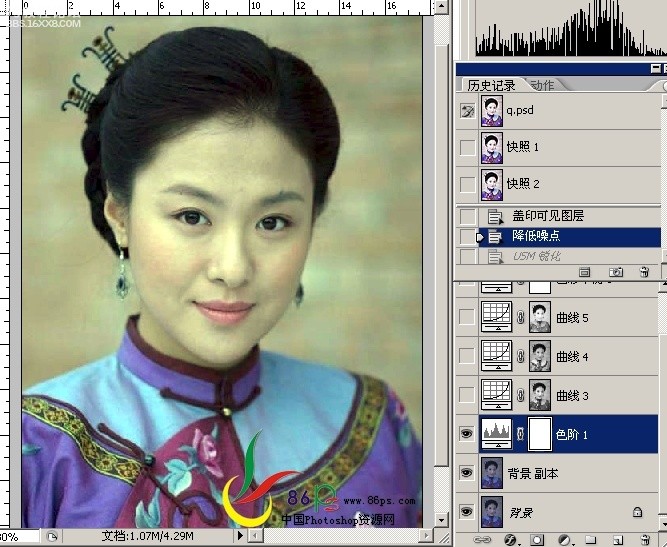
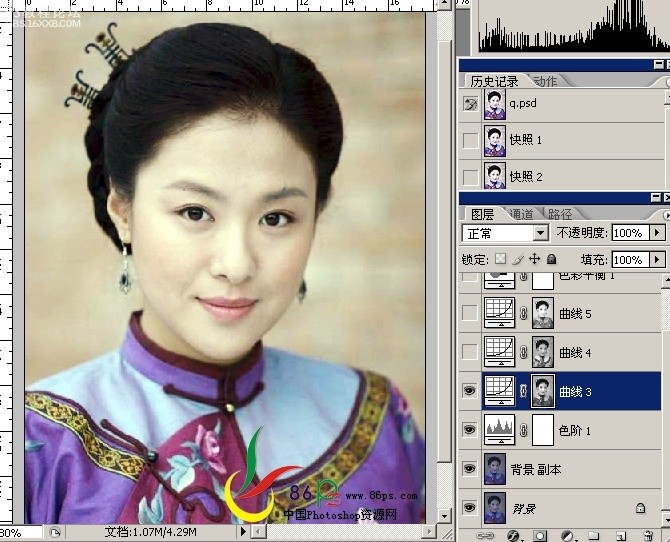
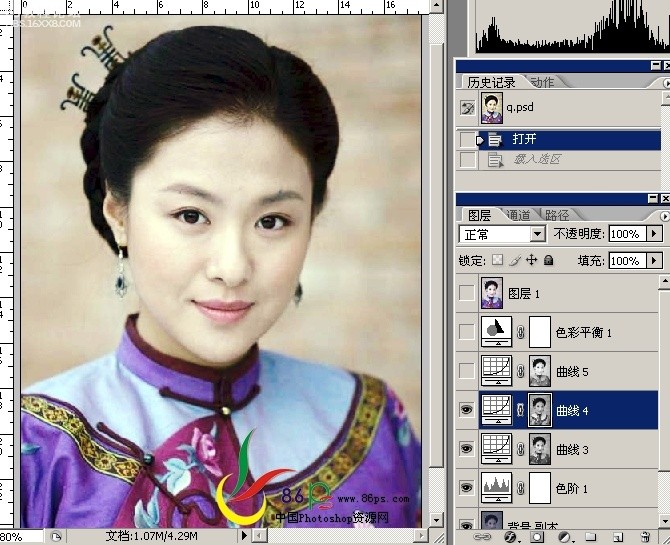
,1、用photoshop打开原图,复制一层,建色阶调整层。
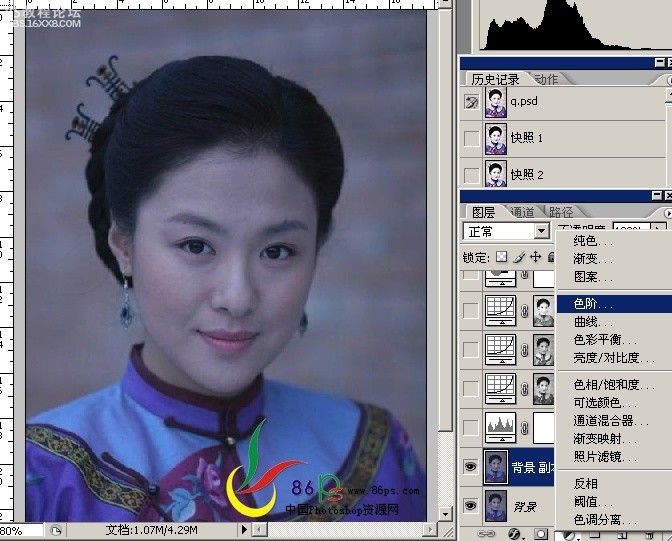
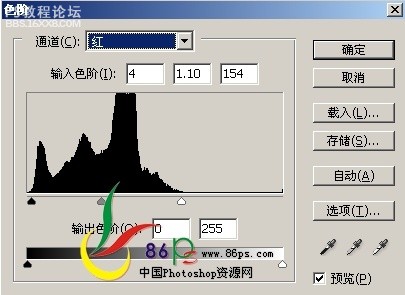
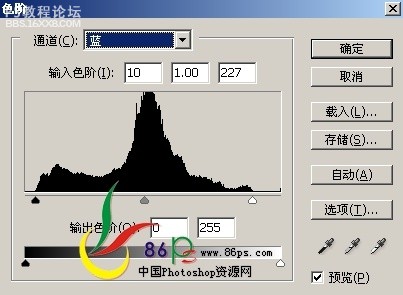
2、调整色阶如下:RGB通道:
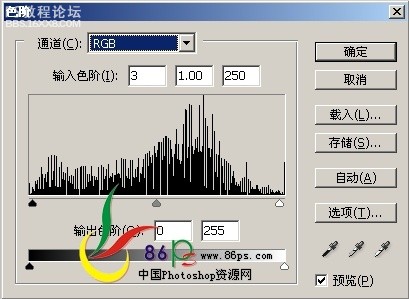
红通道:
绿通道:

蓝通道:
调完后效果如下:
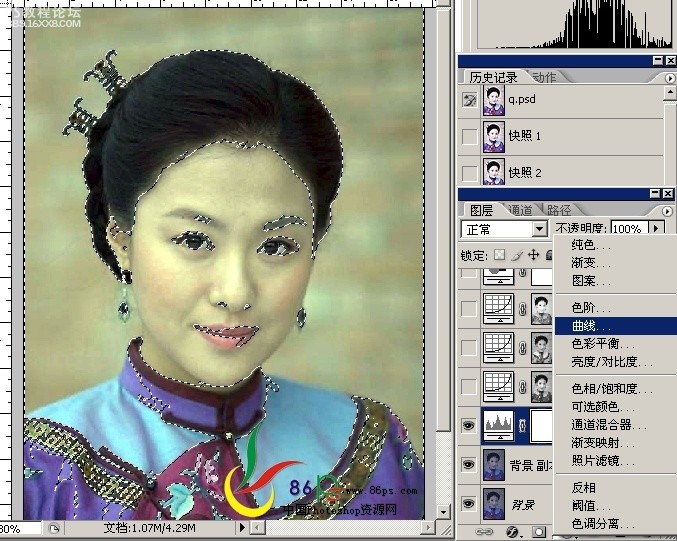
,3、转到通道面板,按住Ctrl键点击绿通道的缩略图载入选区。

4、回到图层面板,建曲线调整层。
调整曲线如下:RGB通道:
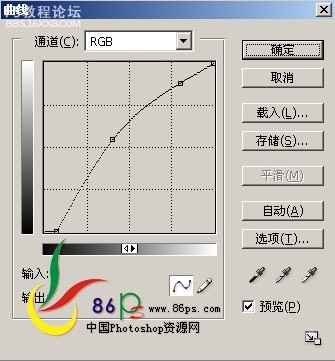
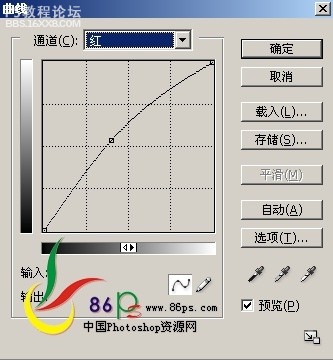
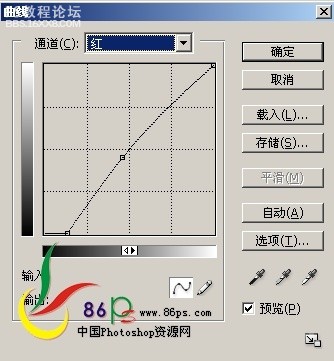
红通道:
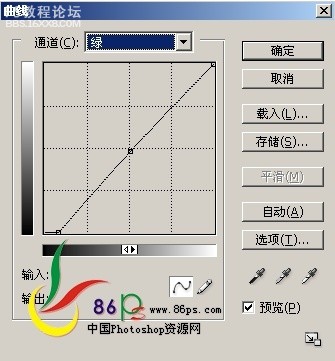
绿通道:
蓝通道:

绿通道调完,效果如下:
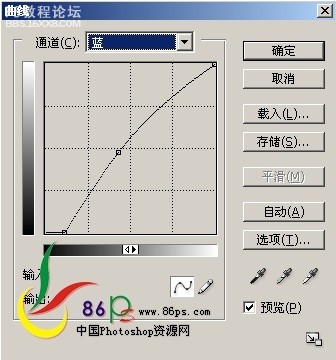
,5、同前面一样,转到通道面板,载入蓝通道的选区,回到图层面板建曲线调整层,调整如下:RGB通道:

红通道:
绿通道:
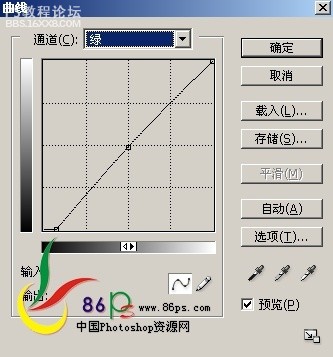
蓝通道:
蓝通道调完,效果如下:
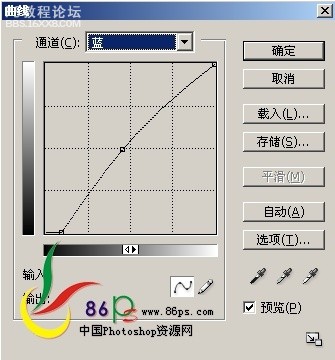
,6、同前面一样,转到通道面板,载入红通道的选区,回到图层面板建曲线调整层,调整如下:红通道:

蓝通道:
红通道调完,效果如下:
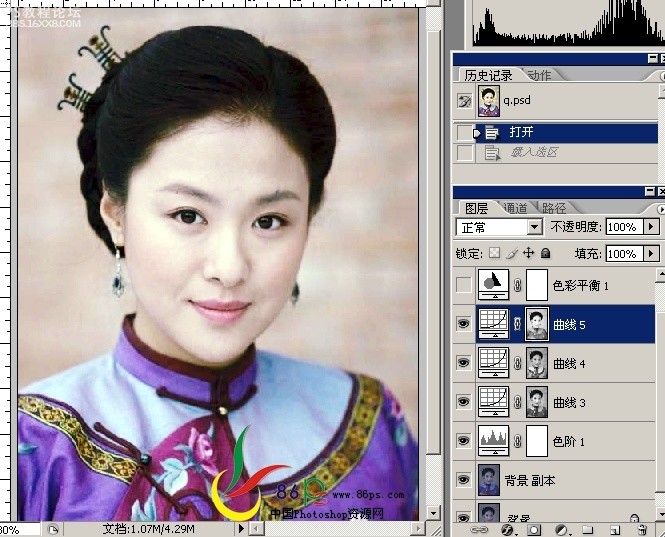
效果图
,1、用photoshop打开原图,复制一层,建色阶调整层。
2、调整色阶如下:RGB通道:
红通道:
绿通道:
蓝通道:
调完后效果如下:
,3、转到通道面板,按住Ctrl键点击绿通道的缩略图载入选区。
4、回到图层面板,建曲线调整层。
调整曲线如下:RGB通道:
红通道:
绿通道:
蓝通道:
绿通道调完,效果如下:
,5、同前面一样,转到通道面板,载入蓝通道的选区,回到图层面板建曲线调整层,调整如下:RGB通道:
红通道:
绿通道:
蓝通道:
蓝通道调完,效果如下:
,6、同前面一样,转到通道面板,载入红通道的选区,回到图层面板建曲线调整层,调整如下:红通道:
蓝通道:
红通道调完,效果如下:
上一篇:ps:USM锐化详解
下一篇:清除杂物,ps清除杂物教程
相关推荐

Photoshop曲线调图:校正灰蒙蒙的鲜

photoshop如何校正灰蒙蒙的废片

photoshop教程:还原灰蒙蒙照片色彩

Photoshop快速校正偏色调的室内图

一起来学习PS魔棒(魔术棒)抠图原理
四种PS抠图完全攻略教程

Photoshop通道抠图入门通俗讲解

PS怎么用通道抠出超细头发教程


