ps星空烟雾文字
2022-12-25 15:32:15
来源/作者: /
己有:19人学习过
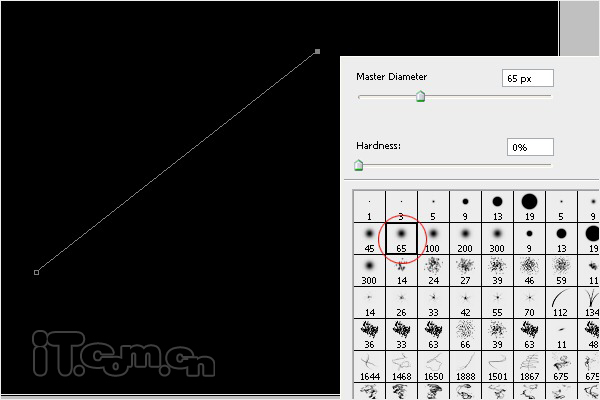
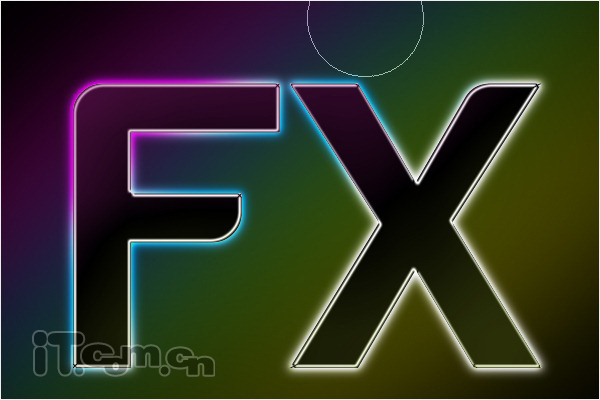
6、在文字图层下面创建一个新图层,然后使用钢笔工具在图片的左上方创建一条直线路径。然后设置画笔工具,选择65号柔角画笔。设置前景色为#FF00FC,再选择钢笔工具,鼠标在图中单击右键,选择“描边路径”,勾选“模拟压力”。
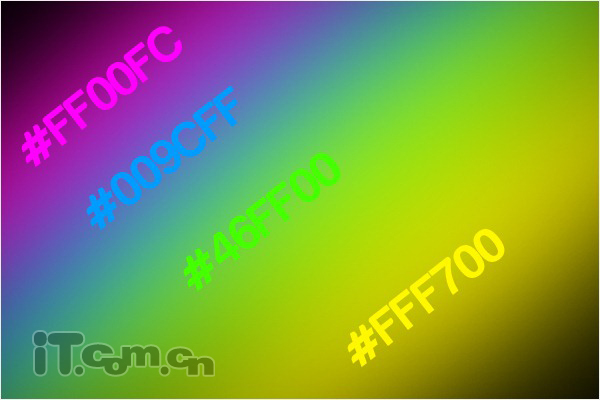
7、重复上面的步骤3次,制作出4道彩色的面背,然后把这些彩色背景图层合并起来(Ctrl+E),如图所示。
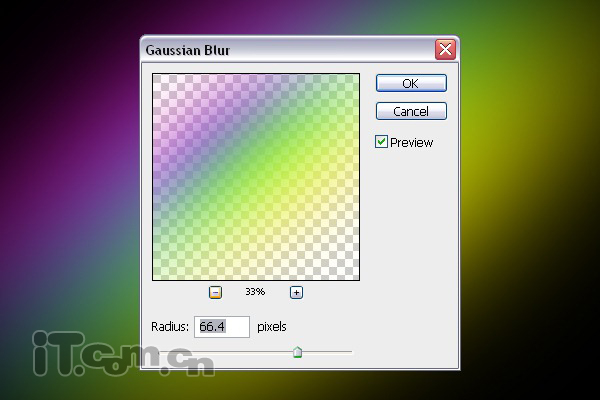
8、选择“滤镜—模糊—高斯模糊”,设置半径为66.4px,然后降低不透明度到33%,效果如图所示。

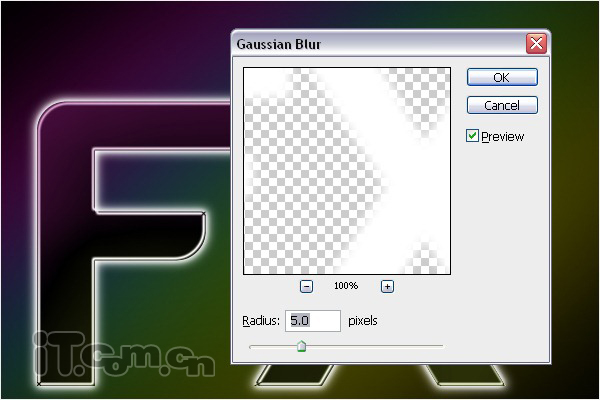
9、按着Ctrl键单击图层面板中文字图层的缩略图载入其选区,然后选择“选择—修改—扩展”,设置2px,接着在文字图层下面创建一个新图层,填充白色。

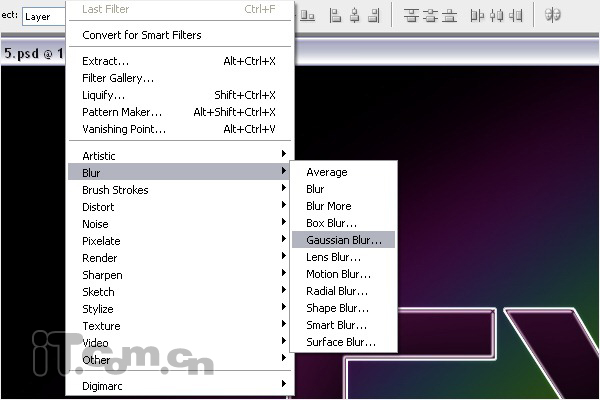
10、选择“滤镜—模糊—高期模糊”,设置半径为5px,如图所示。
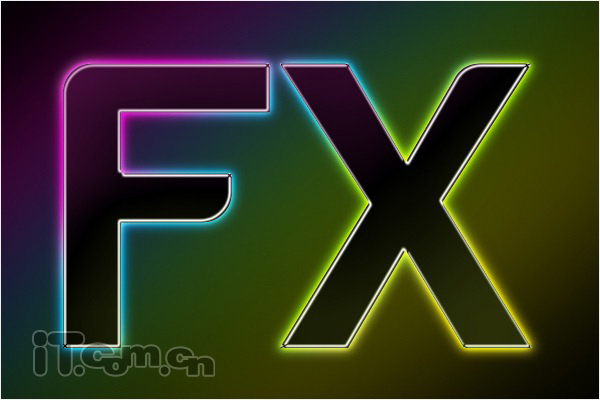
11、选择画笔工具,参考步骤6的颜色设置,涂抹出文字周围的彩色光效,如图所示。
下一篇:ps制作逼真的蓝色水滴字
相关推荐

PS实用教程:ps修复偏色风景照片

精细调整还你山清水秀——桔子教程

photoshop修复教程:还原泛黄色照片

photoshop修复教程:Lab模式还原雪

彩绘艺术字, PS液化工具制作彩绘背景设计教程

Photoshop制作非常流行的金沙立体字,细腻的金沙字体,金粉字。

Photoshop制作金色的海报标题文字教程

Photoshop使用笔刷制作书法艺术字教程


