PS制作双重描边字
2022-12-25 15:30:43
来源/作者: /
己有:180人学习过
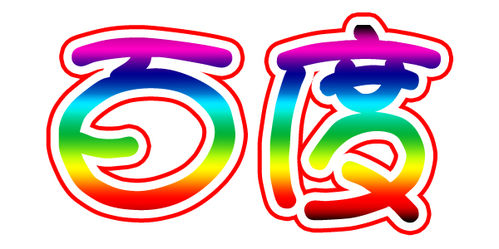
利Adobe Photoshop中的描边效果和渐变效果,轻松制作双重描边字,效果如下。
步骤/方法
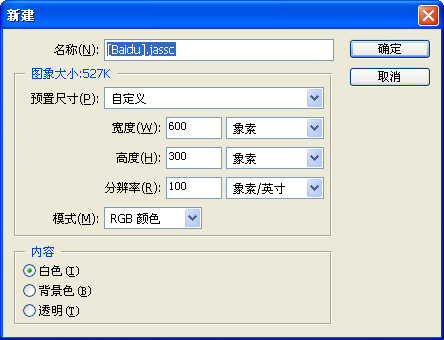
点击菜单栏“文件”→“新建”,设定宽度、高度,模式为“RGB颜色”。
点击工具箱上的文字工具。

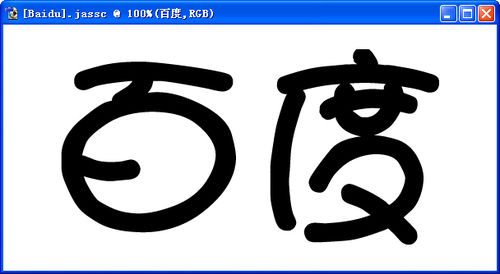
设定字体、大小、颜色,本例为汉仪娃娃篆简、180点、黑色。

在画布上输入文字。
点击图层管理器左下角第一个按钮,选择“描边”。
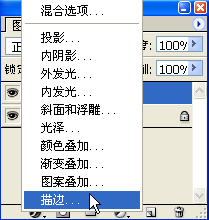
“大小”设定为15,“颜色”为红色。
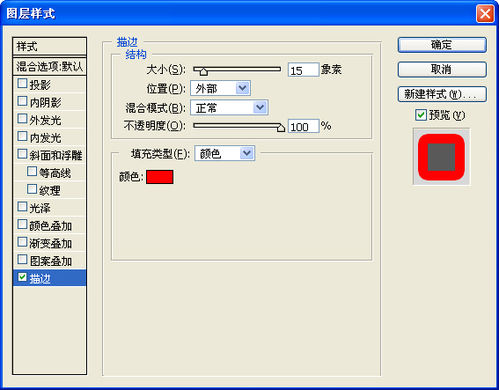
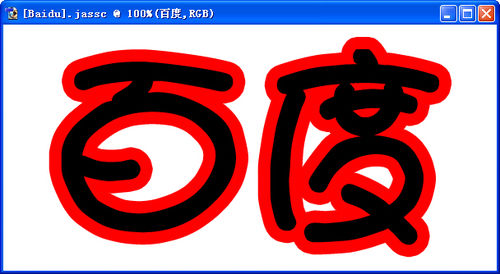
点“确定”后的效果图。
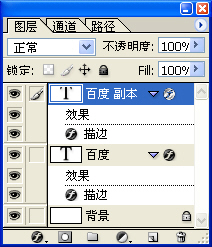
在文字图层上点右键复制图层。
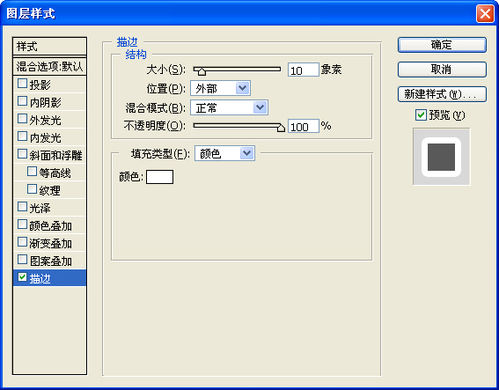
修改文字图层副本的描边设置,“大小”设定为10,“颜色”为白色。
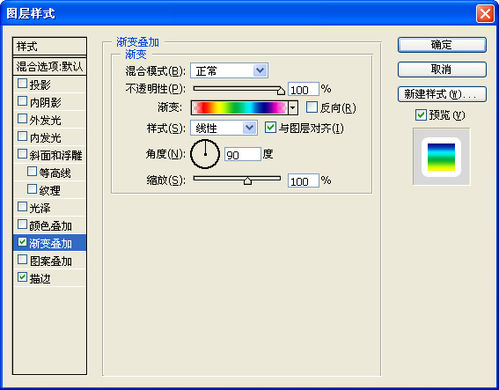
选择渐变叠加效果,“渐变”选择透明彩虹渐变,“角度”设定为90。
最终效果图。

下一篇:ps教程-气泡字
相关推荐

PS“高反差保留”照片清晰度

PS实用教程:ps修复偏色风景照片

ps利用曲线修正灰蒙蒙花朵图片

PS用计算选区进行分区锐化方法

彩绘艺术字, PS液化工具制作彩绘背景设计教程

Photoshop制作非常流行的金沙立体字,细腻的金沙字体,金粉字。

Photoshop制作金色的海报标题文字教程

Photoshop使用笔刷制作书法艺术字教程


