ps打造绚丽的高亮光丝字
2022-12-25 15:54:39
来源/作者: /
己有:30人学习过
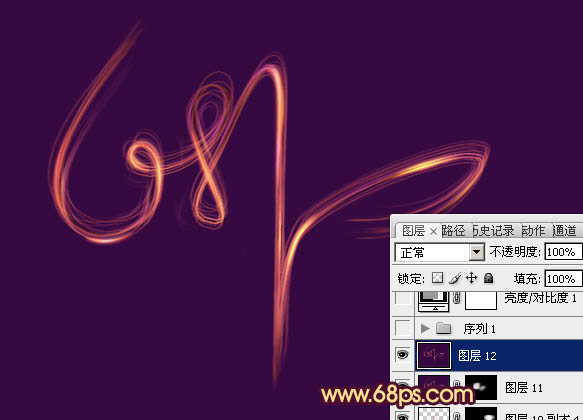
8、把背景图层隐藏,在图层的最上面新建一个图层,按Ctrl + Alt + Shift + E 盖印图层,效果如下图。
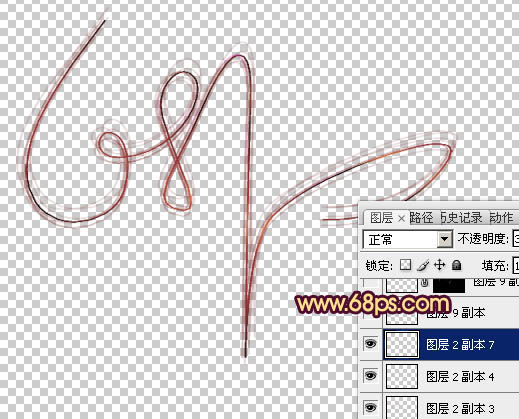
<图12>
9、混合模式改为“颜色减淡”,按住ALt键添加图层蒙版,用白色画笔把需要加强的部分擦出来,再把背景图层显示出来,效果如下图。
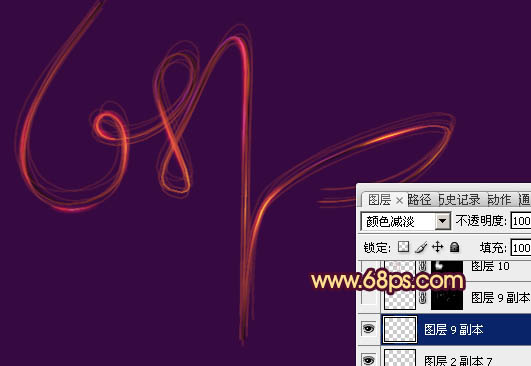
<图13>
10、复制盖印图层,混合模式改为“滤色”,把蒙版填充黑色,用白色画笔把需要加亮的部分擦出来,可以多复制几层分别加强不同的部分,过程如图14 - 16。
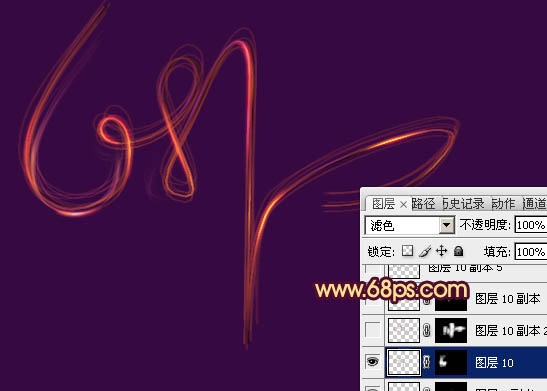
<图14>
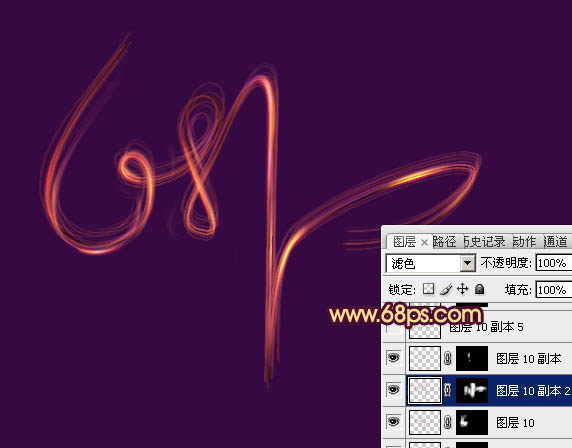
<图15>
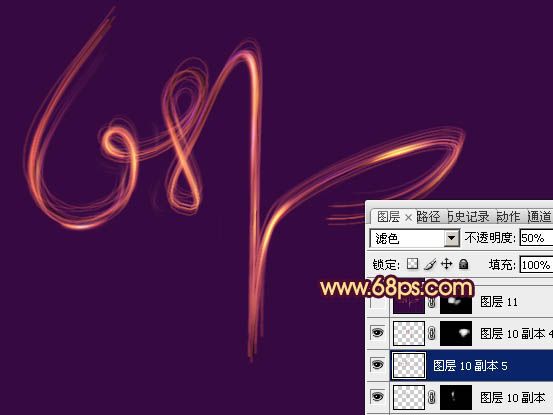
<图16>
11、新建一个图层,盖印图层。用涂抹工具把文字两端的过渡涂出来,效果如下图。
<图17>
12、新建一个图层,给文字的高光部分增加一下亮点,效果如下图。

<图18>
<图12>
9、混合模式改为“颜色减淡”,按住ALt键添加图层蒙版,用白色画笔把需要加强的部分擦出来,再把背景图层显示出来,效果如下图。
<图13>
10、复制盖印图层,混合模式改为“滤色”,把蒙版填充黑色,用白色画笔把需要加亮的部分擦出来,可以多复制几层分别加强不同的部分,过程如图14 - 16。
<图14>
<图15>
<图16>
11、新建一个图层,盖印图层。用涂抹工具把文字两端的过渡涂出来,效果如下图。
<图17>
12、新建一个图层,给文字的高光部分增加一下亮点,效果如下图。
<图18>
上一篇:ps制作超强科技感立体艺术字
相关推荐

彩绘艺术字, PS液化工具制作彩绘背景设计教程

Photoshop制作非常流行的金沙立体字,细腻的金沙字体,金粉字。

Photoshop制作金色的海报标题文字教程

Photoshop使用笔刷制作书法艺术字教程


