使用photoshop制作发光的电源按钮
这个PS教程将会为大家介绍使用photoshop制作一个发光的电源按钮。

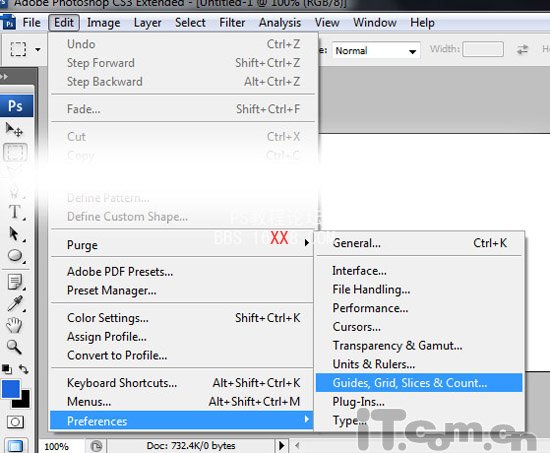
1、运行Photoshop创建一个500*500px的新文档,由于我们是制作一个图标按钮,所以在形状上一定要使用标准对称的几何图案。选择“编辑—首选项—参考线、网格和切片”,如图所示。
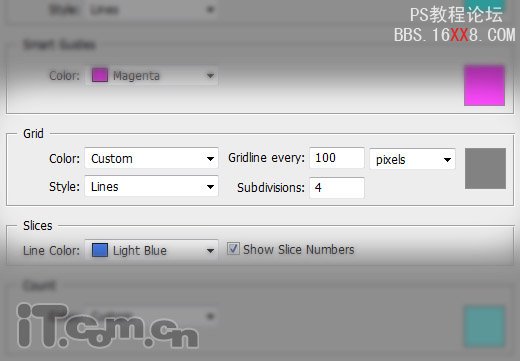
2、打开首选项窗口后我们开始设置网格作为辅助。由于前面创建了500px的文档,所以我们可以设置网格线间隔:100像素、子网格:4,如图所示
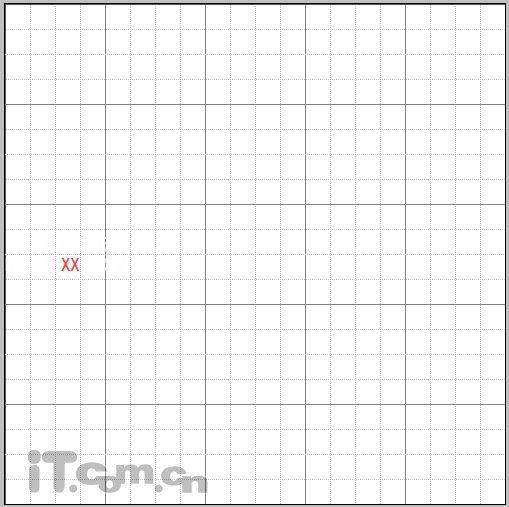
3、完成设置后,按下Ctrl+'快捷键,就可打开网格了,如图所示。
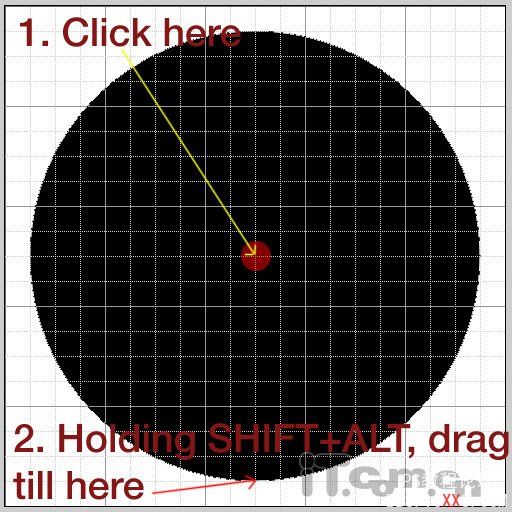
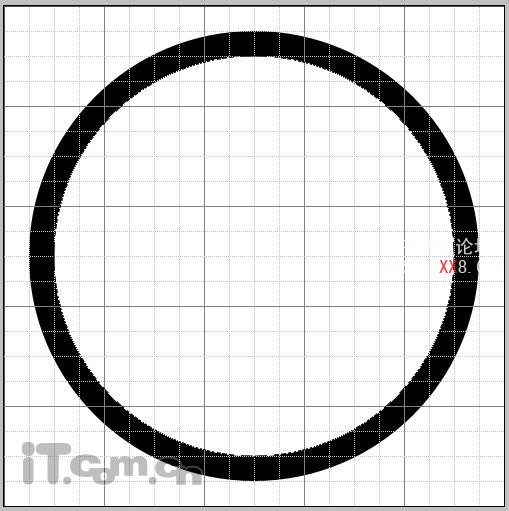
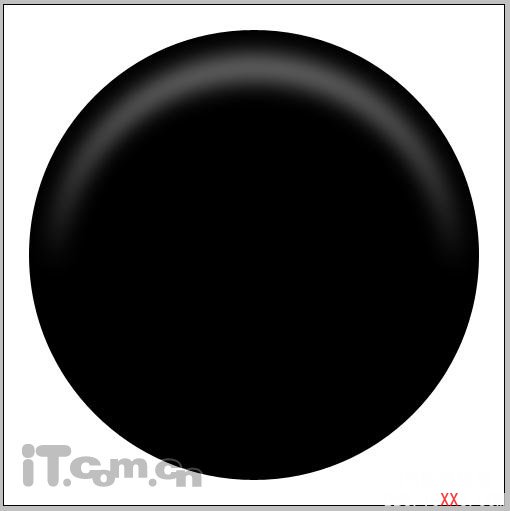
4、选择“椭圆工具”,然后按着Shift+Alt,在图片的中心处按下左键并拖动,得到一个黑色的圆形,如图所示。
5、使用想同的方法,再创建一个白色的同心圆,如图所示。
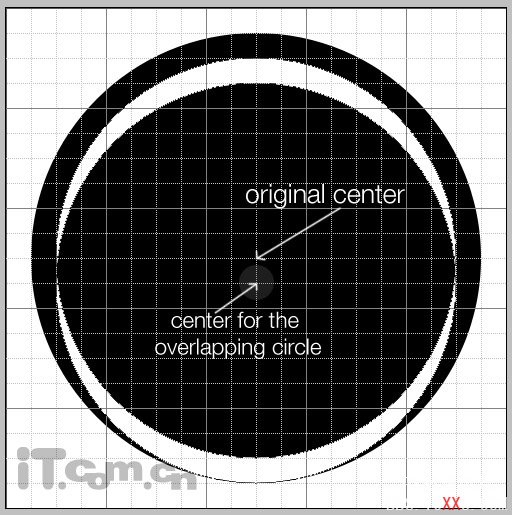
6、在属性栏中选择“排除重叠形状”按钮,如图所示。

7、以前面步骤创建的圆心下面一格的位置作为圆心,再创建一个圆形,效果如图所示。
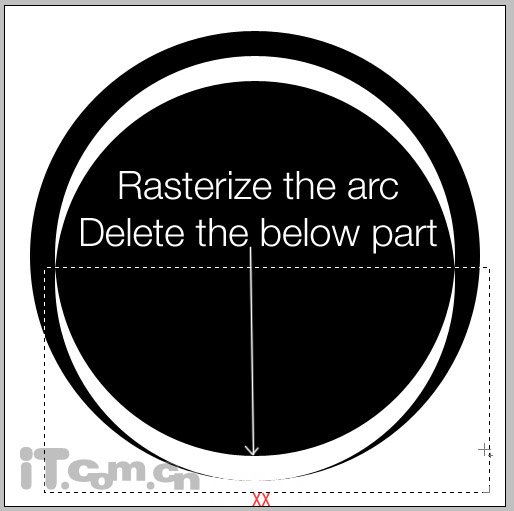
8、右键单击图层面板中的“形状2”图层,选择“删格化图层”,然后使用“矩形选框工具”选择下方的弧形,并清除,如图所示。
9、选择“滤镜—模糊—高斯模糊”,设置半径为11像素,如图所示。
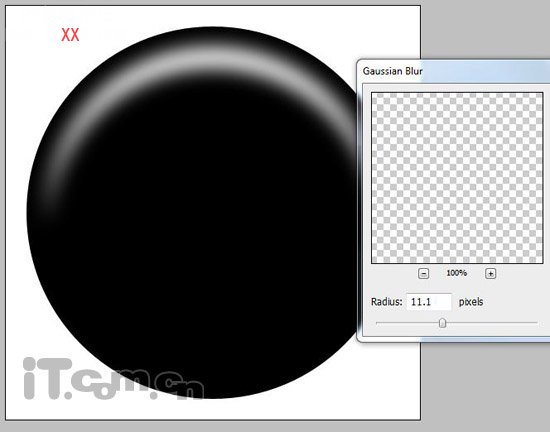
10、设置形状2的不透明度为30%左右,效果如图所示。
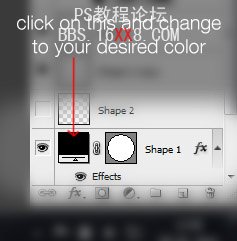
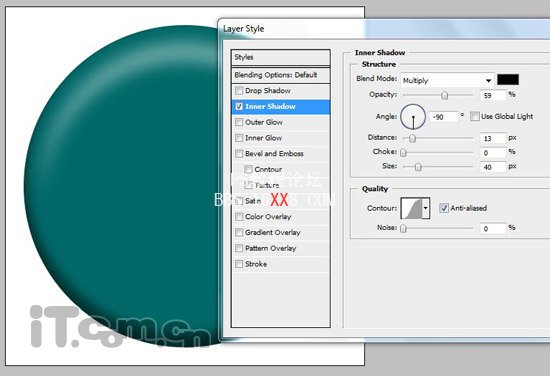
11、单击形状1的图层调色板,打开拾色器,设置颜色,然后添加“内阴影”图层样式,如图所示。
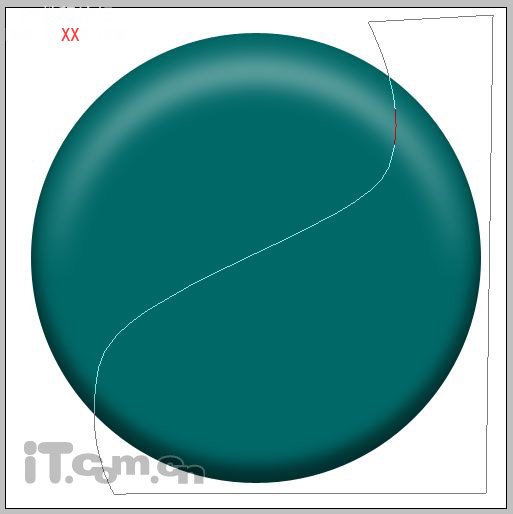
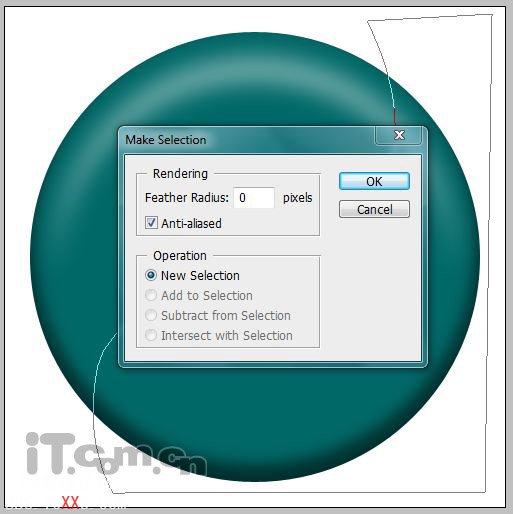
12、使用钢笔工具,创建下图所示的路径。
13、单击右键,选择“建立选区”命令,设置羽化为0,选择消除锯齿,如图所示。
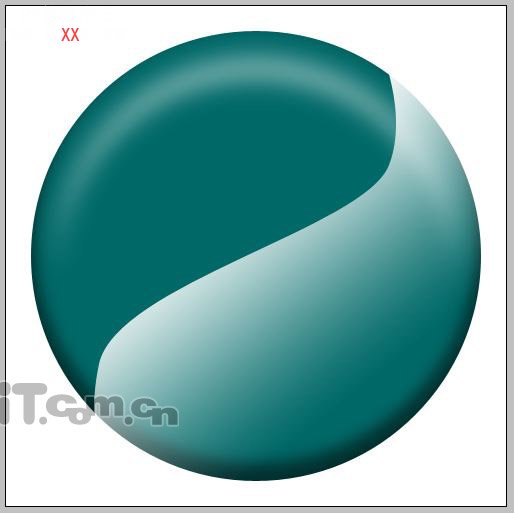
14、在弧形图层的上方新建一个图层,并使用“渐变工具”在选区内拉出白色到透明的渐变效果,如图所示。
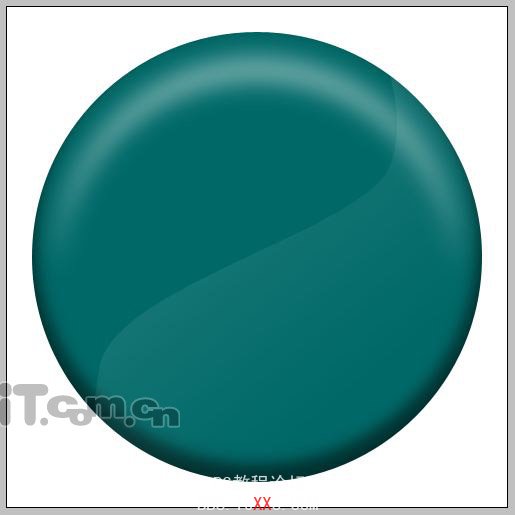
15、按着Ctrl键单击形状1的蒙板缩略图载入圆形选区,按下Ctrl+Shift+I反选,按下Delete清除图层1中选区的内容,如图所示。

16、设置图层1的不透明度为40%,如图所示。
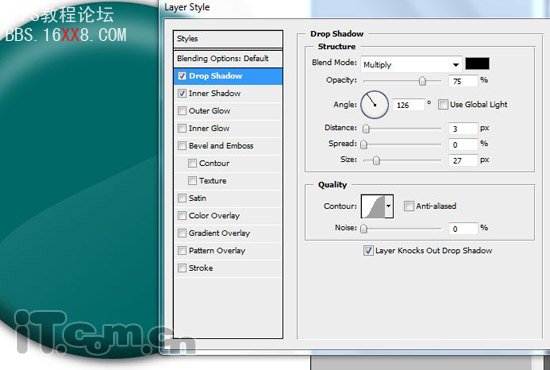
17、双击“形状1”图层,打开图层样式对话框,设置“投影”图层样式,如图所示。
18、把电源素材复制到图片中,你也可以使用自定形状工具自己制作一个,如图所示。

19、最后为电源素材图层添加“外发光”、“内发光”两种层样式,如图所示。
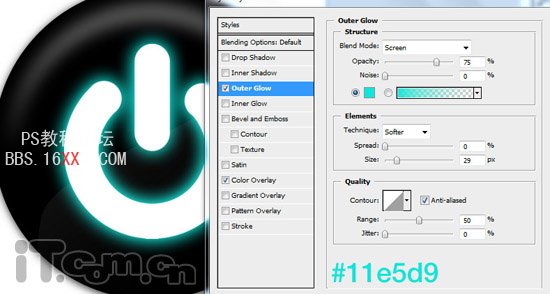
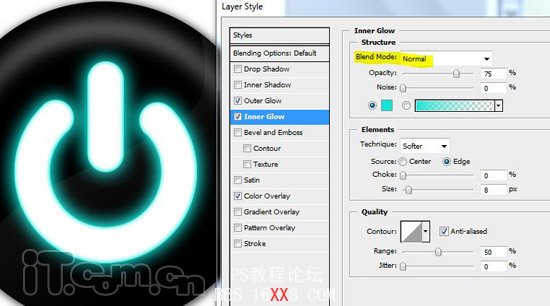

加上背景素材,这个发光的电源按钮就完成了,photoshop教程完毕。
相关推荐

Ps按钮教程-现代感红色按钮

ps鼠绘开关按钮教程

Photoshop鼠绘手绘教程:Web2.0按钮

ps设计网页按钮教程

Photoshop制作清凉的水中展示网页

Photoshop制作大气的网页设计主页

阴影教程,超详细的各种阴影的制作方法

Photoshop制作炫酷的PK类网站Banner


