使用ps打造一个企业网站首页设计制作全
2022-12-26 11:36:24
来源/作者: /
己有:15人学习过
先整理好需要做的内容至一个文件夹中。
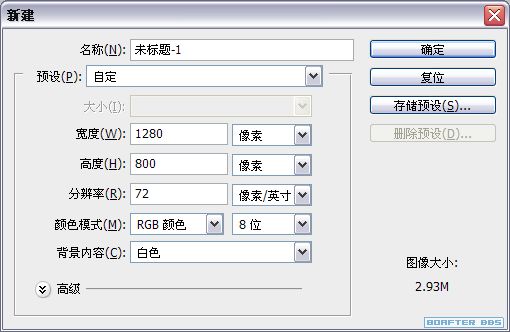
打开photoshop新建一个空白面板。
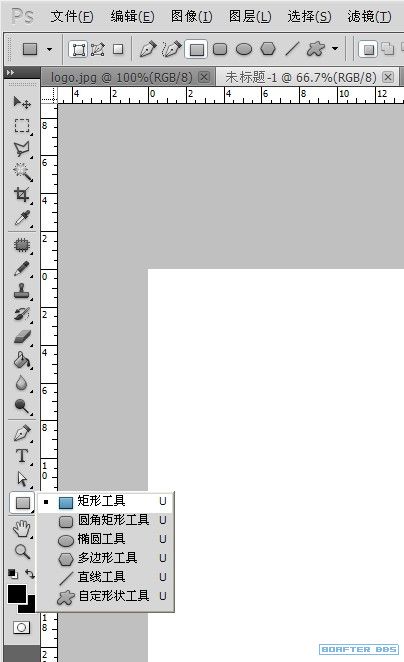
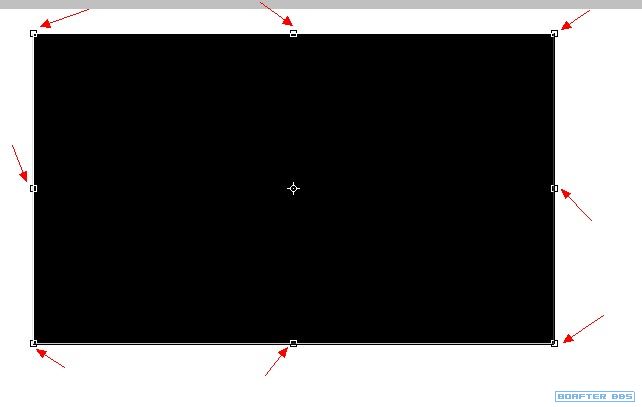
选择矩形工具绘制一个980*auto的图形。
结果如下:
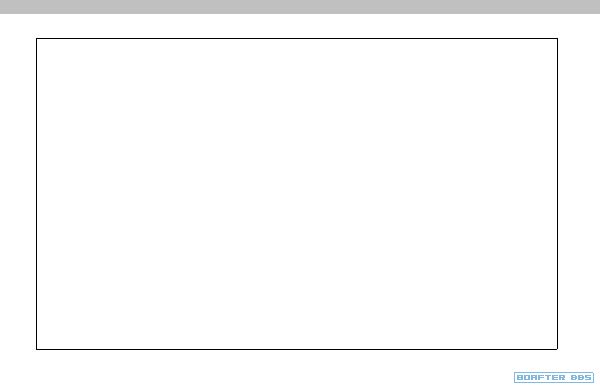
使用选择工具点击边缘节点。
在菜单栏下方可看见图片的宽与高。

点击背景
图层,再按下shift键点击新建的图层。
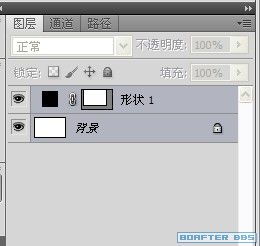
按下选择快捷键"V",在菜单栏下方会出现对齐选项。选择居中对齐。

从标尺区域按下鼠标向右拖动会形成一根辅助线。拖至矩形边缘自动吸附即可。
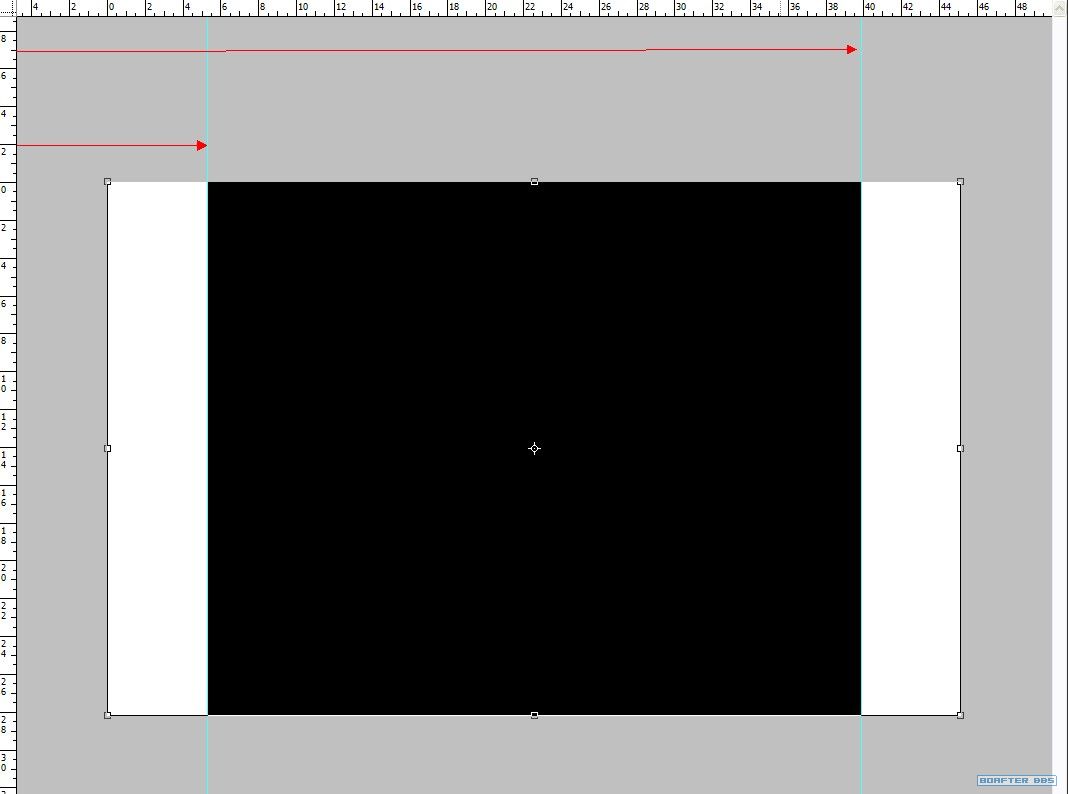
我们可以看见的结果如下:
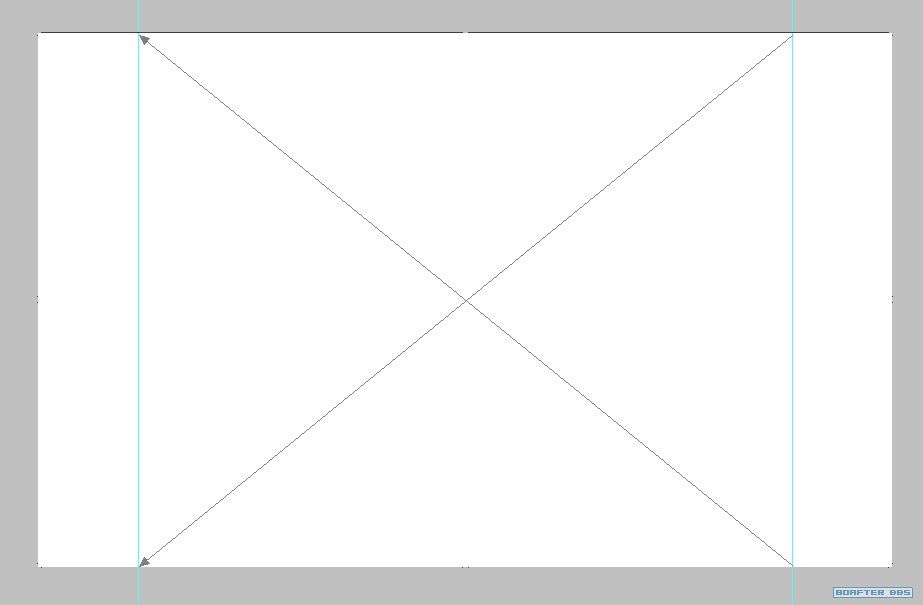
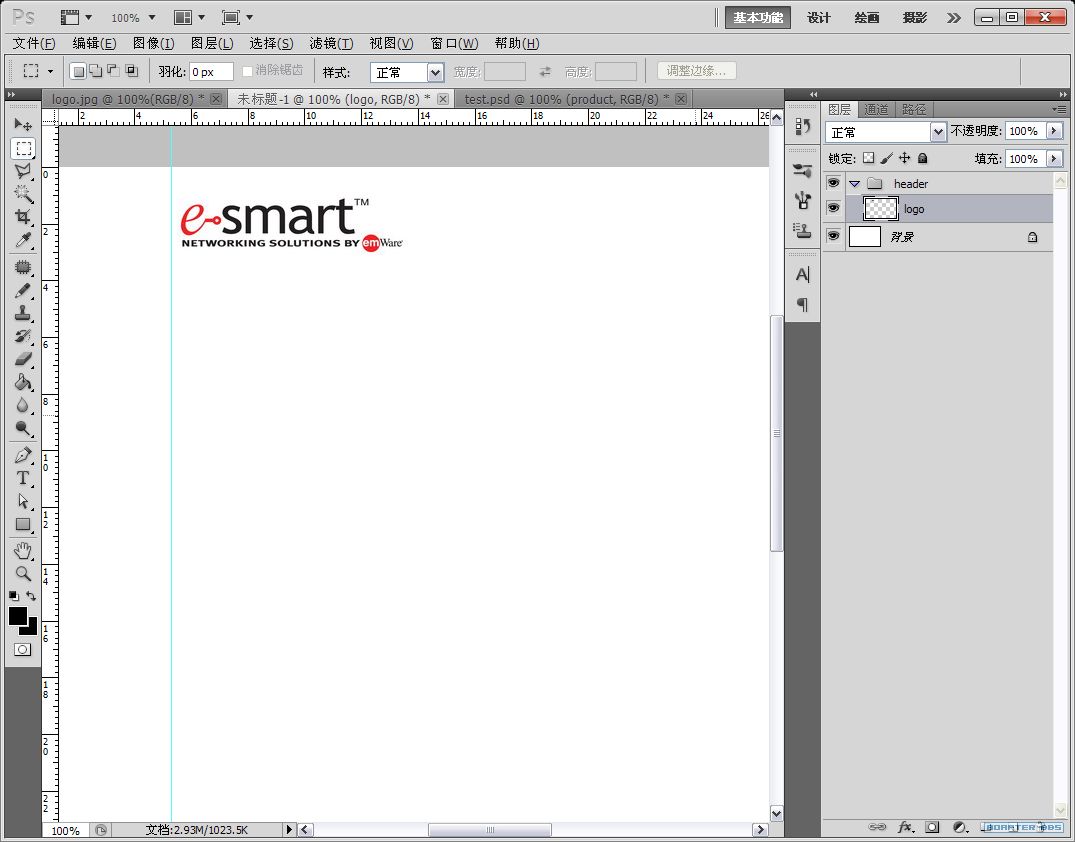
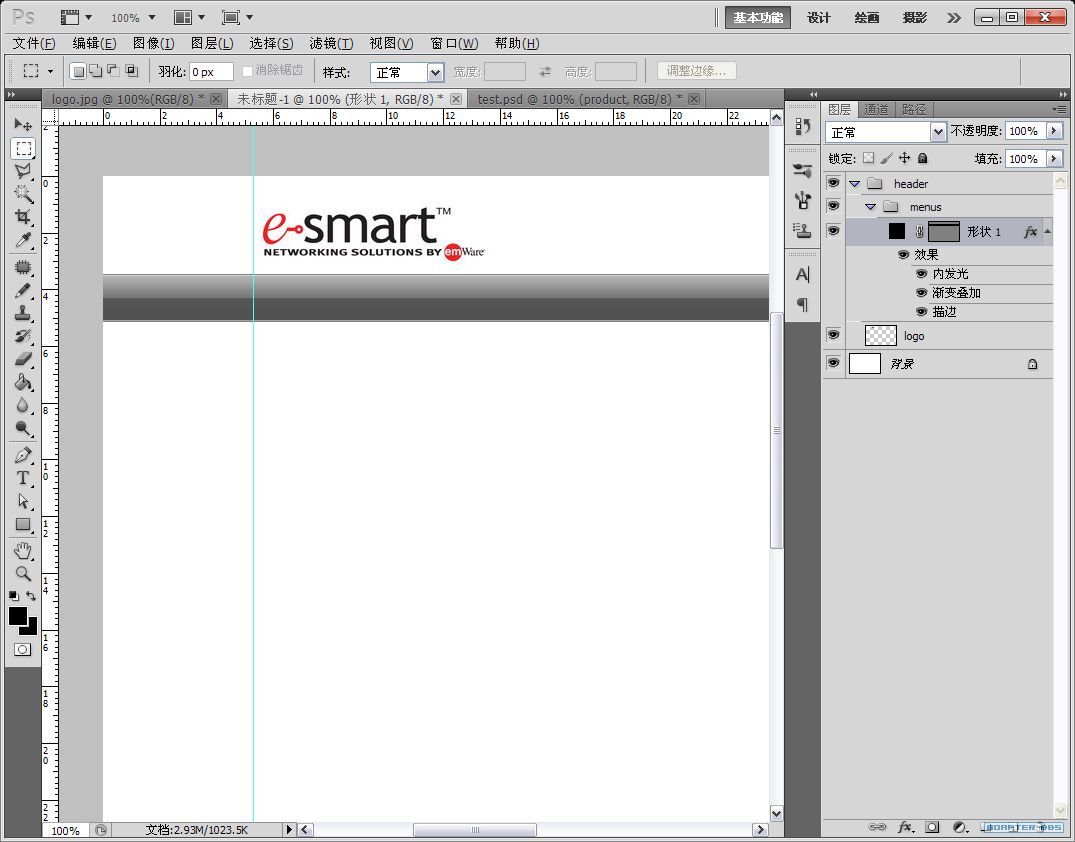
在图层面板新建header文件夹,并把logo放置进来。
在header文件夹下建立menus目录,并绘制一个矩形图形。
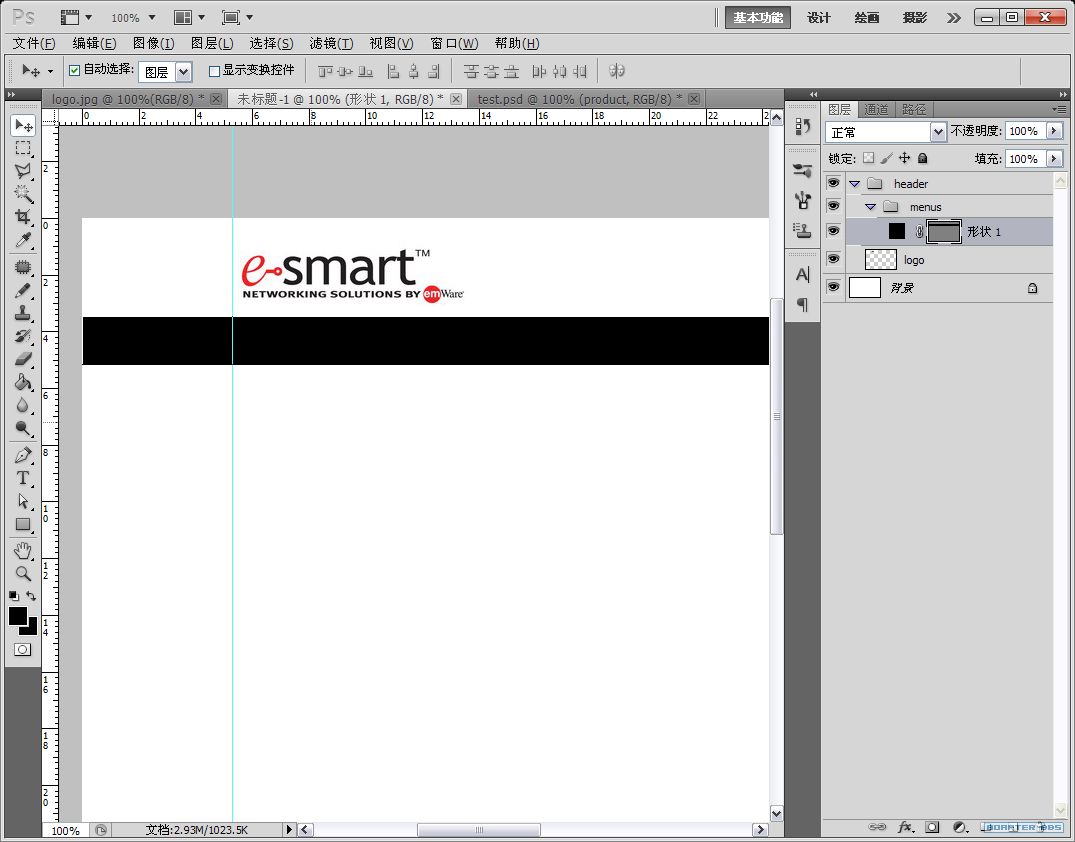
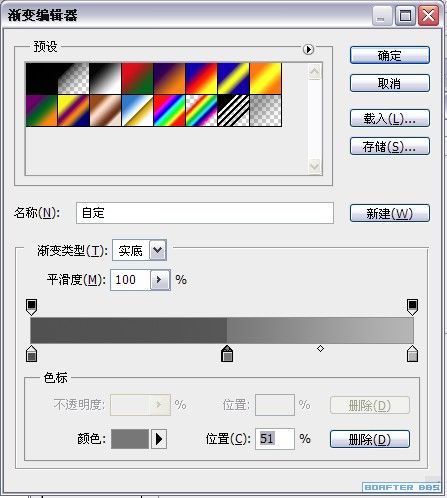
为矩形图形添加渐变。(或者双击图层空白处也可以编辑效果)
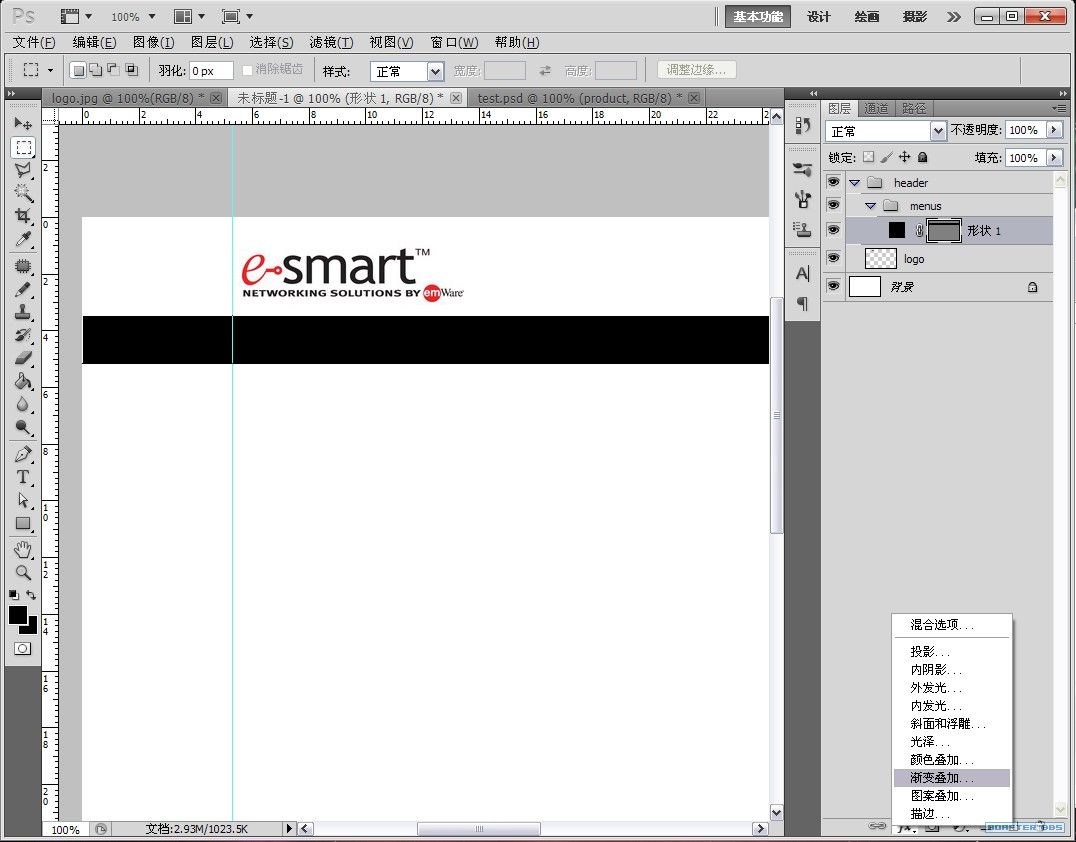
所开启的面板:
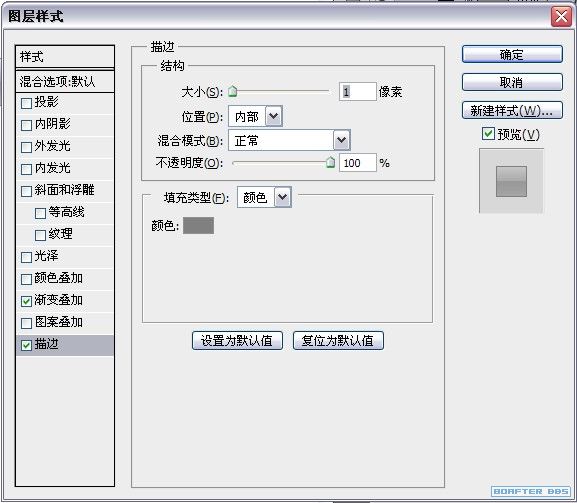
描边参数如下:
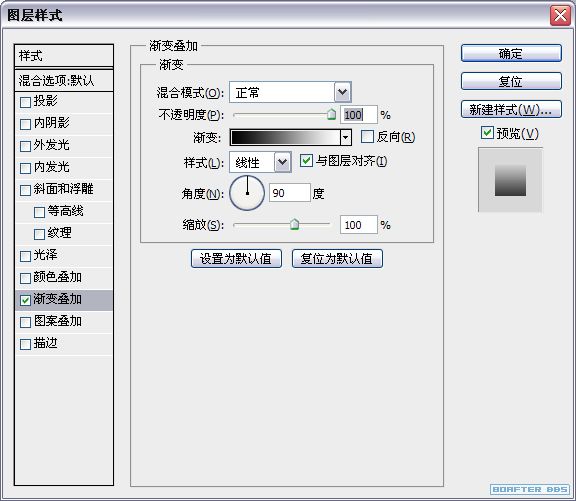
渐变效果如下:
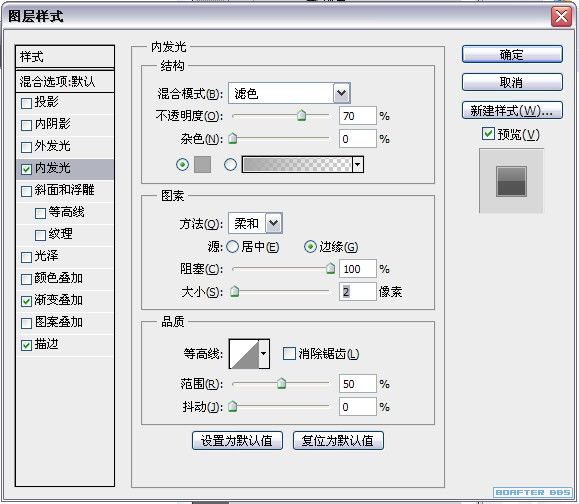
设置内发光,参数如下:
菜单导航背景最终效果。
打上文本。文本选择工具快捷键"T"。
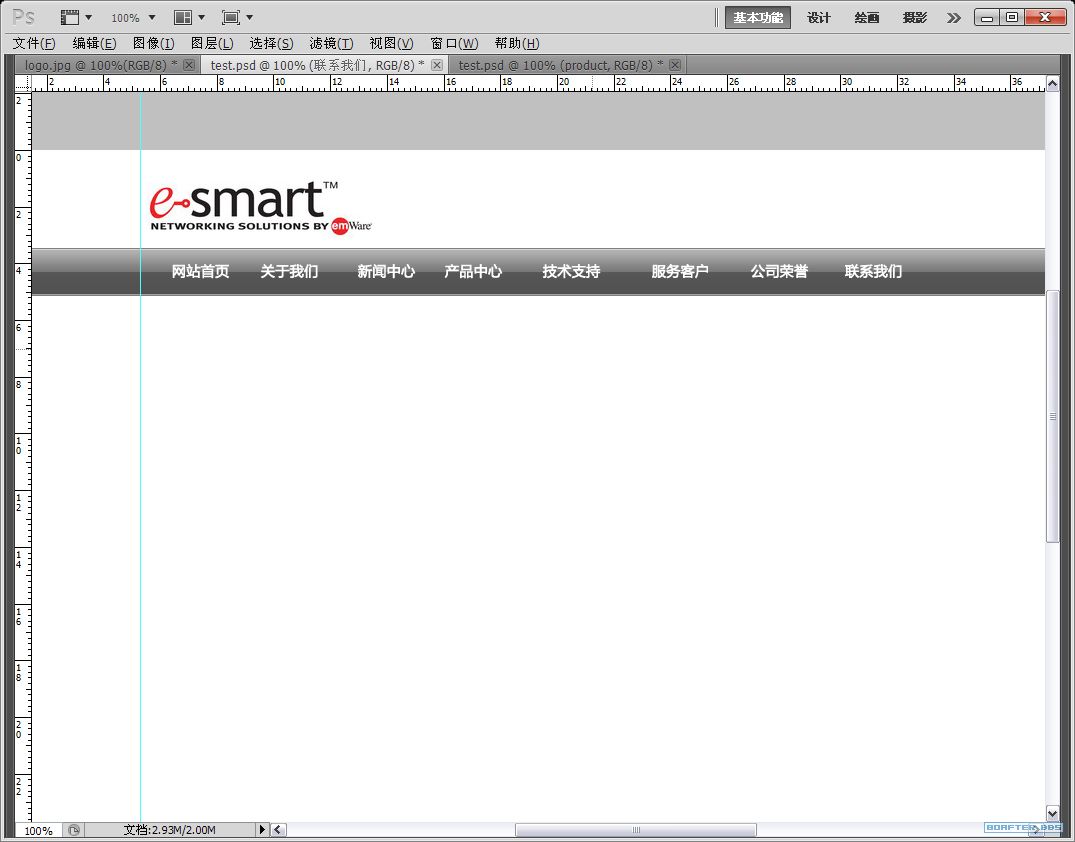
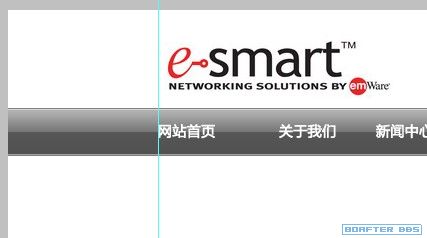
把最左侧的文本吸附在左侧辅助线上。(按住shift拖拽)
上一篇:瓶子美工,对称光产品修图表现技巧
相关推荐

ps设计心形网页模板教程

Photoshop制作清凉的水中展示网页

Photoshop制作大气的网页设计主页

阴影教程,超详细的各种阴影的制作方法

Photoshop制作炫酷的PK类网站Banner


