几个平面设计中光效背景的实例教程
2022-12-26 05:47:53
来源/作者: /
己有:39人学习过
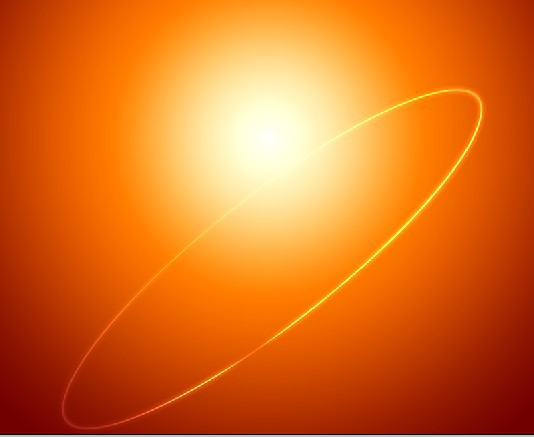
再来讲一组光效效果:
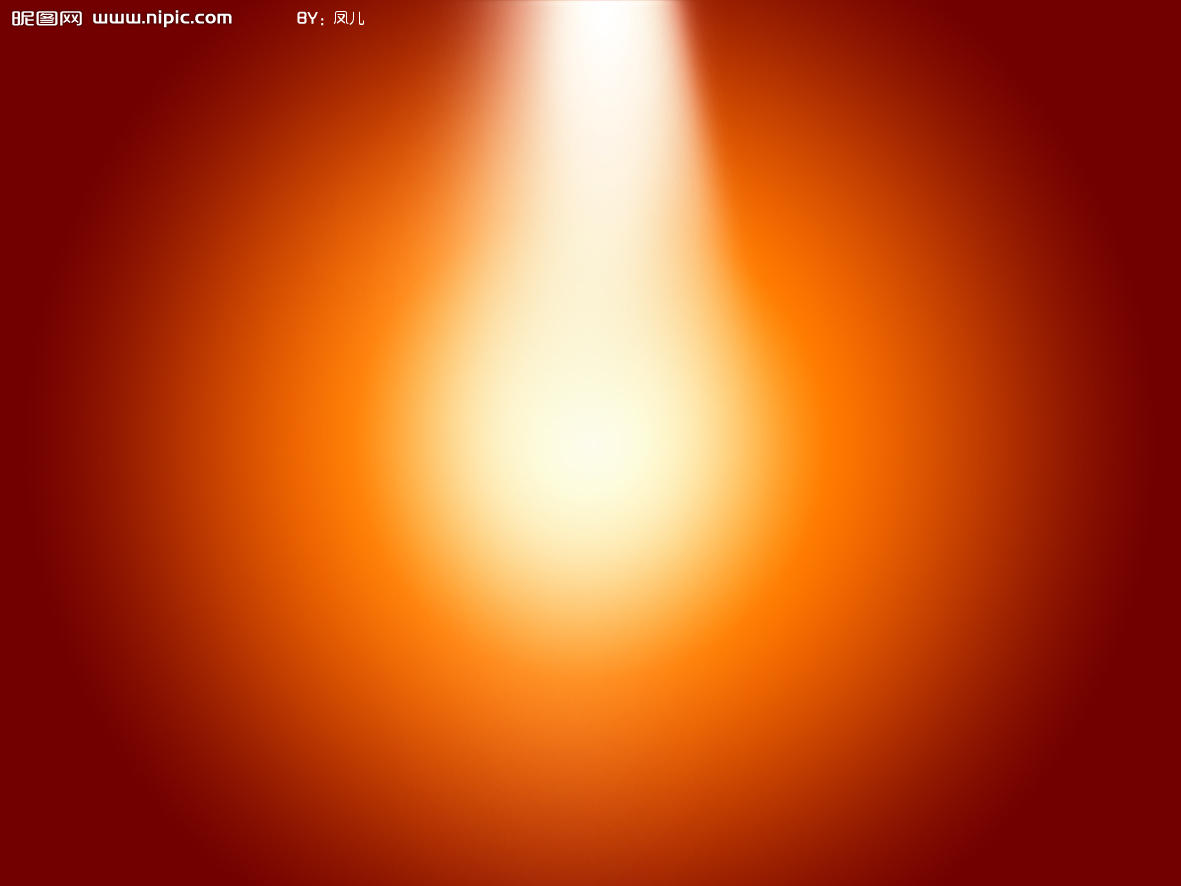
打开下面的背景素材(也可以自己做)
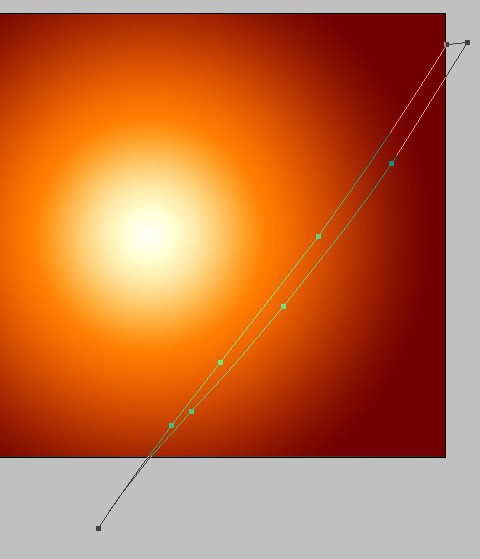
圆形路径画一个椭圆:
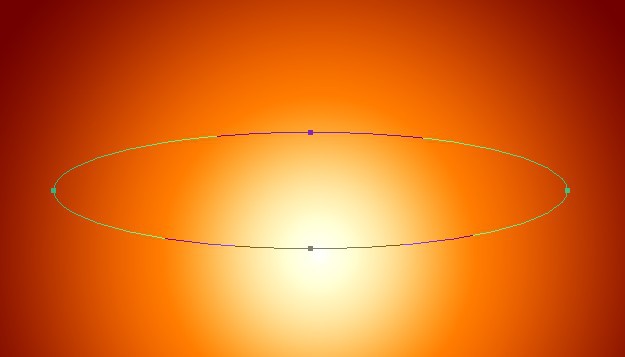
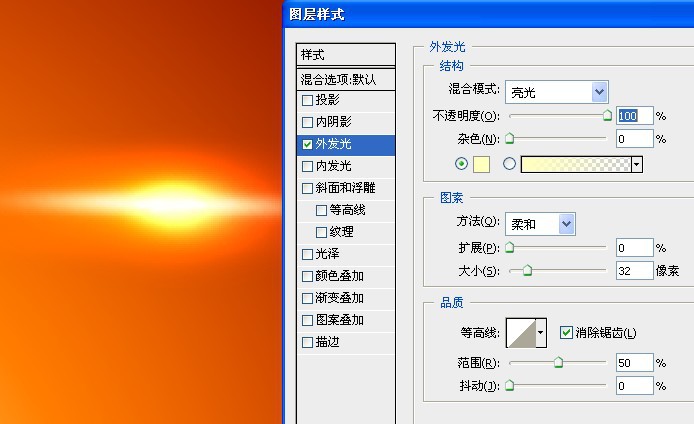
设置如下:(描边)
填充一个外发光
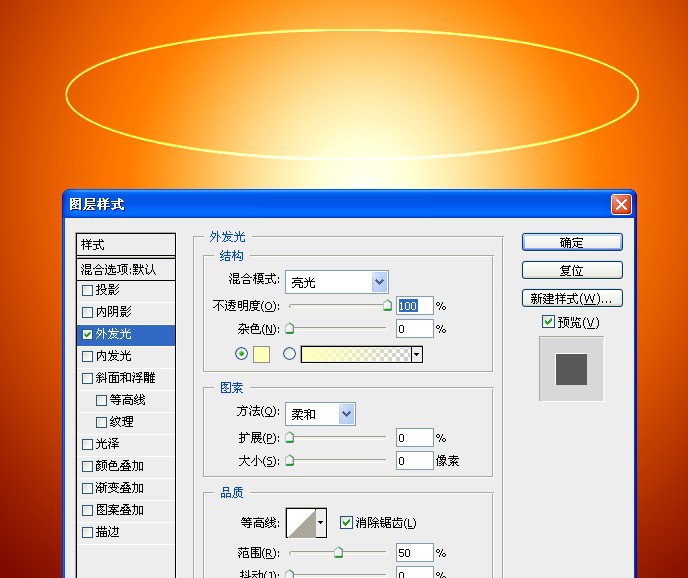
旋转下,效果如图:
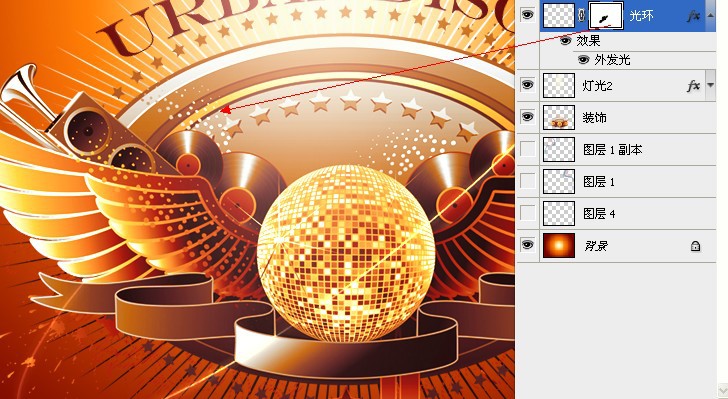
随便放个素材做演示:

把不要的地方蒙版一下:
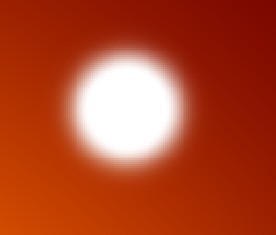
用柔边画笔画一点:
拉长:
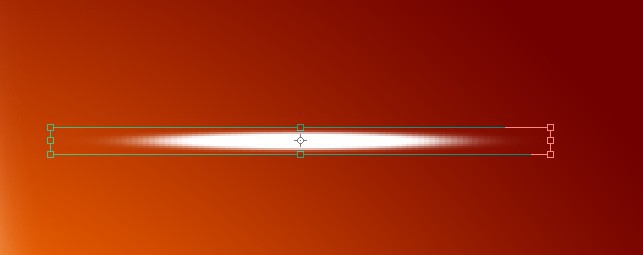
中心复制一个:

合并后,高斯模糊一下:

添加图层样式:
效果如图:

放在合适的地方,效果:

复制一个,翻转,方法都是一样的

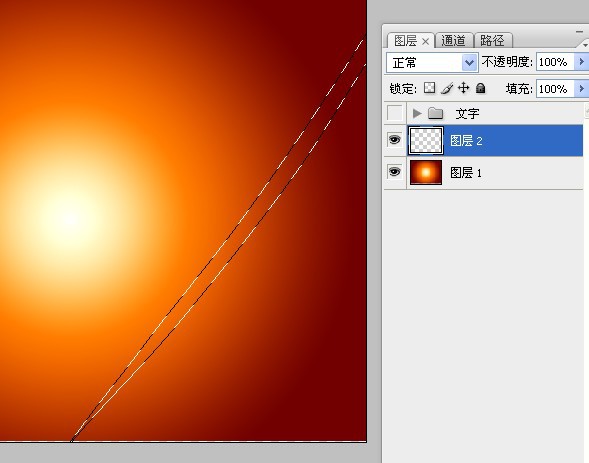
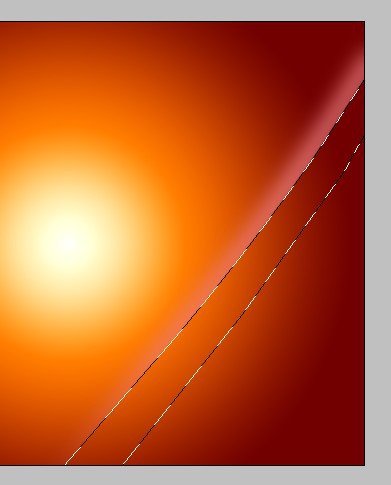
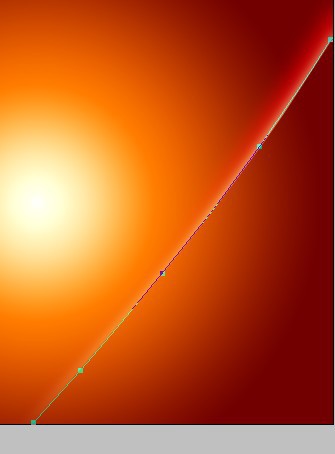
然后在用钢笔工具画出如下效果:
转成选区
羽化一下:

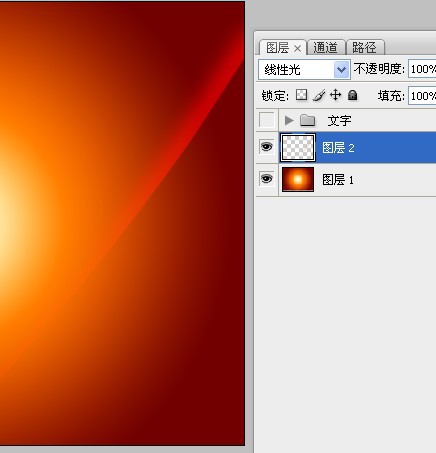
随意填充一个颜色:
再减去一部分
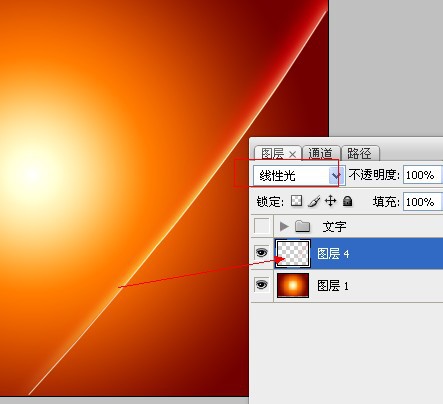
模式改为:线性光
用钢笔工具画出如下图形:
转为选区后再羽化一下:
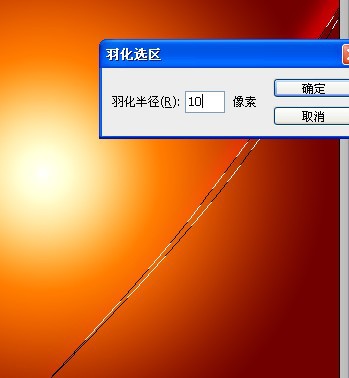
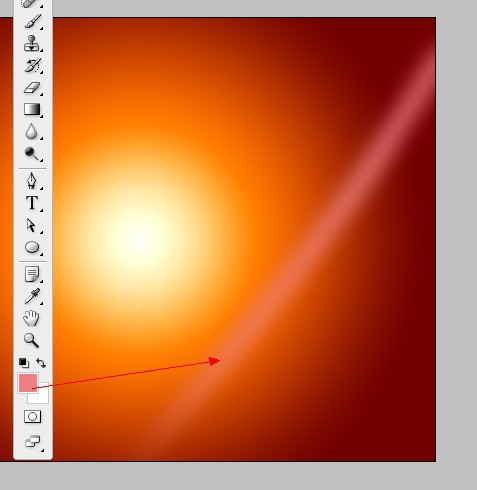
填充一个浅色
再减去一部分,如图所示:
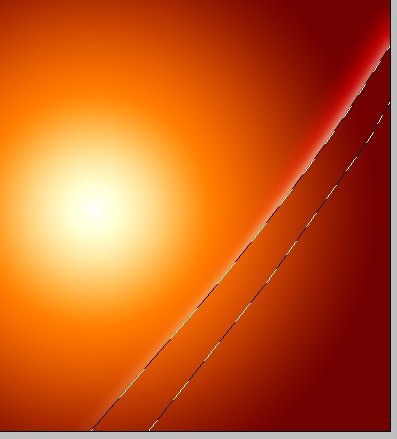
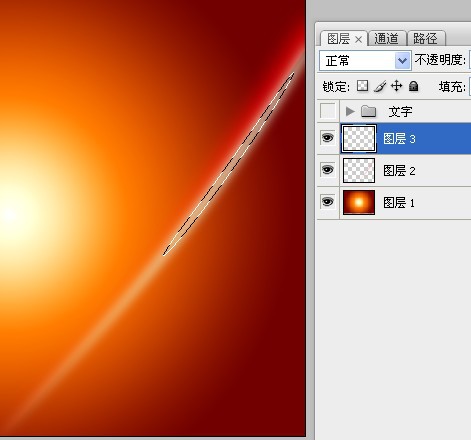
此时效果如图:

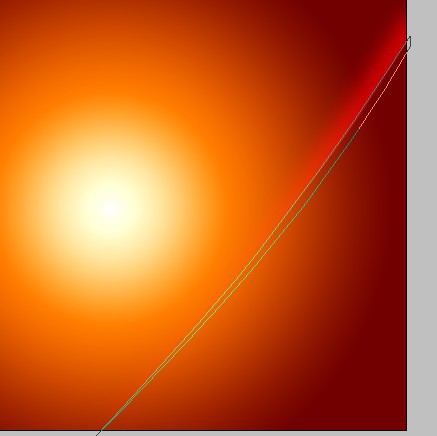
在边缘的地方用钢笔画一条曲线:
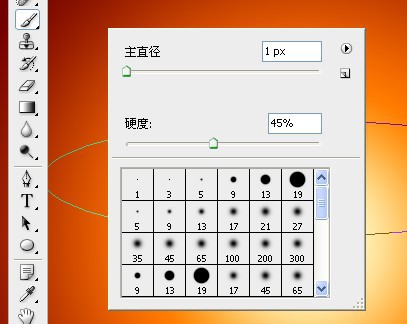
设置画笔大小为2像素,前景色为白色
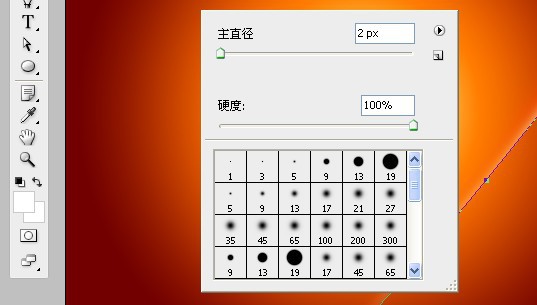
描边路径

合并刚才做的,把模式改为线性光
有兴趣的话可以多画几个(或者复制也可以)
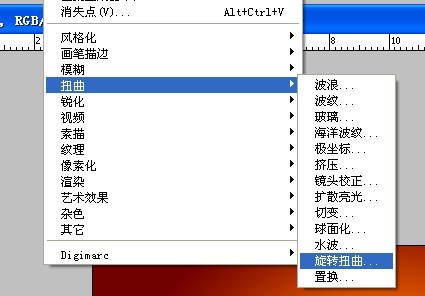
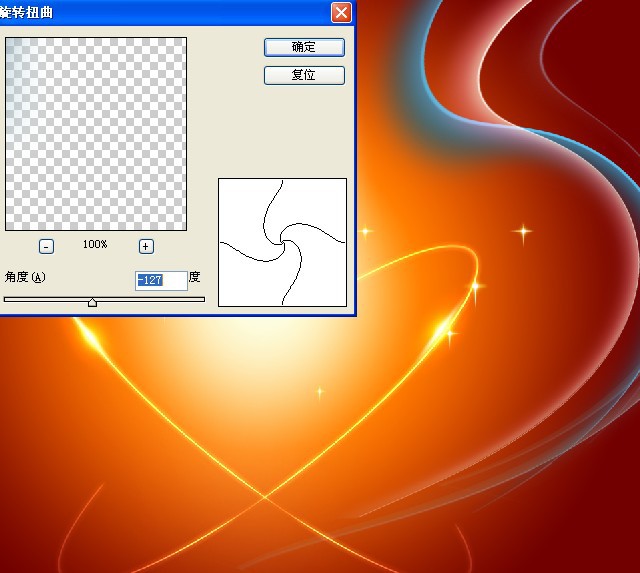
执行滤镜——扭曲,旋转扭曲
参数如下:
把3条光线改为:颜色减淡混合模式
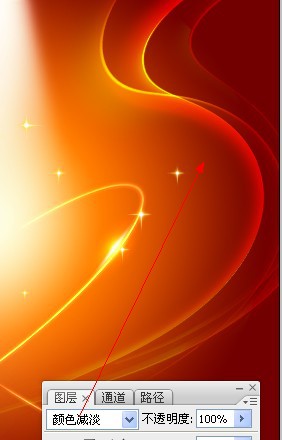
效果如图:
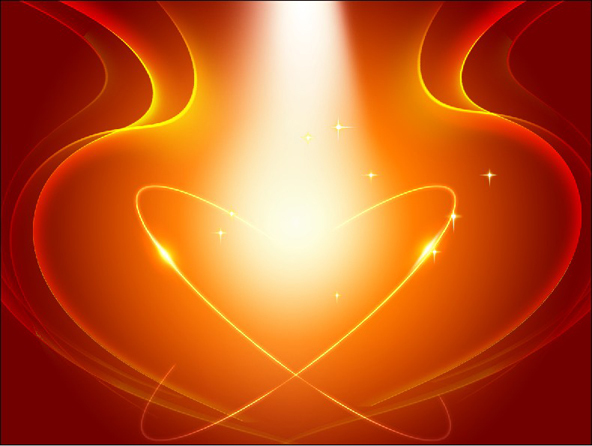
加上刚才我们那个素材就可以了,如果不满意的话,还可以继续深化下去。

光效还有很多,鉴于篇幅有限,只列举这么多。
设计中的特效结合在这里只提供给大家一个方法,
更多的技术需要大家在练习中去发现,去研究,去学习。
教程完毕,希望大家互相交流学习,互相进步。
感谢支持!
相关推荐

ps cs6制作涂鸦字效果教程

ps cs6制作一把折扇教程

利用ps cs6的3D功能制作漂亮立体字

介绍如何原生地去制作设计素材

图片变清晰,使用PS让模糊图片变清晰的方法教程

PS调出晶莹洁白肤色商业人像照片效果

PS调出唯美金黄色树叶背景甜美女生照片

调出高清质感暗色草原风景图片的PS教程


