PS印章设计教程
2022-12-26 05:45:10
来源/作者: /
己有:19人学习过
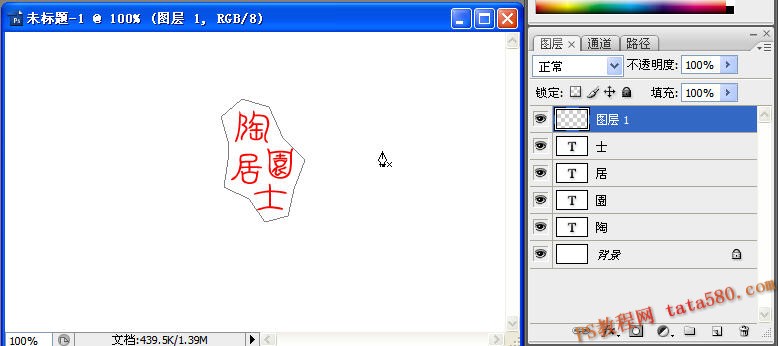
4、新建一个图层1,利用钢笔工具画出如下路径:
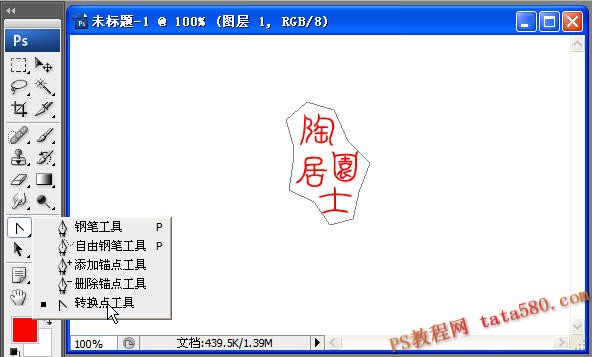
5、选择“转换点工具”,如下图所示:
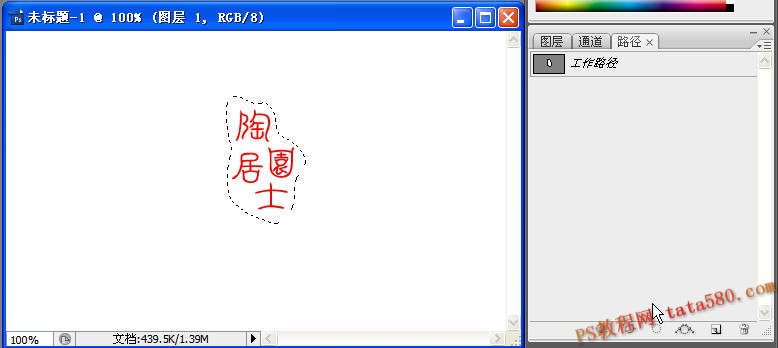
6、利用转换点工具对路径进行适当调节,之后将路径转换成选区,如下图所示:
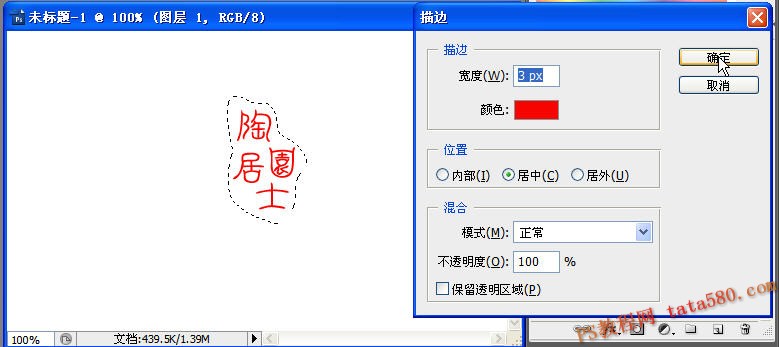
7、选择菜单“编辑->描边”,设置如下图所示:
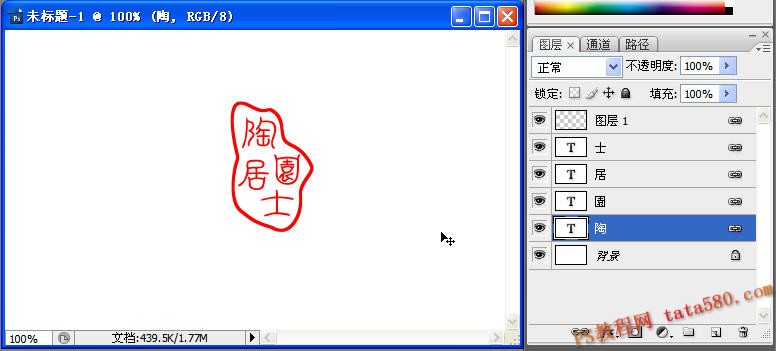
8、将除背景图层外的其它图层全部链接为链接图层,如下图所示:
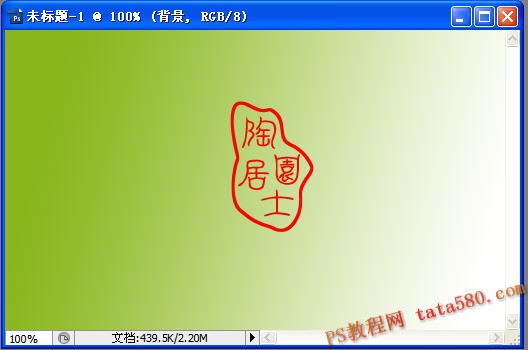
9、最后利用渐变工具将背景进行适当的填充,效果如下:

10、最终的效果如下图所示,读者可以根据自己的需要进行改变扩展。
上一篇:PS地产广告详细教程
下一篇:用ps制作公章
相关推荐

ps设计创意墙主题壁纸

ps设计香蕉主题桌面壁纸
ps放射线背景

PS渐变纹理背景

图片变清晰,使用PS让模糊图片变清晰的方法教程

PS调出晶莹洁白肤色商业人像照片效果

PS调出唯美金黄色树叶背景甜美女生照片

调出高清质感暗色草原风景图片的PS教程


