PS制作恐怖雨夜场景图
2022-12-26 05:44:44
来源/作者: /
己有:60人学习过
11、打开空调素材,使用钢笔工具创建空调的路径,并把路径转为选区,接着使用加深工具在图b所示的位置涂抹一些阴影,
然后使用画笔工具在图c所示的位置添加两个圆形的阴影并设置高斯模糊效果,如图所示。
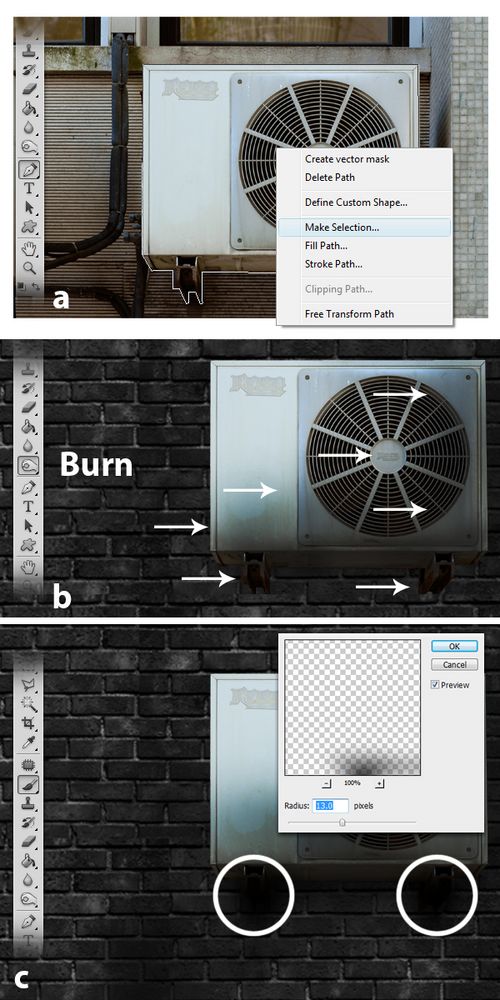
图12
把设置好的空调粘贴到图片中,效果如图所示。
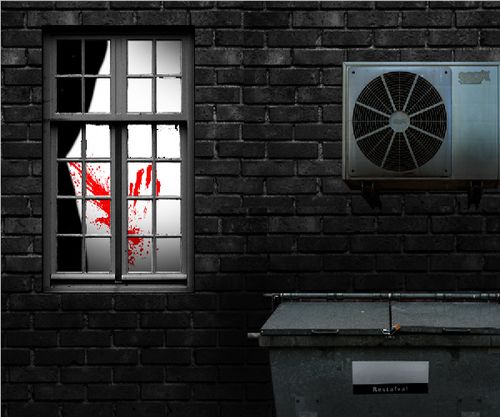
图13
12、使用加深工具,按照下图箭头所示的方向涂抹一些阴影。
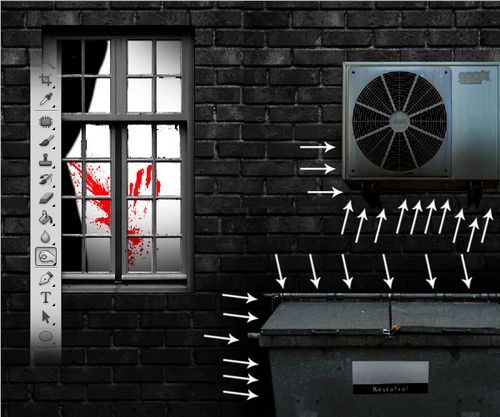
图14
13、创建一个新图层,使用60像素,硬度为0的画笔工具在下图红色区域位置涂抹一些阴影,然后降低图层的不透明度为50%,
如图所示。

图15
14、创建新图层,使用多边形套索工具绘制下图所示的形状选区,然后填充白色,如图所示。
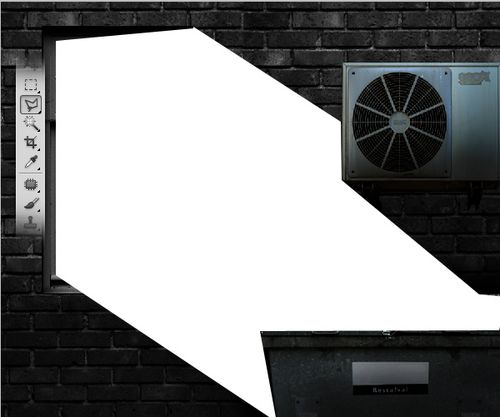
图16
15、在菜单栏中选择“滤镜—模糊—高斯模糊”,半径约为60px左右,效果如图所示。
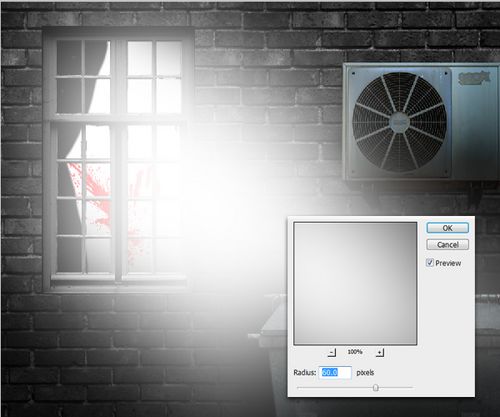
图17
16、使用橡皮擦工具清除下图箭头所示的的区域。
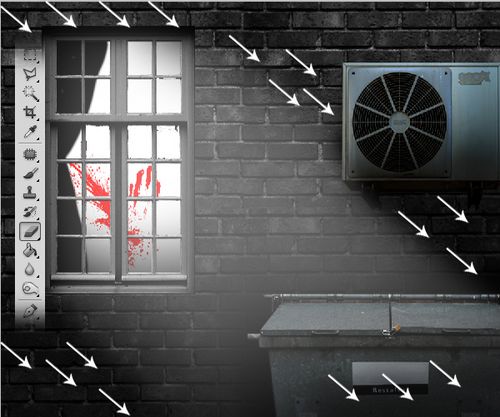
图18
上一篇:小菱形背景和圆点背景的做法
相关推荐

ps设计创意墙主题壁纸

ps设计香蕉主题桌面壁纸
ps放射线背景

PS渐变纹理背景

图片变清晰,使用PS让模糊图片变清晰的方法教程

PS调出晶莹洁白肤色商业人像照片效果

PS调出唯美金黄色树叶背景甜美女生照片

调出高清质感暗色草原风景图片的PS教程


