Photoshop教程:非 主 流 FeiZhuLiu风景签名图片制作教程
2022-12-25 19:33:43
来源/作者: /
己有:16人学习过
Photoshop教程:非 主 流 FeiZhuLiu风景签名图片制作教程作者:translate 来源:中国教程网
【简 介】
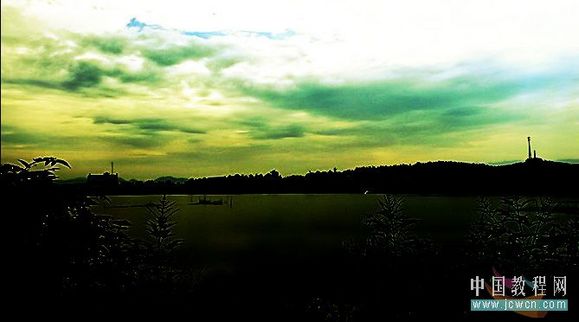
写给朋友的教程,顺便带上来一起学习...对播!!! 这个效果在很多平时非们的签名图上都出现过,很简单...每张图的意境不一样, 所以我做的可能差点!!! 但你们做的好看就是啦~~ 好啦!!开始...原图:

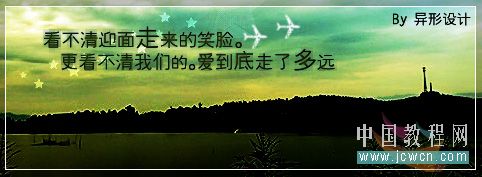
效果图:
签名图:
1.复制背景层
图1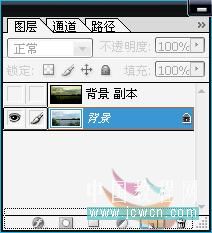 如图:
如图:
图2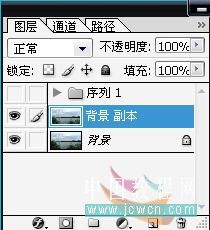
打开“图象-调整-照片滤镜头”
图3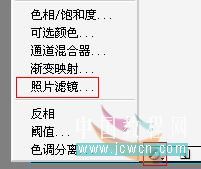
2.参数调整如图
图4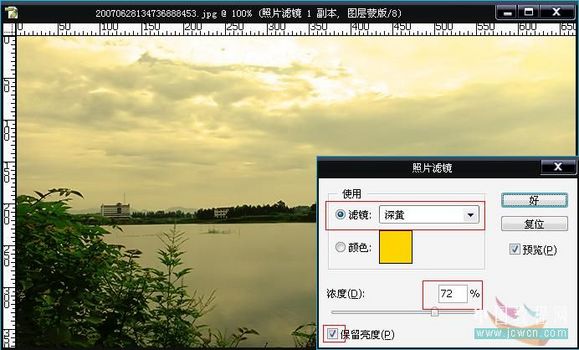
注意~~~~~
图5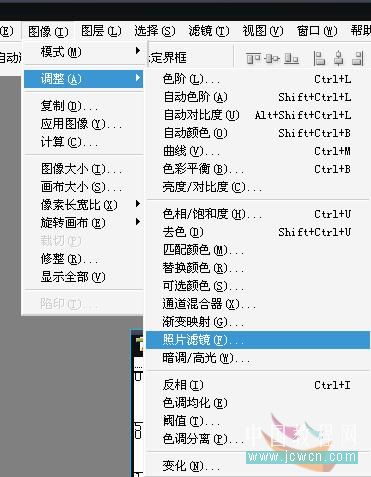
像这样就不能调图层模式了...
图6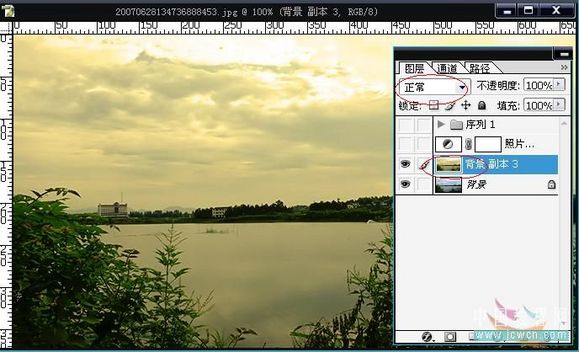
把图层模式改为“线形加深”
图7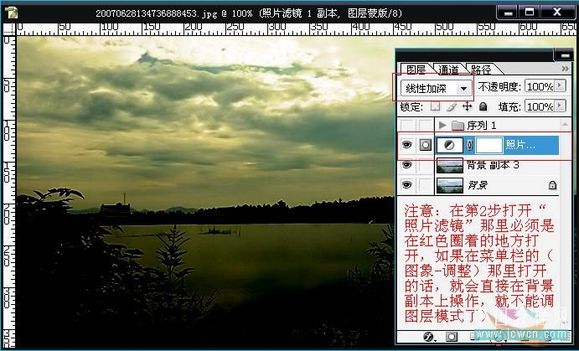
按crtl e 合并图层
图8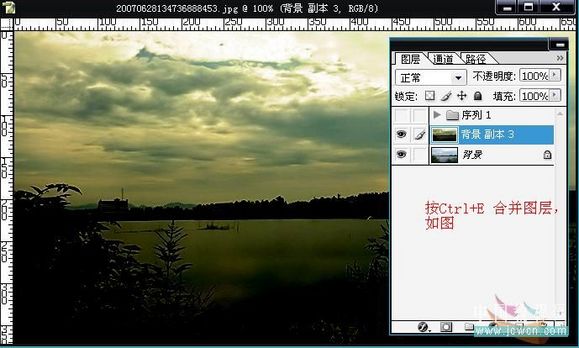
把背景 副本的图层模式改为“强光”,如图
图9
按ctrl alt e 进行盖印,使效果更加有力
图10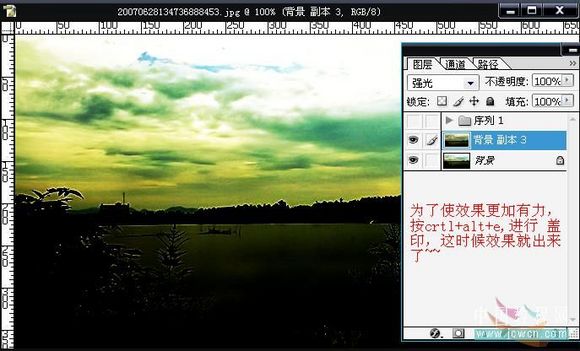
选一个自己有感觉的部分,加上字体,简单制作为签名
结束........... baibai ....
【简 介】
写给朋友的教程,顺便带上来一起学习...对播!!! 这个效果在很多平时非们的签名图上都出现过,很简单...每张图的意境不一样, 所以我做的可能差点!!! 但你们做的好看就是啦~~ 好啦!!开始...原图:
效果图:
签名图:
1.复制背景层
图1
如图: 图2
打开“图象-调整-照片滤镜头”
图3
2.参数调整如图
图4
注意~~~~~
图5
像这样就不能调图层模式了...
图6
把图层模式改为“线形加深”
图7
按crtl e 合并图层
图8
把背景 副本的图层模式改为“强光”,如图
图9
按ctrl alt e 进行盖印,使效果更加有力
图10
选一个自己有感觉的部分,加上字体,简单制作为签名
结束........... baibai ....
搜索更多相关主题的帖子:教程 Photoshop 主流 风景 中国
相关推荐

Photoshop快速修复强光照射的非主

Photoshop通道修复偏蓝照片的方法

祁连山教你四种用photoshop优化模

卒仔:用photoshop還原真實顔色...

如何用PS把浑浊的风景照片调出通透清晰

PS商业修图师对人物头发进行精修教程

如何用PS打造出明亮而有神的眼睛效果

PS商业修图给人像增强光影质感的方法介绍


