photoshop签名教程:回家的心情
2022-12-25 18:39:28
来源/作者: /
己有:21人学习过
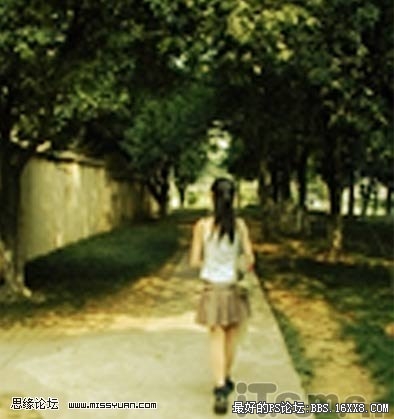
先复制一层背景副本。然后新建一个图,填充淡黄色。把它的图层样式改为叠加。让它有一点夕阳下温暖的感觉,呵呵 。下图:
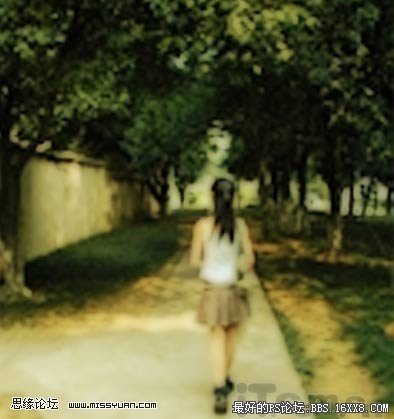
然后按CTRL+ALT+~获取高光,选择滤镜-模糊-高期模糊。参数我设了4:
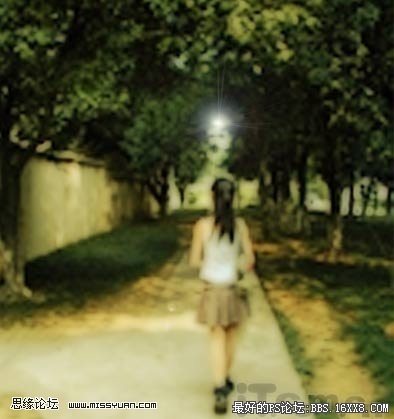
在前方加了一点阳光的效果,打开滤镜-渲染-镜头光晕,我选了第三个105聚焦,参数设成50,如图:
再加点字体上去。如下图。喜欢简单的朋友可以到此就行了。呵呵

然后按CTRL+ALT+~获取高光,选择滤镜-模糊-高期模糊。参数我设了4:
在前方加了一点阳光的效果,打开滤镜-渲染-镜头光晕,我选了第三个105聚焦,参数设成50,如图:
再加点字体上去。如下图。喜欢简单的朋友可以到此就行了。呵呵
标签(TAG) 动漫签 学photoshop
下一篇:飞轮海签名教程
相关推荐

Photoshop动漫签名:我依然是你的公

PS动漫签名教程:那一年,樱花漫舞

photoshop可爱的动漫签名教程

简单清新动漫签

如何用PS把浑浊的风景照片调出通透清晰

PS商业修图师对人物头发进行精修教程

如何用PS打造出明亮而有神的眼睛效果

PS商业修图给人像增强光影质感的方法介绍


