Photoshop打造梦幻的蓝色仿手绘美女
2022-12-25 17:05:22
来源/作者: /
己有:15人学习过
19、盖印层,转到通道面板ctrl点击RGB通道调出RGB选区,添加色阶调整层。
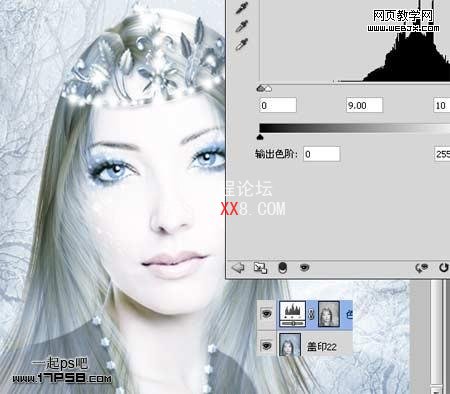
20、用黑色柔角笔刷涂抹蒙版,将面部涂抹出来。

21、建新层,用白色柔角笔刷涂抹头发部分,适当降低不透明度。
22、再次盖印层,用曲线套索做一选区,羽化30像素,反选,高斯模糊1像素。
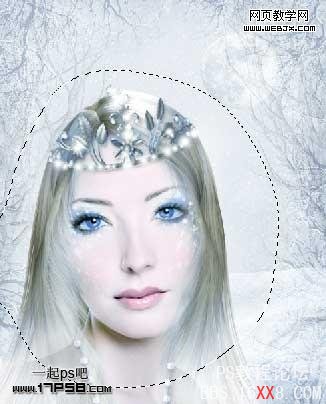
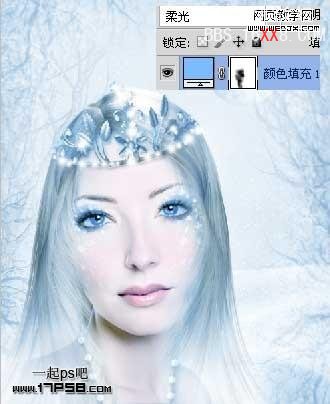
23、添加蒙版,把下半部涂抹出来,顶部建新层,填充# 7ebafc,图层模式柔光,添加蒙版,用笔刷把脸部涂抹出来。
24、建新层,前景色#e887d9用柔角笔刷涂抹唇部,图层模式柔光,此为唇彩。
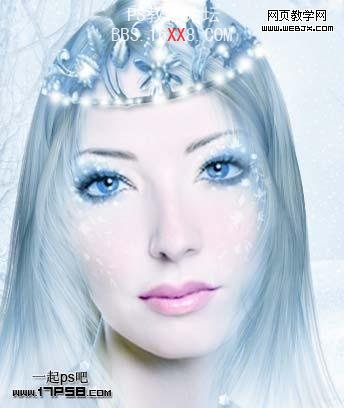
25、盖印层,用加深工具加暗鼻子右侧,使之更明显突出些。
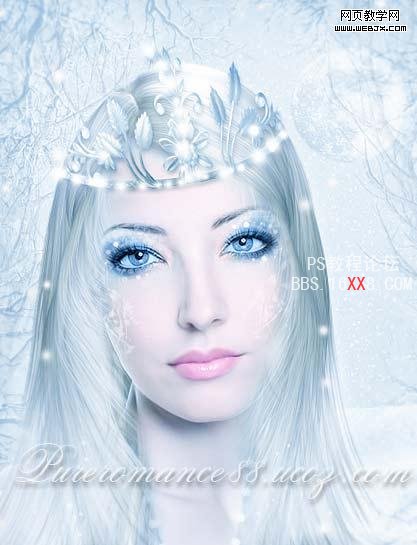
26、建新层,用白色柔角画笔添加一些雪花。

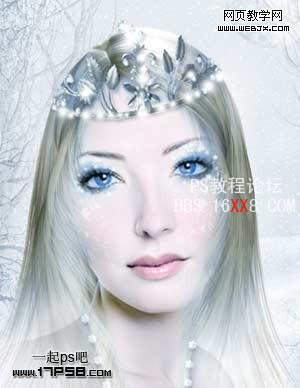
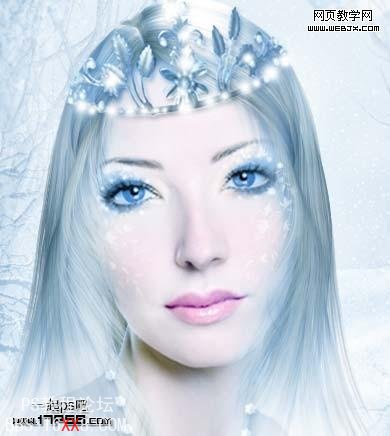
27、最后盖印层,用Topaz滤镜锐化一下,最终效果如下。
下一篇:ps怎样做油画效果
相关推荐

Photoshop快速修复强光照射的非主

Photoshop通道修复偏蓝照片的方法

祁连山教你四种用photoshop优化模

卒仔:用photoshop還原真實顔色...

如何用PS把浑浊的风景照片调出通透清晰

PS商业修图师对人物头发进行精修教程

如何用PS打造出明亮而有神的眼睛效果

PS商业修图给人像增强光影质感的方法介绍


