Photoshop制作GIF动画教程:真实的波动的水面
2022-12-25 12:28:13
来源/作者: /
己有:35人学习过
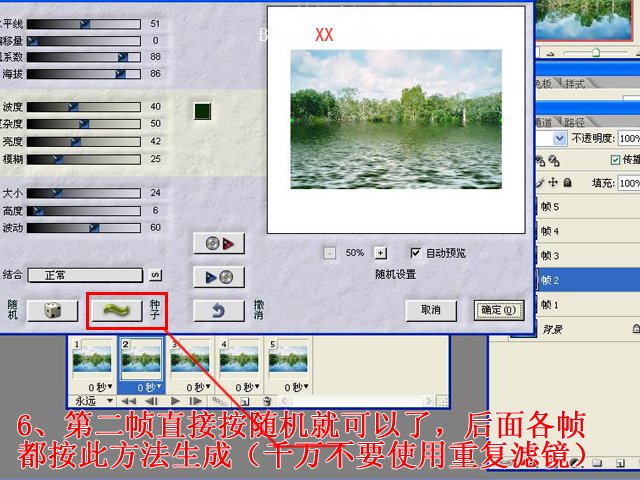
呵呵,原来我制作水波,借助了各种软件,效果还是不理想。前年我发现了个水波滤镜用来制作水波,制作静态的还可以,动态的就一直不能有好的效果。前一段时间,通过吧里的老师预言昨天和君怡给我讲解了置换屡镜的使用,我才知道,滤镜在制作动态时是不能够重复使用的,上面是我的一些心得,希望能给初学的朋友一点启发。下面我做了一个水波教程,是我自己思考并创作的,如果和网上有雷同的地方,纯属于巧合....呵呵
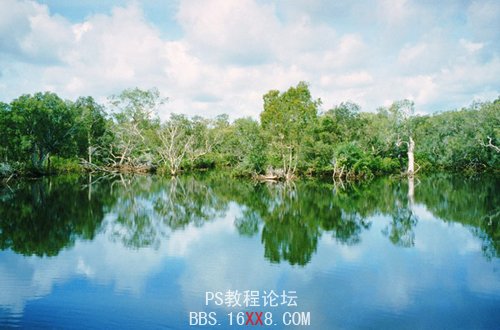
原图:
效果

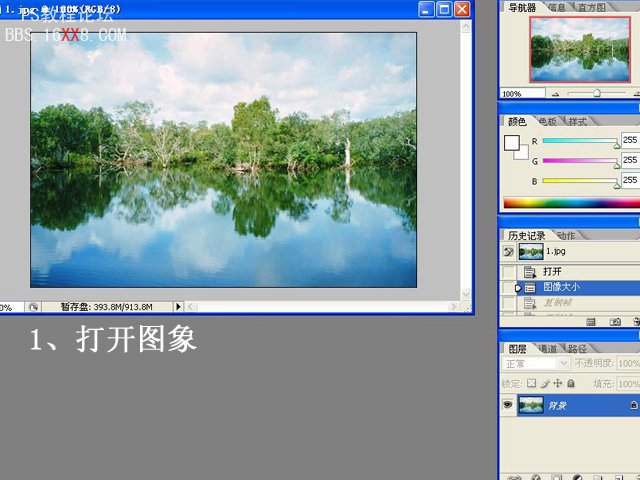
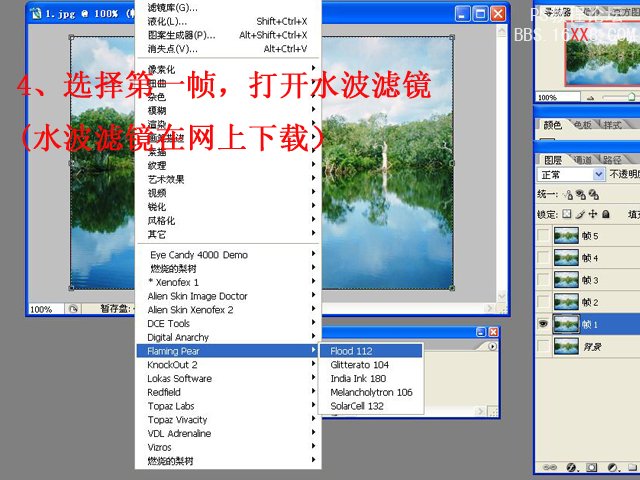
1、打开图像
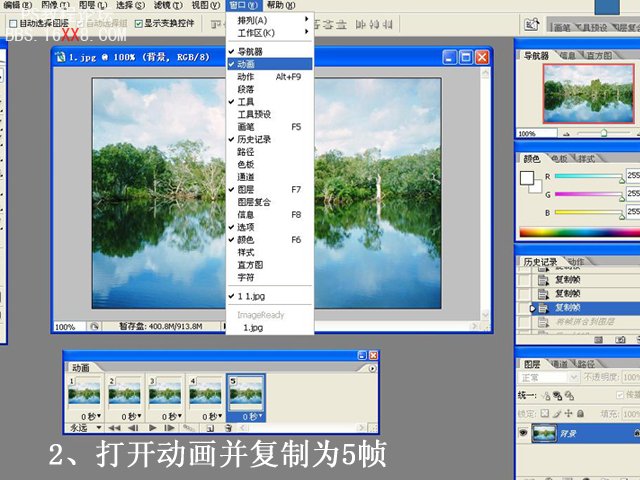
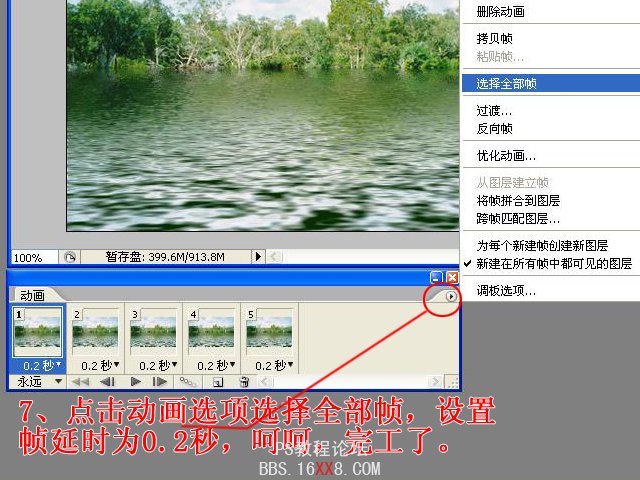
2、打开动画面板
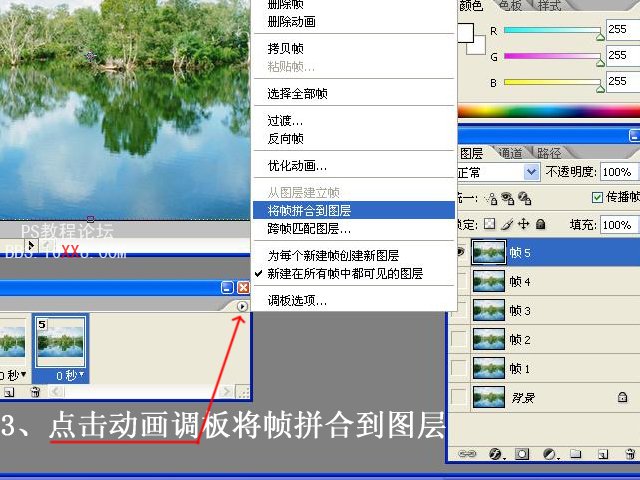
3、拼合图层
4、打开水波滤镜 ,没有的可以去这里下载:水面倒影滤镜
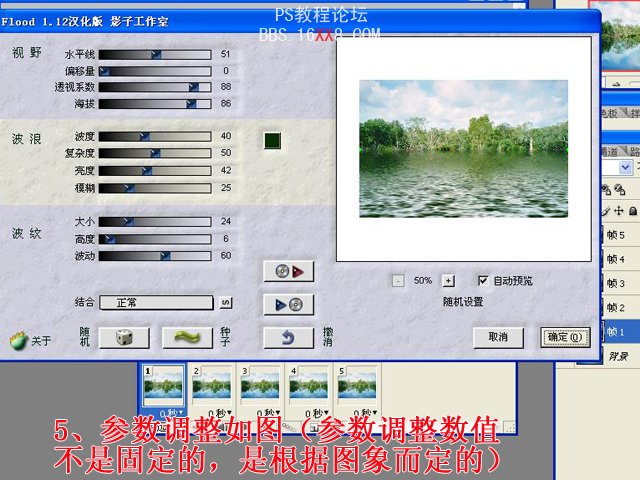
5、参数设置
完成最终效果
下一篇:Ps滚字教程
相关推荐

ps动画教程:制作移动的卡通娃娃GIF

Ps动画教程:制作的漂亮霓虹灯网店

Photoshop用绘制心形并填充方法打

ps制作飘动的头发的GIF动画教程

photoshop教你利用滤镜打造小清新镜头光晕

用抽出滤镜对毛发抠图的PS教程

用PS抽出滤镜对毛毛虫图片抠图换背景

用抽出滤镜抠图的几种方法


