photoshop制作光棍节GIF动画
2022-12-25 12:29:39
来源/作者: /
己有:46人学习过
第二步:为人物进行一下简单的美白效果。复制人物图层,得到人物图层副本,去色(快捷键ctrl+shift+u),图片混合模式设为:柔光,效果如下:
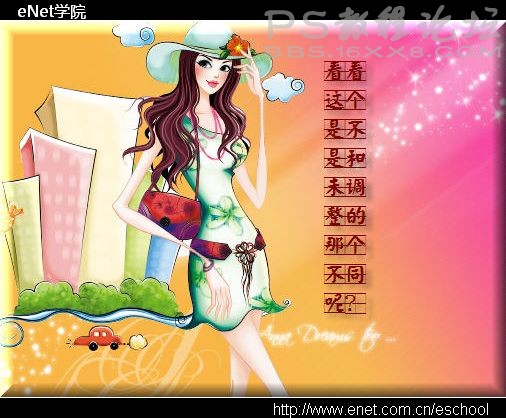
第三步:为人物图层和背景图层结合的更融洽一些,新建图层,填充颜色为ffffff;图层混合模式为颜色加深,不透明度30,效果如下:

第三步:为人物图层和背景图层结合的更融洽一些,新建图层,填充颜色为ffffff;图层混合模式为颜色加深,不透明度30,效果如下:
标签(TAG) 动画教程 学photoshop
相关推荐

Photoshop用绘制心形并填充方法打

ps制作小河流浪波浪字动画教程

ps制作炫彩效果的流动动画教程

ps制作溶解淡入显现GIF动画教程

photoshop教你利用滤镜打造小清新镜头光晕

用抽出滤镜对毛发抠图的PS教程

用PS抽出滤镜对毛毛虫图片抠图换背景

用抽出滤镜抠图的几种方法


