ps制作闪字教程
2022-12-25 10:50:05
来源/作者: /
己有:44人学习过
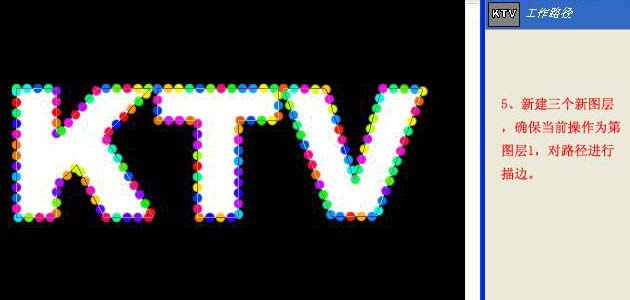
5、新建三个新图层,确保当前操作图层为图层1,然后对路径进行描边。
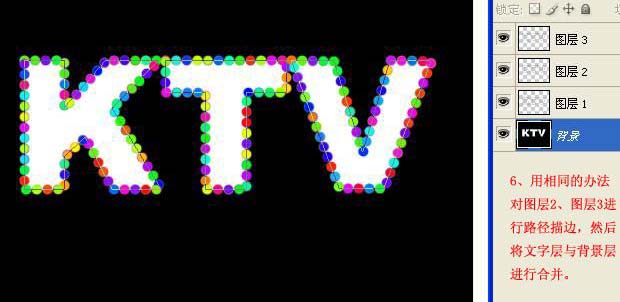
6、用相同的方法,对图层2和图层3进行路径描边,然后将文字图层与背景层合并。
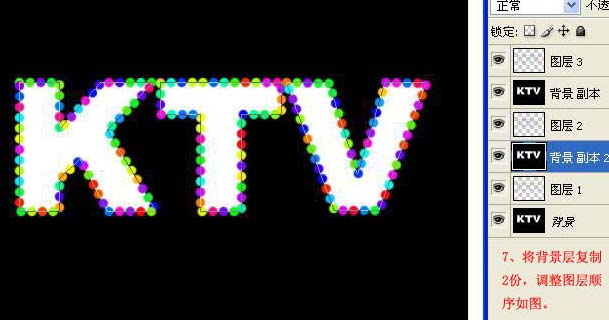
7、将背景层复制两层,调整好图层顺序。
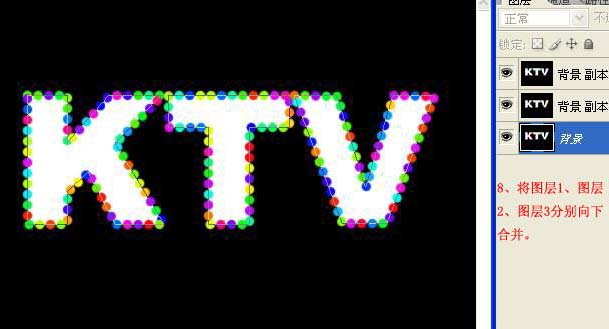
8、分组合并。
10、转入IR里面,进行设置,新建三个帧分别放置三张图片,每幅图片的时间设置为0.5秒,然后选择菜单:文件 > 将优化结果保存为GIF文件即可。

上一篇:把PS滤镜导入U5
下一篇:利用滤镜制作绚丽的彩色星球
相关推荐

帅哥也美容:PS 轻松打造漂白效果

PS照片靓肤技巧教程

ps高反差保留精细柔肤教程

ps肤色精修教程

photoshop教你利用滤镜打造小清新镜头光晕

用抽出滤镜对毛发抠图的PS教程

用PS抽出滤镜对毛毛虫图片抠图换背景

用抽出滤镜抠图的几种方法


