ps制作绚丽的光束文字动画
2022-12-25 10:51:31
来源/作者: /
己有:35人学习过
6、执行:滤镜 > 锐化 > USM锐化,参数如下图。
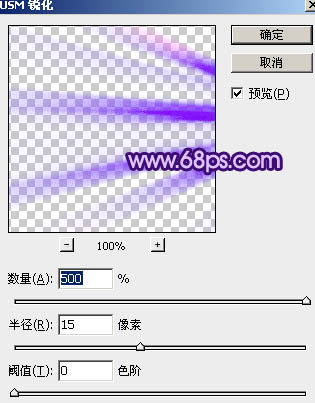
<图8>
7、执行:滤镜 > 模糊 > 径向模糊,参数设置如图9,确定后按Ctrl + F 3次加强光束,效果如图10。
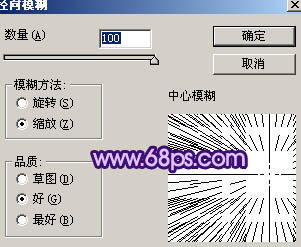
<图9>

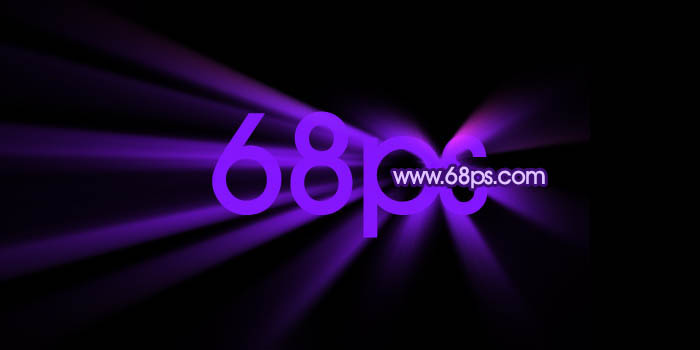
<图10>
8、把做好的光束移到文字上面,效果如下图。
<图8>
7、执行:滤镜 > 模糊 > 径向模糊,参数设置如图9,确定后按Ctrl + F 3次加强光束,效果如图10。
<图9>
<图10>
8、把做好的光束移到文字上面,效果如下图。
相关推荐

闪字教程

PS水银质感闪字教程

ps制作霓虹灯闪字教程

闪字教程,用时间轴制作漂亮的紫色炫

photoshop教你利用滤镜打造小清新镜头光晕

用抽出滤镜对毛发抠图的PS教程

用PS抽出滤镜对毛毛虫图片抠图换背景

用抽出滤镜抠图的几种方法


