PS来回滚动扫描文字GIF动画效
2022-12-25 10:50:26
来源/作者: /
己有:55人学习过
教大家用PhotoShop制作一种光影来加滚动扫描文字GIF动态效果,做这种效果的动画还是属于比较简单的,喜欢GIF动画的同学可以学习一下!
效果图:
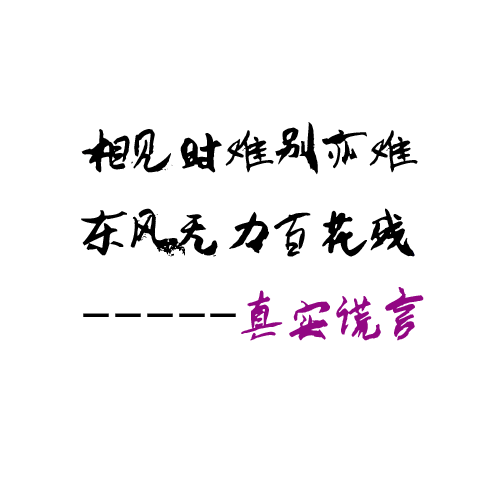
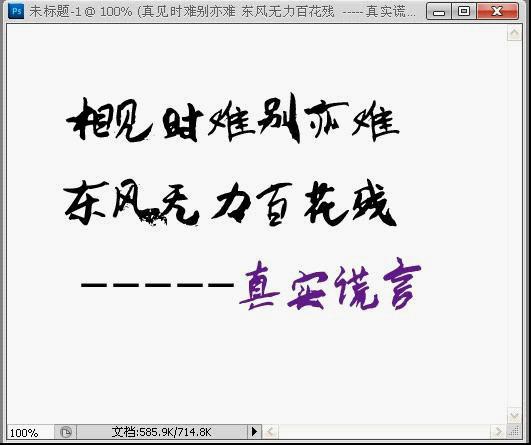
1、新建图层,打上你喜欢的字。
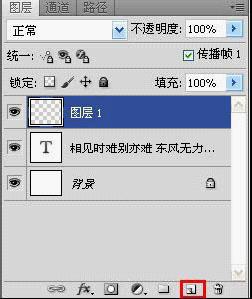
2、创建新图层
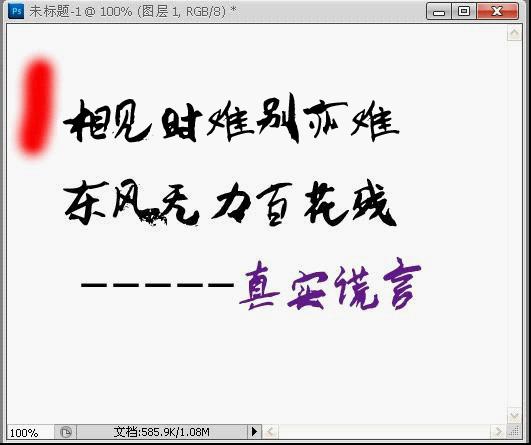
3、用"画笔"工具在此画一笔(前景颜色便是画笔的颜色)
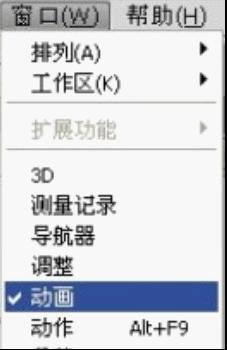
4、点击“窗口”---“动画”导出动画栏
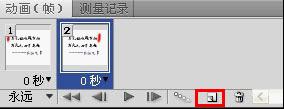
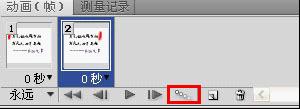
5、复制一帧
6、用“移动”工具把颜色移到右边

7、点击“过渡”
8、“过渡”20帧

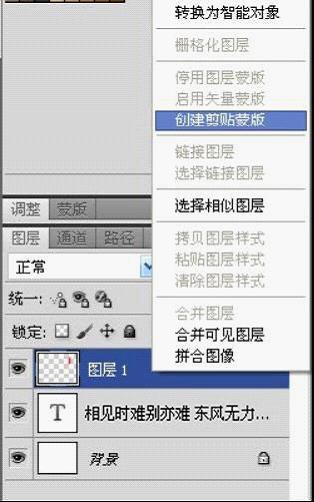
9、在“颜色”图层处击右建“创建剪贴蒙版”
上一篇:3D滤镜的基础使用
相关推荐

Portraiture滤镜,Portraiture磨皮滤

ps结合CR添加清新的彩妆效果

美发教程!利用ps改变头发颜色。

修眉毛,教大家怎么用PS修眉毛视频教

photoshop教你利用滤镜打造小清新镜头光晕

用抽出滤镜对毛发抠图的PS教程

用PS抽出滤镜对毛毛虫图片抠图换背景

用抽出滤镜抠图的几种方法


