ps合成建筑在山顶的奇幻城堡
2022-12-26 00:55:08
来源/作者: /
己有:24人学习过
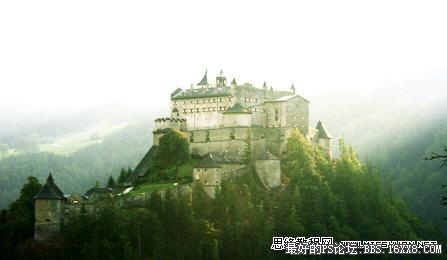
原图:
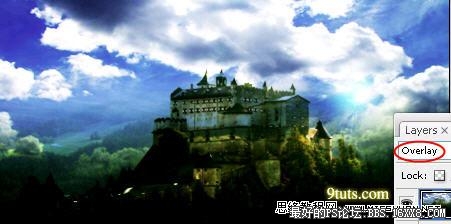
 效果图:
效果图:
 [b]步骤 1:[/b] 打开素材图并复制图层([b]Ctrl-J[/b]) ,图像 调整 亮度/对比度,设置如下:

,
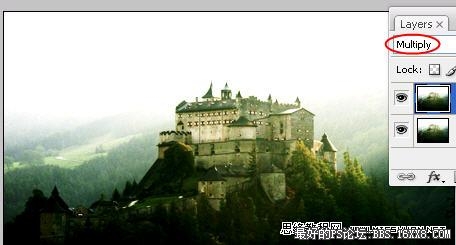
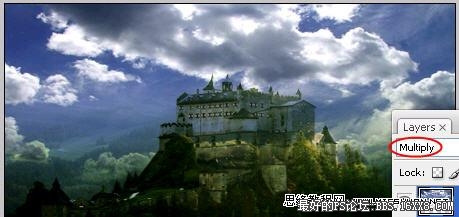
[b]步骤 2:[/b] 将图片混合模式设为“正片叠底”。
 [b]步骤 3:[/b] 按下 [b]Ctrl-Shift-Alt-E[/b] ,将可见图层合并到新图层。复制天空素材。
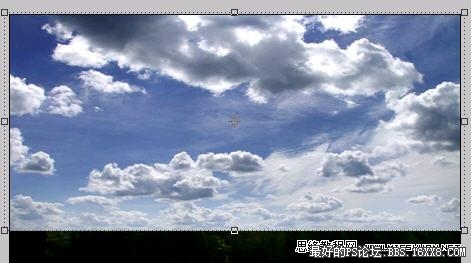
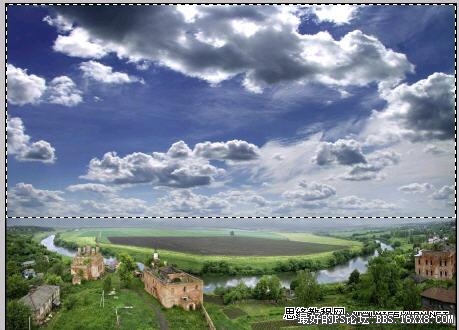 按下图方式调整天空素材。
,
[b]步骤 4:[/b] 将天空图层的混合模式改为“正片叠底”。
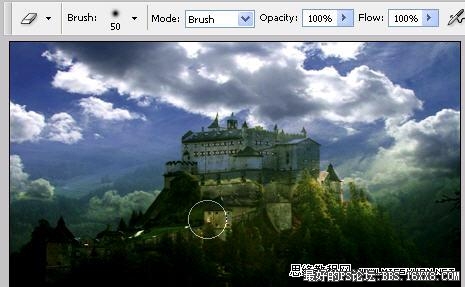
 [b]步骤 5:[/b] 使用柔角橡皮擦工具(硬度0%)擦除天空素材下方,得到均匀过渡效果。
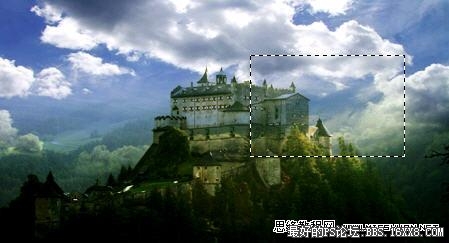
[b]步骤 6:[/b] 创建新图层,并用矩形选框工具绘制如下矩形。
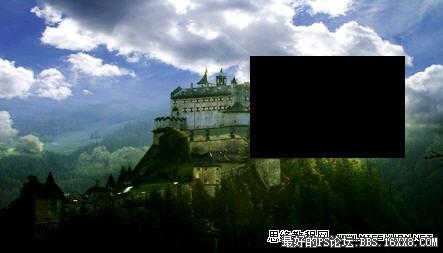
 用黑色填充。
,
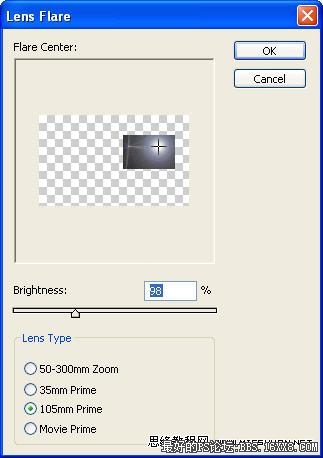
滤镜 渲染 镜头光晕,并按下图设置。
 将图层混合模式设为“叠加”。
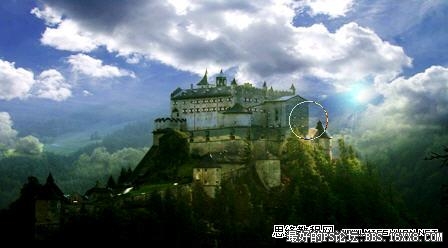
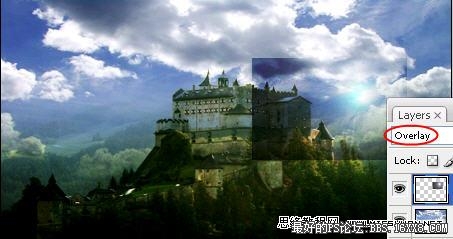 使用橡皮擦工具擦除矩形边缘得到漂亮的阳光效果。
,
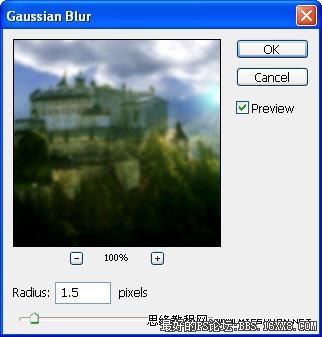
[b]步骤 7:[/b] 按下[b]Ctrl-Alt-Shift-E[/b],再按下 [b]Ctrl-J[/b] ,滤镜 模糊 高斯模糊,模糊半径设为1.5。
 将图层混合模式设为“叠加”。
 最后使用橡皮擦工具擦除画布中过黑的部分得到最终效果。
效果图:[b]步骤 1:[/b] 打开素材图并复制图层([b]Ctrl-J[/b]) ,图像 调整 亮度/对比度,设置如下:,
[b]步骤 2:[/b] 将图片混合模式设为“正片叠底”。
[b]步骤 3:[/b] 按下 [b]Ctrl-Shift-Alt-E[/b] ,将可见图层合并到新图层。复制天空素材。按下图方式调整天空素材。,
[b]步骤 4:[/b] 将天空图层的混合模式改为“正片叠底”。
[b]步骤 5:[/b] 使用柔角橡皮擦工具(硬度0%)擦除天空素材下方,得到均匀过渡效果。 [b]步骤 6:[/b] 创建新图层,并用矩形选框工具绘制如下矩形。
用黑色填充。,
滤镜 渲染 镜头光晕,并按下图设置。
将图层混合模式设为“叠加”。使用橡皮擦工具擦除矩形边缘得到漂亮的阳光效果。,
[b]步骤 7:[/b] 按下[b]Ctrl-Alt-Shift-E[/b],再按下 [b]Ctrl-J[/b] ,滤镜 模糊 高斯模糊,模糊半径设为1.5。
将图层混合模式设为“叠加”。最后使用橡皮擦工具擦除画布中过黑的部分得到最终效果。标签(TAG) 照片合成 城堡场景 学photoshop
下一篇:明星赵丽颖合成图片教程
相关推荐

ps合成雪中城堡场景教程

ps合成童话邪恶山谷城堡场景

PS照片合成火焰天使图片

ps照片合成三个炮筒的坦克车

合成行驶在梦幻森林中火车照片的PS教程

合成恐怖灵异双重曝光头像照片的PS教程

PS合成明亮夜色下的天使白狼场景图片

战争海报,PS合成战争电影主题海报图片设计教程


