photoshop合成雪中女王
2022-12-25 23:37:16
来源/作者: /
己有:29人学习过
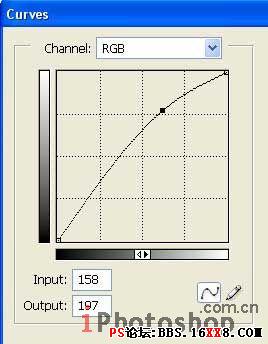
Take now Sponge Tool to decolorize the girl's picture except her scarf on her neck. Increase then the layer's brightness, applying Image -Adjustments -Curves (ctrl+m).
使用海绵工具将MM脱色,围巾除外,之后点击图像-调整-曲线(ctrl+m)将图像调亮一点。
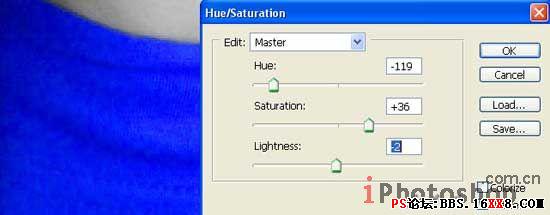
Change the scarf's color on blue one: Image -Adjustments -Hue/Saturation (ctrl+u)
点击图像-调整-色相/饱和度进行如下调整将MM的围巾颜色变成蓝色~
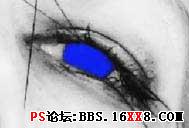
Create now a new layer: Layer -New Layer and make use of Brush Tool to paint the eyes in the same color of the scarf.
新建层,使用画刷工具将MM的眼睛涂成围巾相同的蓝色~
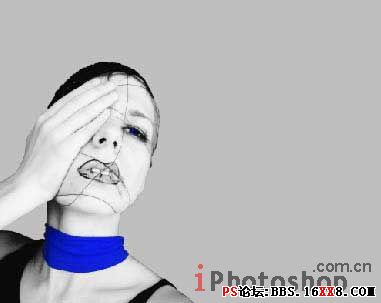
Change the layer's type on Overlay and combine it with the previous one: Layer -Merge Down (ctrl+e). Then increase the picture's size, using Crop Tool. Create a new layer now for the background and place it out lower then the girl's layer. Paint it after that in a neutral color, applying Paint Bucket Tool.
将图层类型设置为覆盖,并合并到MM层里面去(图层-合并图层ctrl+e)。使用裁剪工具扩大画布,新建层放在MM层下面当作背景,使用油漆桶工具随便填充一种颜色。
标签(TAG) 照片合成
下一篇:ps照片合成:添加星球背景
相关推荐

Photoshop快速修复强光照射的非主

Photoshop通道修复偏蓝照片的方法

祁连山教你四种用photoshop优化模

卒仔:用photoshop還原真實顔色...

合成行驶在梦幻森林中火车照片的PS教程

合成恐怖灵异双重曝光头像照片的PS教程

PS合成明亮夜色下的天使白狼场景图片

战争海报,PS合成战争电影主题海报图片设计教程


