Photoshop制作炫酷的汽车LED大灯电商海报
2019-04-23 21:58:39
来源/作者: 自媒体 / 振强
己有:350人学习过
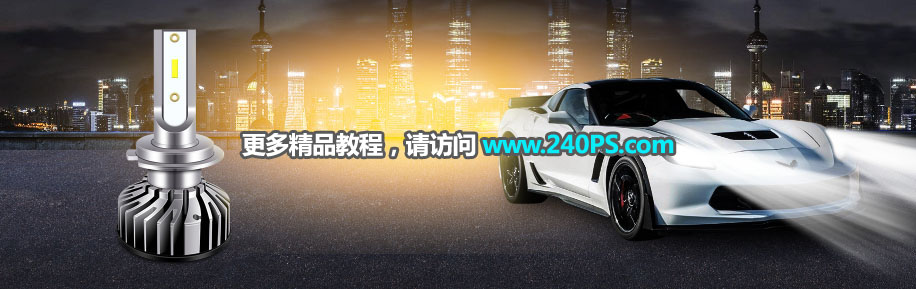
12、加入产品。把精修好的产品加进来,转为智能对象,然后调整好大小,如下图。
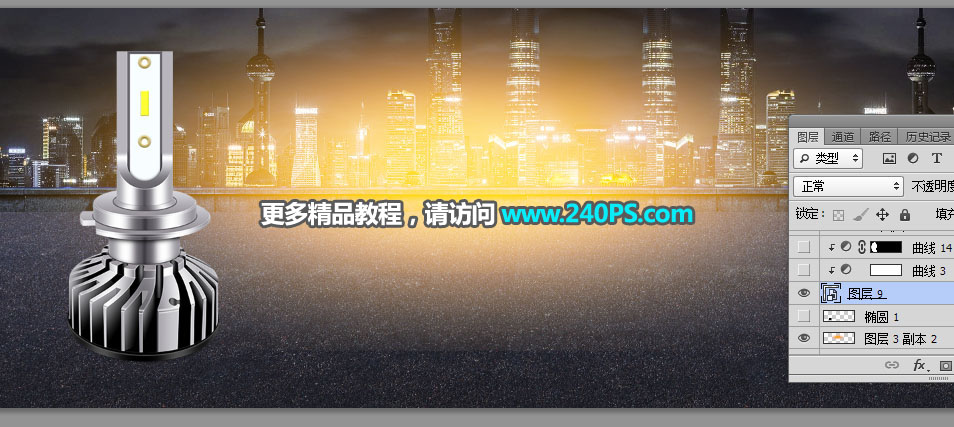
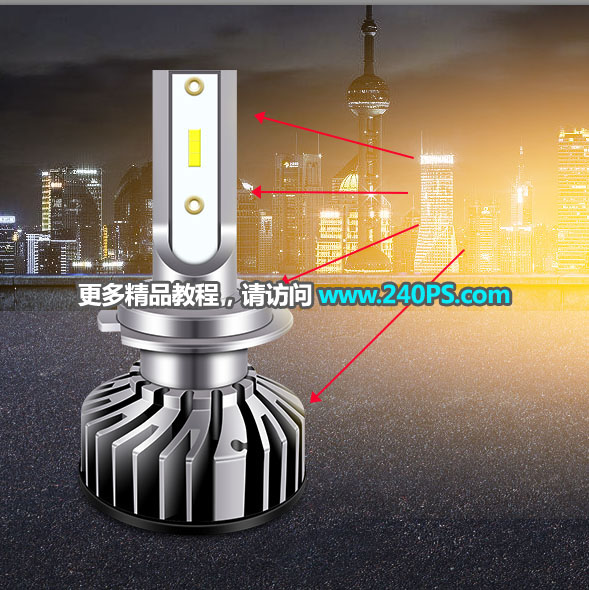
13、调整产品光影。根据光影的位置和颜色,渲染一下产品的光影,如下图。

14、加入汽车素材。找合适角度的汽车素材,抠出来,然后拖进来,放到画布的右侧并调整好大小。

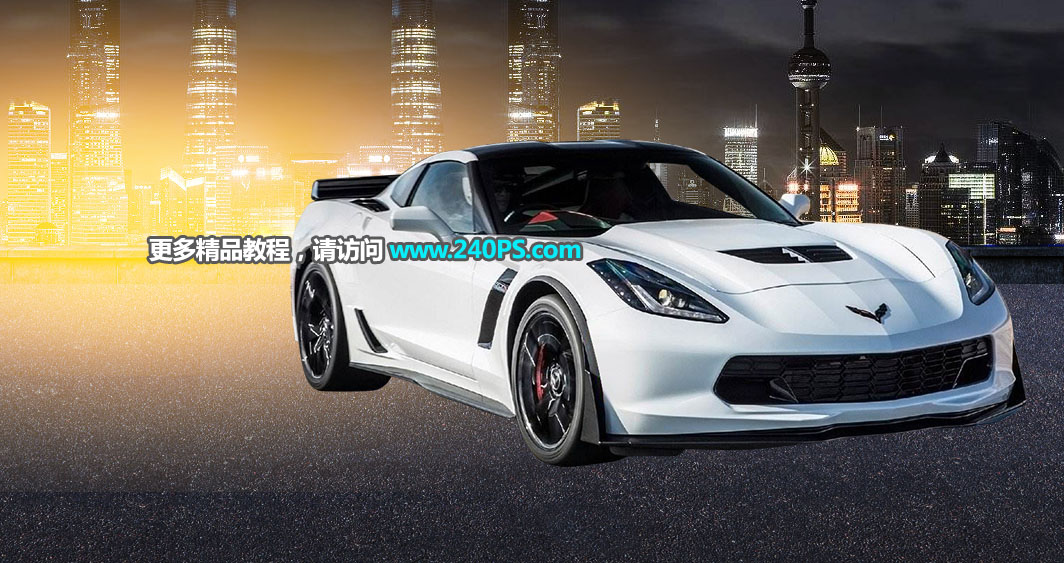
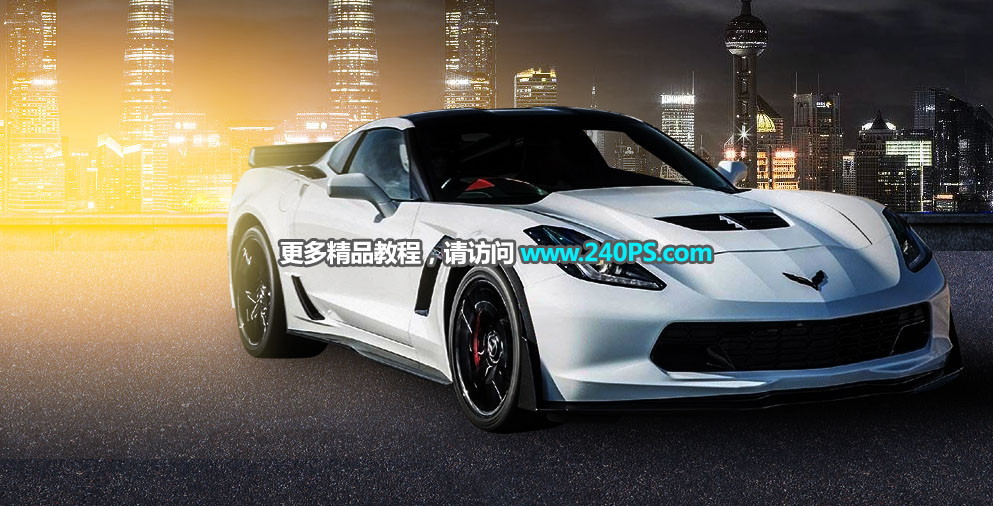
15、调整汽车的光影。根据光源位置渲染一下汽车的光影,效果如下图。
16、给汽车加上灯光。新建一个图层,找一些光束笔刷,给汽车车灯部分加上灯光光束,如下图。

17、这是现在的整体效果。
18、产品部分加上灯光,再加强一些局部明暗,效果如下图。
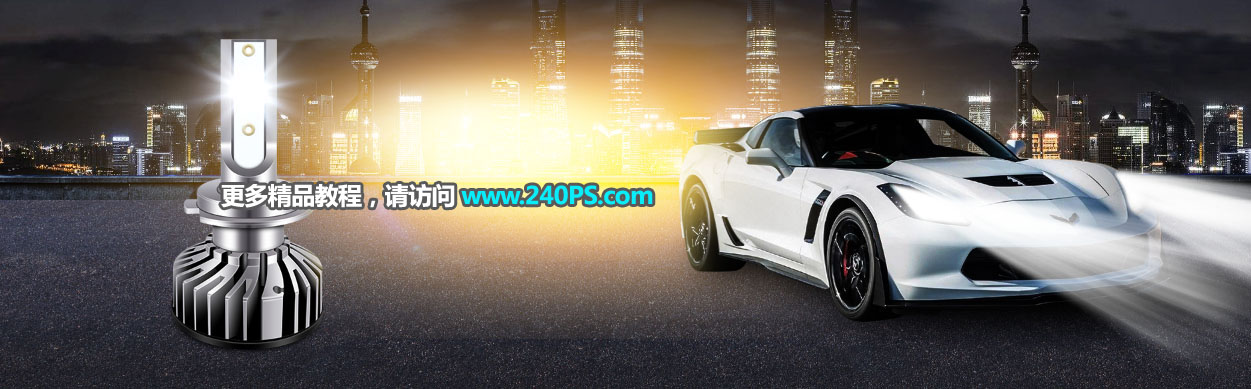
19、添加文案。根据产品的卖点加上文案,如下图。
20、最后一步,微调一下整体明暗,效果如下图。

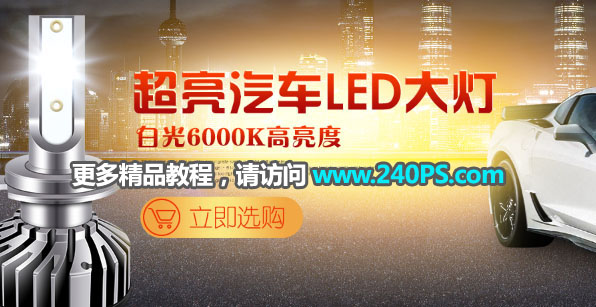
最终效果
 <点图片查看大图>
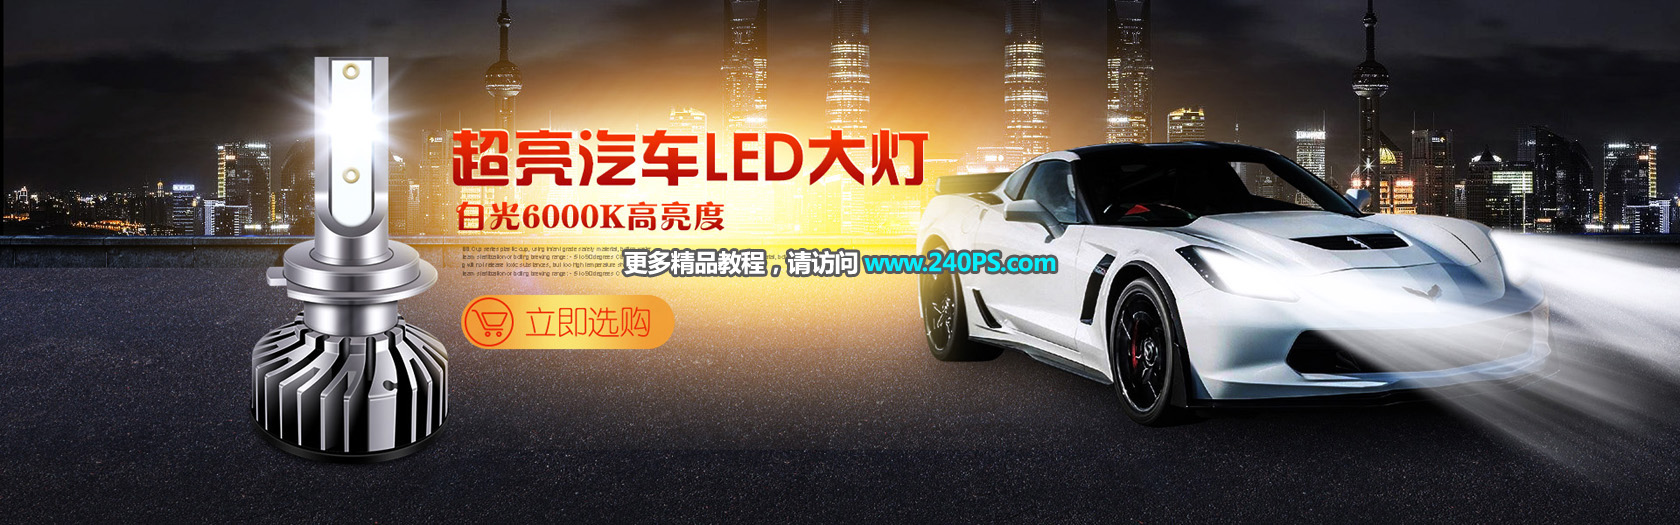
相关推荐

PS设计自然精华男士泥浆面膜产品电

Photoshop制作简洁的破壁机电商海

Photoshop制作唯美的生态矿泉水海报

海报设计,PS制作科技感失量海报照片设计教程

切割海报,PS制作创意十足的切割海报照片设计

卷边效果,PS制作翻页效果的捉妖记海报图片设计


