小清新,调出小清新的漂亮色调
2023-12-06 17:35:08
来源/作者: /
己有:0人学习过
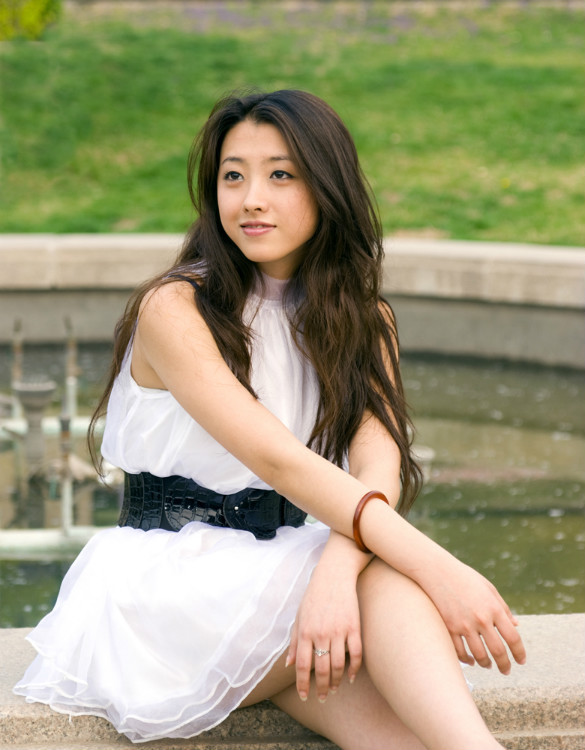
原素材照片人像色调偏黄,通过ps简单几步调整后,整体清新,色调明亮。喜欢的一起练习一下。
本教程提供PSD源文件和原图片下载。
下载地址:https://img.lvups.com/d/file/bigpic/2022/12/26/u244vbac5eg /> 作者博客地址:http://lixiner5200.blog.163.com/
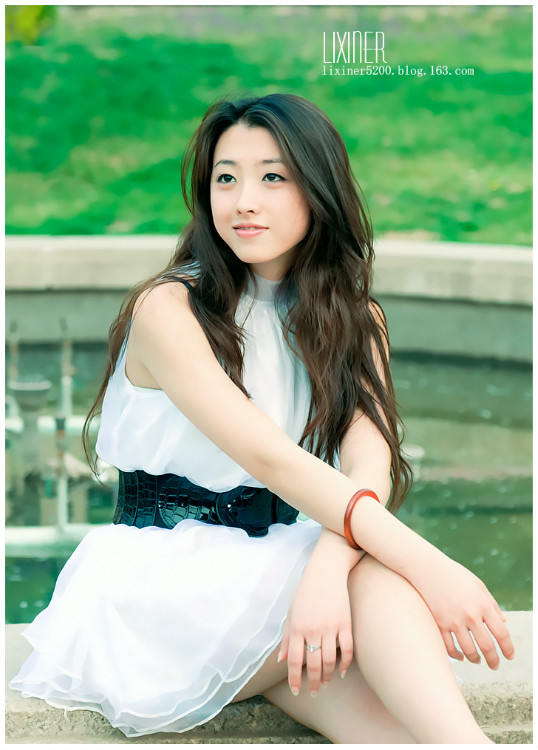
处理完的效果图片:
原图片:
第一步:
磨皮。这步大家自己做。方法很多。
注:这一步。可做可不做。
我这里用的是我自己的做法:稍亮调磨皮。
很微妙的。可参考PSD源文件哦。
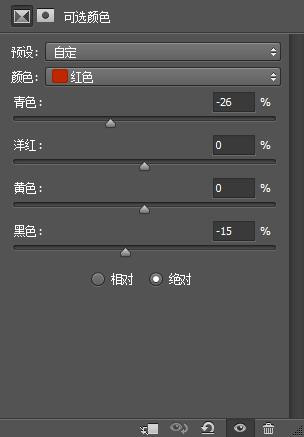
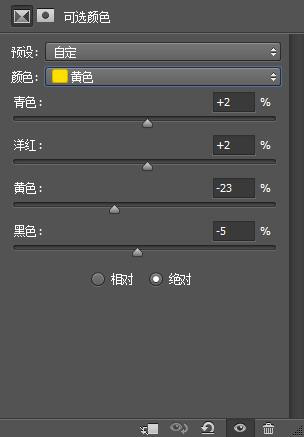
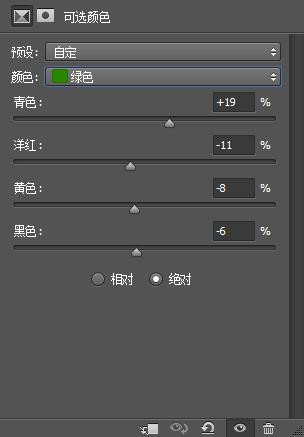
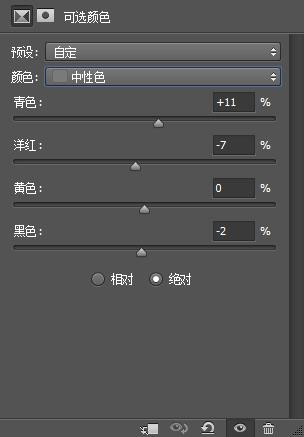
第二步:
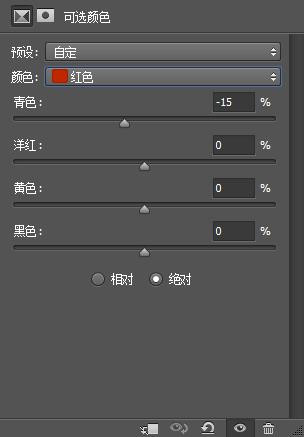
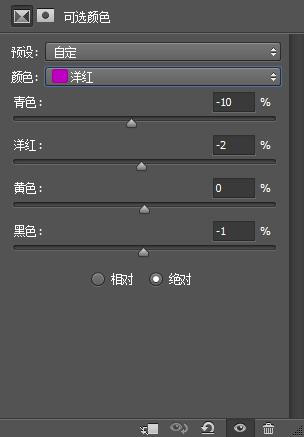
调出我们要的主色调来。
使用可选颜色工具。
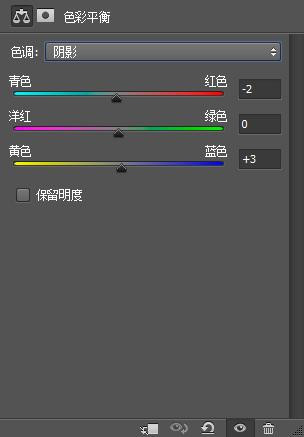
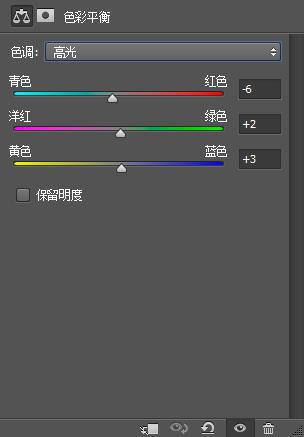
第三步:
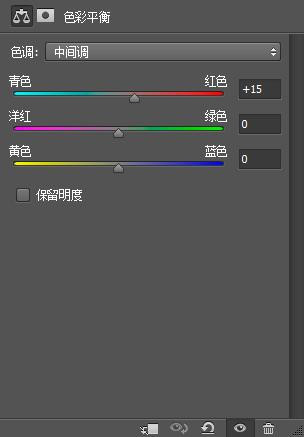
我们稍调下主色吧
使用色彩平衡工具吧。

第四步:
调人物色。使用可选颜色 工具。
注意:背景用蒙版蒙住哦


第五步:
稍调主色调。使用色彩平衡工具。
第六步:
给图片锐化下。这步大家自己做。
第七步:
再次锐化下哦。
最后给图片加个文字和做边框就可以了
本教程提供PSD源文件和原图片下载。
下载地址:https://img.lvups.com/d/file/bigpic/2022/12/26/u244vbac5eg /> 作者博客地址:http://lixiner5200.blog.163.com/
处理完的效果图片:
原图片:
第一步:
磨皮。这步大家自己做。方法很多。
注:这一步。可做可不做。
我这里用的是我自己的做法:稍亮调磨皮。
很微妙的。可参考PSD源文件哦。
第二步:
调出我们要的主色调来。
使用可选颜色工具。
第三步:
我们稍调下主色吧
使用色彩平衡工具吧。
第四步:
调人物色。使用可选颜色 工具。
注意:背景用蒙版蒙住哦
第五步:
稍调主色调。使用色彩平衡工具。
第六步:
给图片锐化下。这步大家自己做。
第七步:
再次锐化下哦。
最后给图片加个文字和做边框就可以了
下一篇:ps 3D工具制作立体字实例
相关推荐

灰蒙蒙照片调出通透的小清新色调

小清新,通过PS调出校园清新人像照片

小清新,通过PS把废照片调出清新干净

复古色调,王家卫式的港风人物调色效

明星赵丽颖合成图片教程

ps调出金黄色色调教程

ps刘亦菲和成龙明星合成教程

功能介绍,PS CC 2015画板工具


