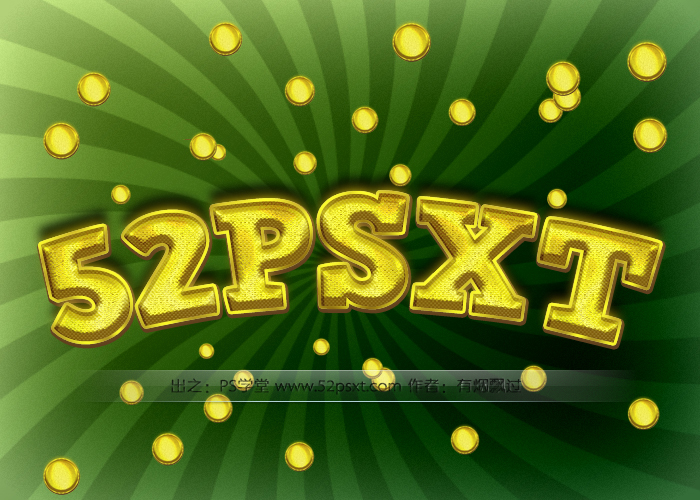
ps制作厚实饱满的金色锡纸文字效果教程
2022-12-25 15:23:25
来源/作者: /
己有:91人学习过
描边渐变:颜色#a88e22,位置:0;13;25;44;59;78;93颜色#f7f627,位置:6;19;33;51;63;72;85;100

5.我们再复制“文字副本”,同样清除图层样式,重新设置图层样式,如下:


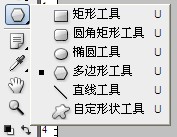
6.我们再给字体增加一点泡泡效果。用椭圆工具,按住shift键画出正圆(圆大点,方便后面变形),粘贴“文字副本”的图层模式。


7.再复制一层圆形图层,清除图层模式,复制一层“文字副本2”的图层模式,合并两个图层。


8.现在你就可以不停的复制图层,变形,摆放出你喜欢的效果。
相关推荐

PS实用教程:ps修复偏色风景照片

精细调整还你山清水秀——桔子教程

photoshop修复教程:还原泛黄色照片

photoshop修复教程:Lab模式还原雪

彩绘艺术字, PS液化工具制作彩绘背景设计教程

Photoshop制作非常流行的金沙立体字,细腻的金沙字体,金粉字。

Photoshop制作金色的海报标题文字教程

Photoshop使用笔刷制作书法艺术字教程


