ps云彩透射文字效果
2022-12-25 15:34:35
来源/作者: /
己有:12人学习过
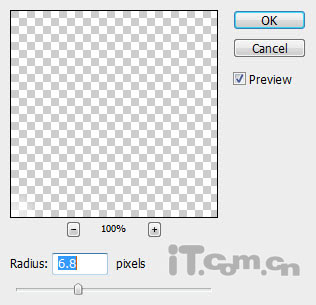
15、取消选择,然后设置高斯模糊效果,如图所示。(滤镜—模糊—高斯模糊)
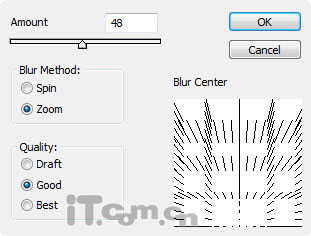
16、设置径向模糊效果,按Ctrl+F执行几次,如图所示。
17、设置图层混合模式为”叠加“,效果如图所示。

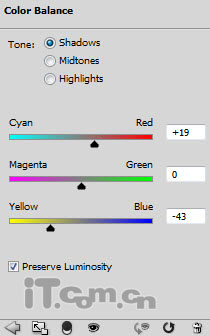
18、下面调整文字的颜色。添加以下两个调整图层。
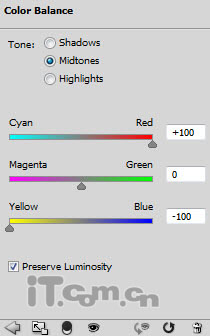
色彩平衡:
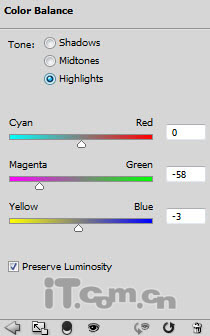
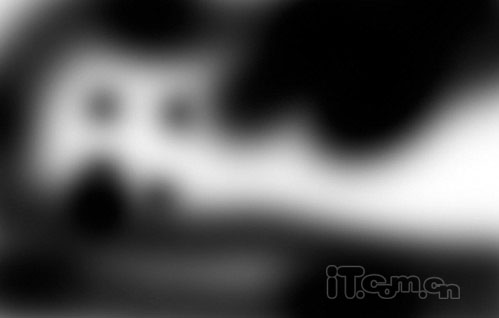
在色彩平衡的蒙版中涂抹:
曲线:
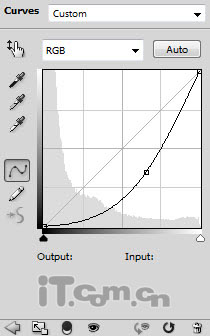
在曲线蒙版中涂抹:
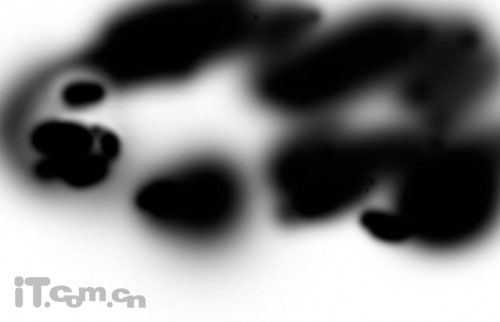
效果如图所示。
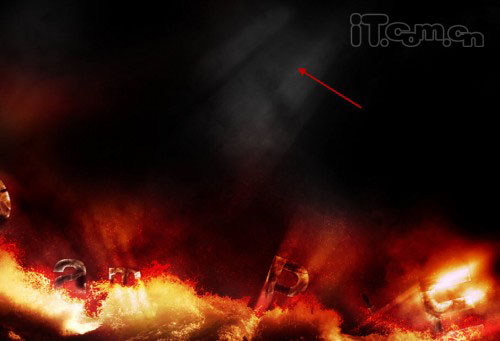
19、接下来做一些细节的调整。创建一个新图层,然后使用柔角的白色画笔在下图所示的区域上涂抹,然后设置图层混合模式为覆盖,不透明度为70%。
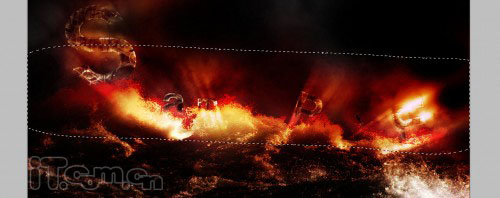
20、在文字的周围添加一些噪点,创造出一些飞溅的效果。(滤镜—杂色—添加杂色)

21、你还可以复制有径向模糊效果的图层,然后调整角度和位置,制作出更多光线效果
22、最后,我还添加了一个黑白调整图层,如图所示。
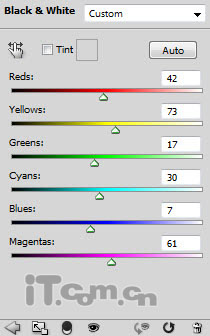
黑白调整图层的蒙版涂抹效果:
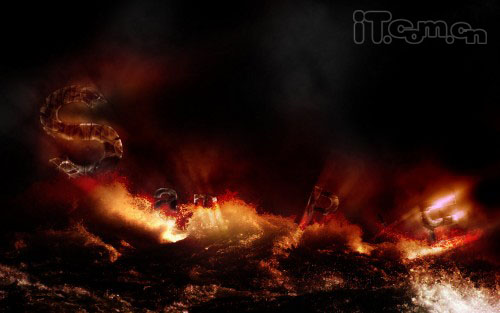
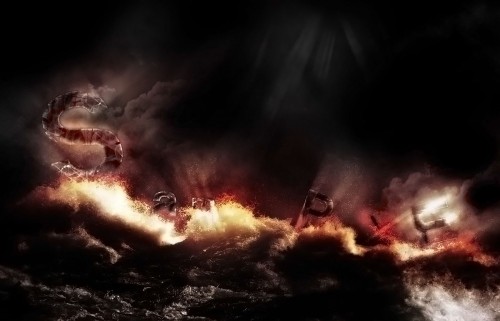
23、设置黑白调整图层的不透明度为50%,最终效果如下图所示。
上一篇:用ps制作薄荷字体特效
相关推荐

Photoshop快速修复强光照射的非主

Photoshop通道修复偏蓝照片的方法

祁连山教你四种用photoshop优化模

卒仔:用photoshop還原真實顔色...

彩绘艺术字, PS液化工具制作彩绘背景设计教程

Photoshop制作非常流行的金沙立体字,细腻的金沙字体,金粉字。

Photoshop制作金色的海报标题文字教程

Photoshop使用笔刷制作书法艺术字教程


