PS设计绿色主题壁纸
2022-12-25 15:07:02
来源/作者: /
己有:21人学习过
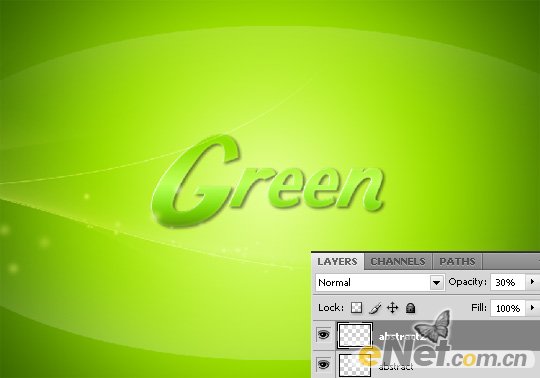
降低不透明度位25-35%
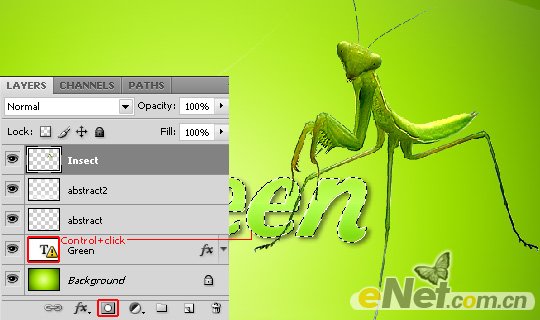
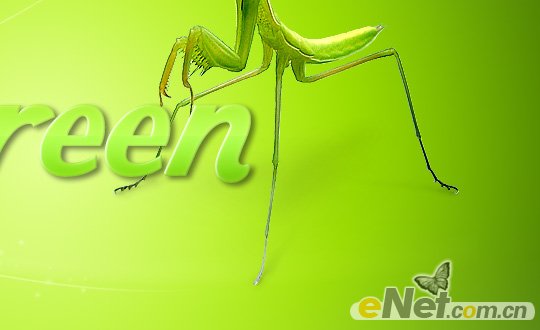
弄一只螳螂来,将它抠选并调整成绿色,当然螳螂本身就是绿色,你也可以不必调整,我只是想让它和背景更接近,
粘贴到画布放在所示位置

下面我们要掩盖螳螂的一部分,让它看起来在文字的后面,选择文字层,按住Ctrl键,用鼠标点击文字图层的略缩图,
调出文字边缘路径
然后按住Alt键,然后点击图层面板下方的“添加蒙版”,这样将隐藏文字和螳螂从何的部分,这样就遮挡住了一部分螳螂
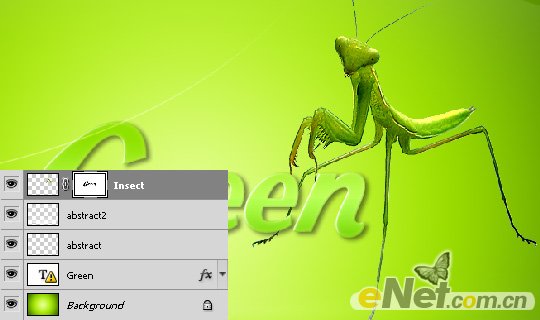
调出“色阶”和“曲线”,调整螳螂和背景图的亮度,让它和背景融合
新建一个图层,使用柔角画笔工具,选择黑色,调整不透明度为15%,给螳螂手绘一些阴影
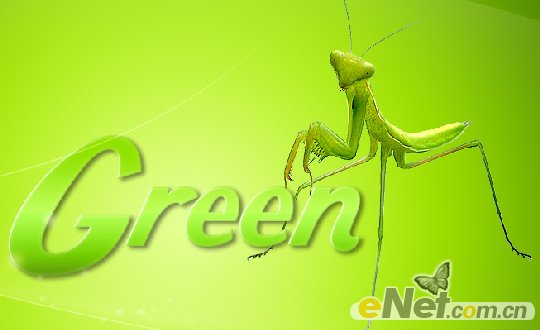
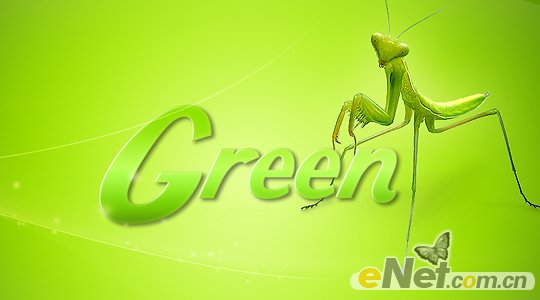
下面得到了效果,是不是很简单!
上一篇:ps霓虹灯字体教程
下一篇:ps制作简单的渐变文字
相关推荐

浅谈色相模式原理:修复偏绿色图片

PS实用教程:ps修复偏色风景照片

精细调整还你山清水秀——桔子教程

photoshop修复教程:还原泛黄色照片

彩绘艺术字, PS液化工具制作彩绘背景设计教程

Photoshop制作非常流行的金沙立体字,细腻的金沙字体,金粉字。

Photoshop制作金色的海报标题文字教程

Photoshop使用笔刷制作书法艺术字教程


