ps打造质感钢铁文字电影海报效果教程
2022-12-25 15:32:27
来源/作者: /
己有:38人学习过
3.下面开始制作文本效果,在画布上输入以下文本

文本输入好以后,选择混合选项
投影
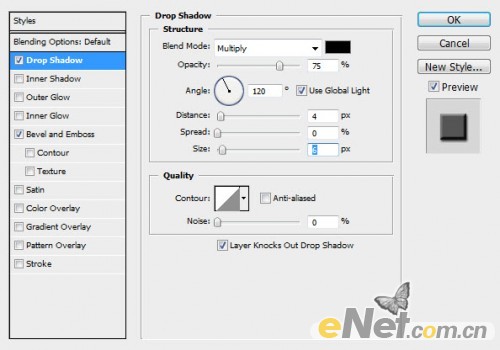
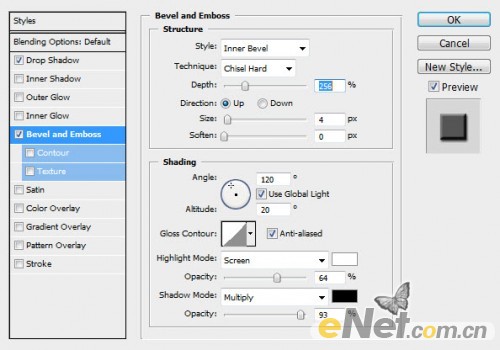
斜面与浮雕
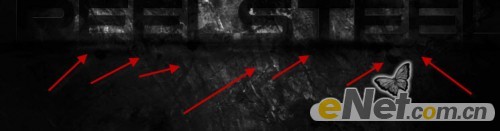
给文本层添加图层蒙版,用软笔并设置适当不透明度,在文字下方涂抹,隐藏部分文字

在用黑色软笔在文字下部画出阴影
4.下面我们来添加金属质感的文本,输入和画布上相同的文字,按住Ctrl在文字层点击鼠标左键,得到文字选区,选择金属质感层
复制选区。
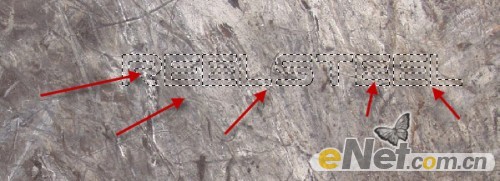
粘贴回画布,得到如下效果

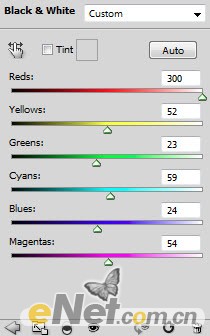
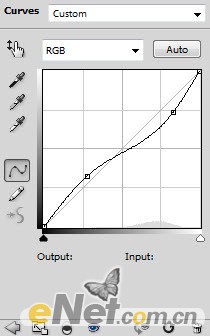
根据以上的方法,在对图层进行调整
黑白
曲线
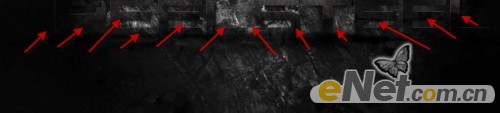
使用画笔工具,调整不透明度为20%,在金属文本层涂抹,得到如下效果
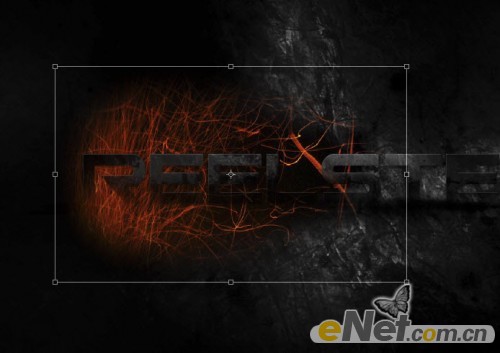
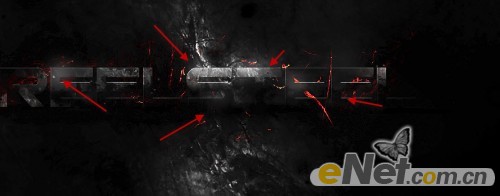
5.下面我们增加一些火纹理元素,打开火纹理,使用套索工具,设置羽化30%,在纹理图片上选区一块

复制并粘贴,将其图层放在文本图层的下方,让其在文字后面显示
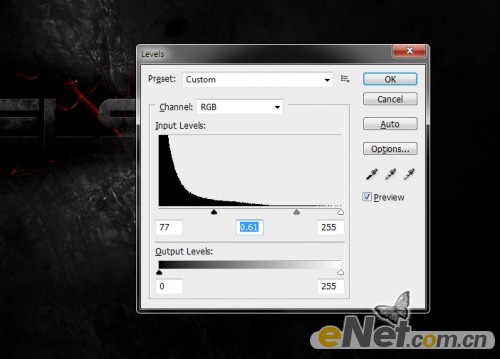
按住Ctrl+L调出色阶并设置
设置图层的混合模式为“滤色”
制作好火以后,将其对复制几次,并用“自由变换工具”调整到时候的大小与位置,如图所示
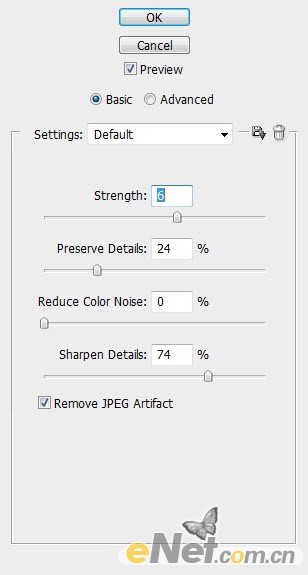
6.添加一些细节来完成这个效果,合并图层,选择“滤镜>杂色>减少杂色”如下设置
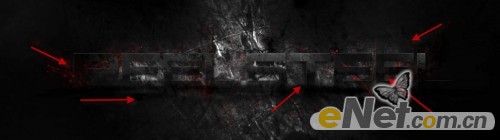
添加一个新层,选择白色,不透明度设置为40%,在文字一些部位涂抹,来增加文字的亮光效果
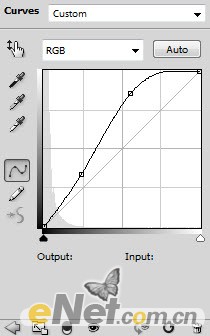
使用曲线调整整体对比度
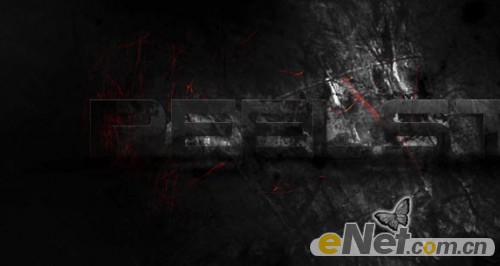
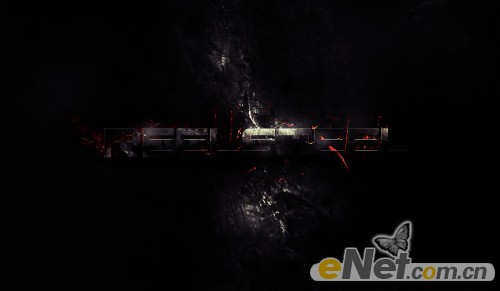
到这里我们得到了最终效果
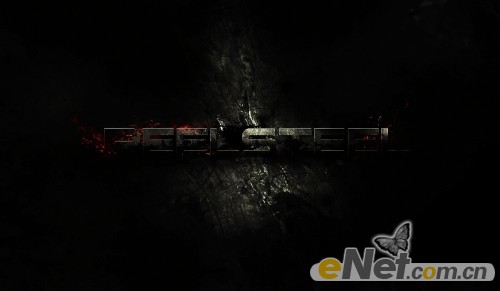
当然你也可以对色彩及亮度等的调整得到不同的色调,如下面的冷色效果
相关推荐

PS实用教程:ps修复偏色风景照片

精细调整还你山清水秀——桔子教程

photoshop修复教程:还原泛黄色照片

photoshop修复教程:Lab模式还原雪

彩绘艺术字, PS液化工具制作彩绘背景设计教程

Photoshop制作非常流行的金沙立体字,细腻的金沙字体,金粉字。

Photoshop制作金色的海报标题文字教程

Photoshop使用笔刷制作书法艺术字教程


