Photoshop打造喷涂字北京2008
2022-12-25 11:59:58
来源/作者: /
己有:12人学习过
发表于 2007-8-16 08:01 Photoshop打造喷涂字BEIJING20088月8日是北京奥运会前一周年纪念日,为了准备奥运会,大家做了很多工作和努力。下面我们来制作一款喷涂在墙上的“BEIJING2008”……
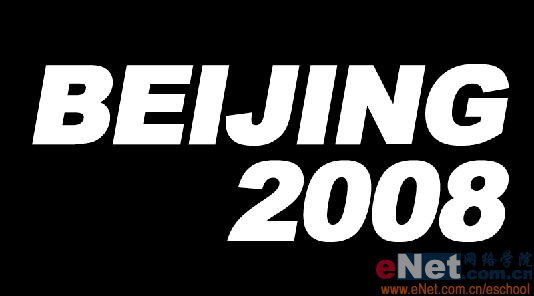
先看一下最终效果:

制作工具:Photoshop CS
制作过程:
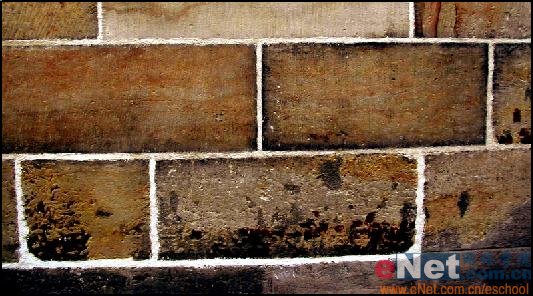
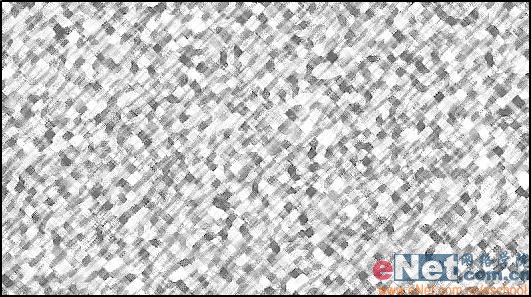
1、打开一幅墙壁素材图片,效果如图01所示。
2、切换至通道面板,单击新建通道按钮,生成新通道,命名为1。
3、设置前景色为白色,选择工具箱中的“横排文字工具”,设置好大小和字体在窗口中输入文字,效果如图02所示。
4、执行菜单栏中的“编辑”“变换”“旋转”命令,将文字适当旋转,效果如图03所示。

5、切换至通道面板,复制通道1,将新通道命名为通道2。
6、选择通道2,执行菜单栏中的“滤镜”“模糊”“高斯模糊”命令,设置参数如图04所示,图像效果如图05所示。

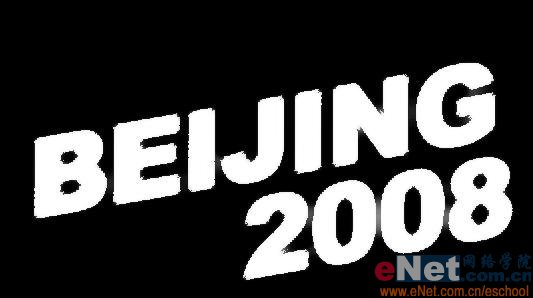
 7、再执行菜单栏中的“滤镜”“艺术效果”“干画笔”命令,在弹出的干画笔对话框中设置参数如图06所示,图像效果如图07所示。
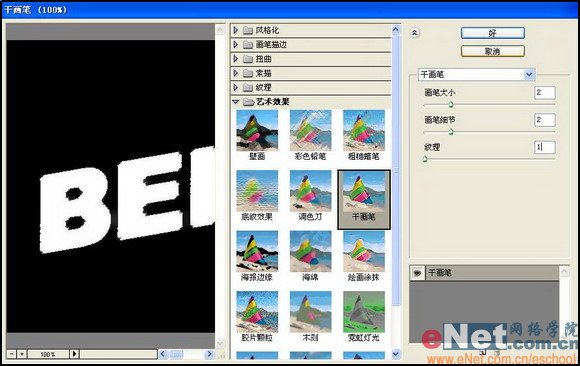
 8、回到图层面板中,新建图层1。切换到通道面板,按住Ctrl键单击通道2载入选区,再返回到图层面板中,如图08所示,用白色填充选区,效果如图09所示。
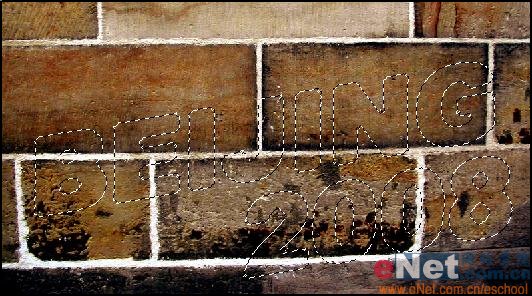
 9、在图层面板中隐藏图层1,在通道面板中复制Red通道为Red副本通道,如图10所示。
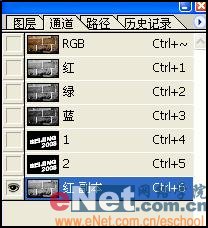
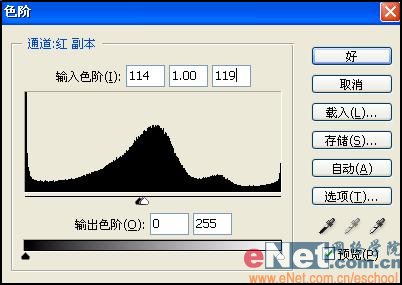
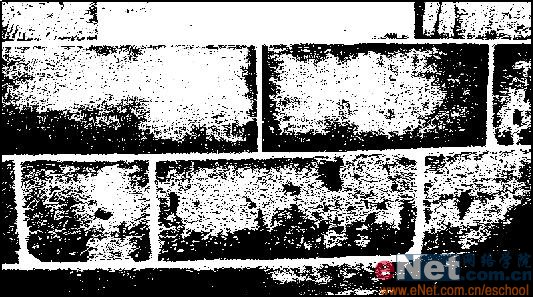
10、执行菜单栏中的“图像”“调整”“色阶”命令,在色阶对话框中设置参数如图11所示,图像效果如图12所示。
 11、按住Ctrl键单击红色副本通道,生成选区,效果如图13所示。
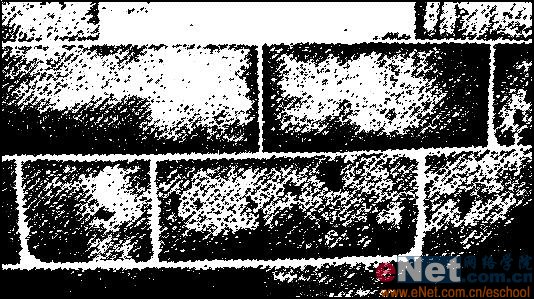
12、返回到图层面板中选择背景图层,按Ctrl J键生成新图层2,将图层2移动到图层最上方,然后将图层1取消隐藏,文字效果如图14所示。
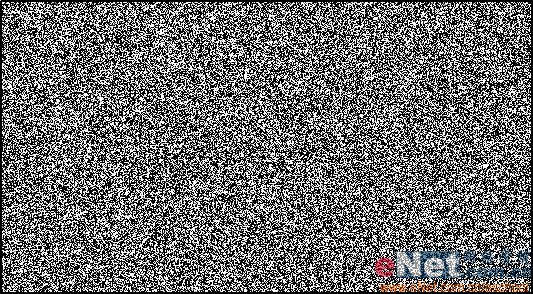
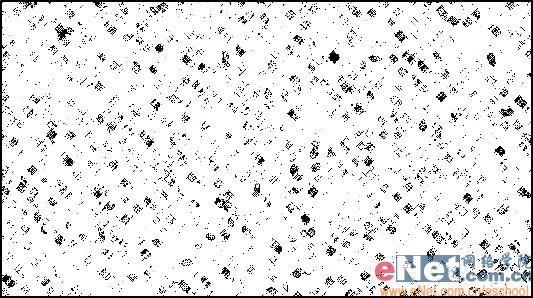
 13、单击通道面板下方的创建新通道按钮,生成新通道3,执行菜单栏中的“滤镜”“杂色”“添加杂色”命令,在打开的添加杂色对话框中设置参数如图15所示,图像效果如图16所示。
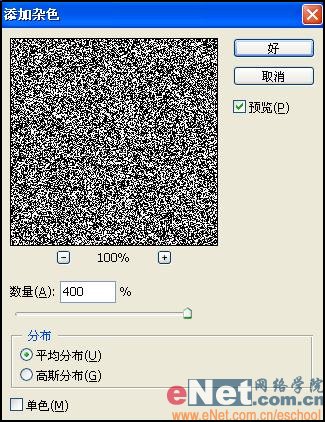
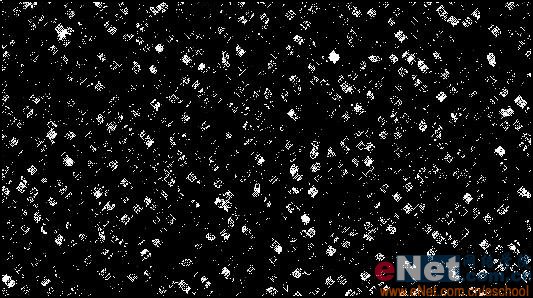
 14、执行菜单栏中的“滤镜”“模糊”“高斯模糊”命令,设置参数如图17所示,图像效果如图18所示。
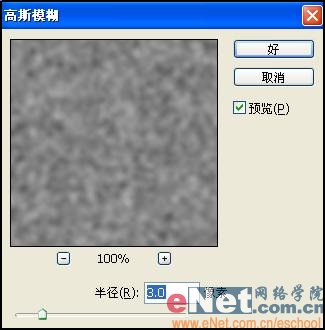
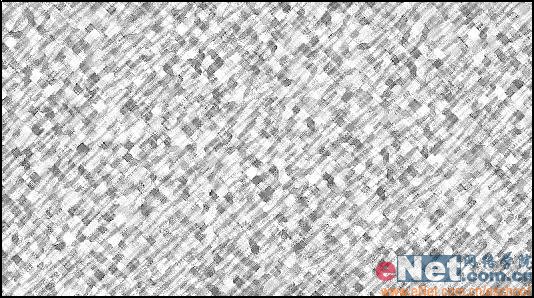
 15、执行菜单栏中“滤镜”“艺术效果”“彩色铅笔”命令,在打开的彩色铅笔对话框中设置参数如图19所示,图像效果如图20所示。
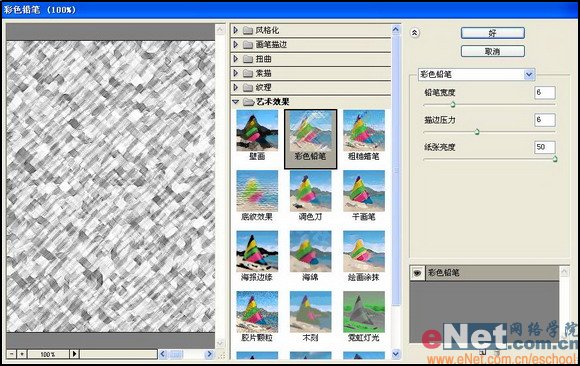
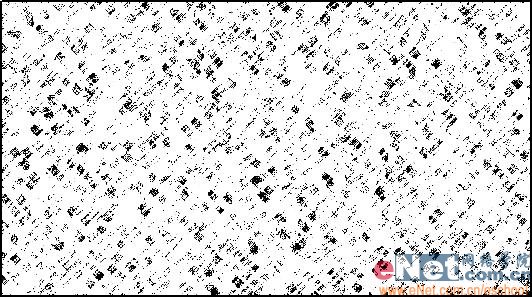
 16、执行“图像”“调整”“色阶”命令,设置参数如图21所示,图像效果如图22所示。
 17、执行“图像”“调整”“反相”命令,图像效果如图23所示。
 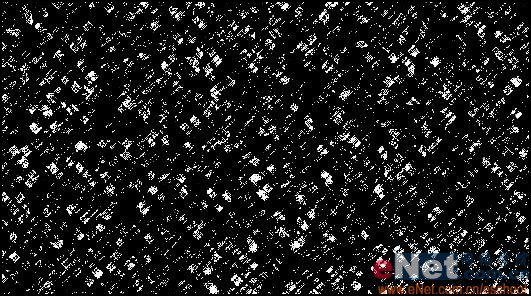 18、再新建一个通道4,重复执行13-14步,然后执行菜单栏中的“滤镜”“艺术效果”“彩色铅笔”命令,设置参数如图24所示,图像效果如图25所示。
19、选择通道4,按Ctrl L键打开色阶对话框,设置参数如图26所示,效果如图27所示。

20、执行“图像”“调整”“反相”命令,图像效果如图28所示。
 21、按住Ctrl键单击通道3,生成选区,回到图层面板,选择背景图层,按Ctrl J键,生成新图层图层3,并移动到图层的最上方,效果如图29所示,图像效果如图30所示。
 22、按住Ctrl键单击通道4,生成选区,回到图层面板,选择背景图层,按Ctrl J键,生成新图层图层4,并移动到图层的最上方,效果如图31所示。
  23、设置图层4的填充值为20%,最终效果如图32所示。
 上一篇:用ps制作金边质感金属字
下一篇:ps有机玻璃立体文字教程
相关推荐

详解三种抠图方法和组合图层的效果

换背景,给婚纱照换背景制作火焰效果

换天空,给照片换天空制作落日剪影效

抠墨水,Photoshop抠出墨的艺术效果

彩绘艺术字, PS液化工具制作彩绘背景设计教程

Photoshop制作非常流行的金沙立体字,细腻的金沙字体,金粉字。

Photoshop制作金色的海报标题文字教程

Photoshop使用笔刷制作书法艺术字教程


