photoshop设计精美的系统标志教程
2022-12-26 14:19:41
来源/作者: /
己有:7人学习过
29、在图层2的上方创建一个新的图层,然后设置其混合模式为“叠加”,如图所示。
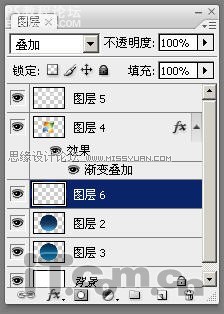
图38
30、设置前景色为“#”,然后载入图层2选区,选择画笔工具,在选区的下方进行涂抹,如图所示。
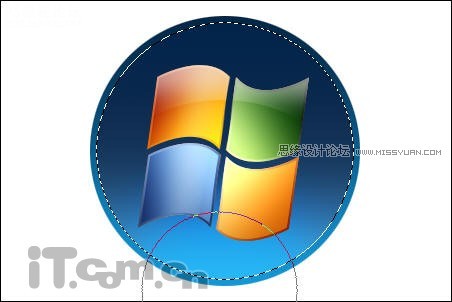
图39
31、在图层6的上方创建一个新图层前设置其不透明度为“60%”,如图所示。
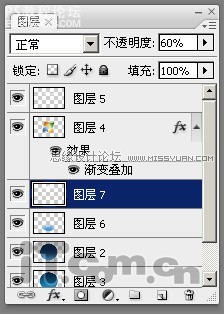
图40
32、设置前景色为白色,接着选择“渐变工具”在属性栏中设置“从前景色到透明”的渐变方式,然后按照下图所示拖动,创建渐变效果,如图所示。

图41
最终效果如图所示。

图42
作者:河马 出处:IT世界
相关推荐

ps cs6设计龙主题LOGO教程

photoshop制作国外彩虹Logo教程

火焰Logo教程

ps制作漂亮清新的LOGO教程

Photoshop制作清凉的水中展示网页

Photoshop制作大气的网页设计主页

阴影教程,超详细的各种阴影的制作方法

Photoshop制作炫酷的PK类网站Banner


